Creating a New View and ViewController
When you create a new (Single View App) project, there is a UIView object already created in the Storyboard. This object, a blank rectangle, is like a blank canvas where you build the layout for a single screen (or view) of your application.
To interact with and manipulate a view, you need to create a class that inherits from something in the UIKit called the UIViewController class. The UIViewController class is written in a Swift code file found in the Project Navigator, and it defines what a view can do. By creating our own class that inherits from the UIViewController, we create a place to write custom code that can control a specific view of the application — your custom viewController class lets you detect and react to user input, execute logic in the application, and modify the UI elements within the view it controls.
TIP
The ViewController.swift file is automatically created in the project folder of a Single View App, and has already been associated with the view.
Adding a ViewController Class
When you need to add a second view to your application, you will also need to create a second viewController class to control it. When you add an additional view to your application, you should first add the new viewController file to your project files with some custom name, then add the new view to the storyboard. The last thing you need to do is to associate your new viewController file with the new view.
TIP
You can associate one viewController class to multiple views, but this should avoided.
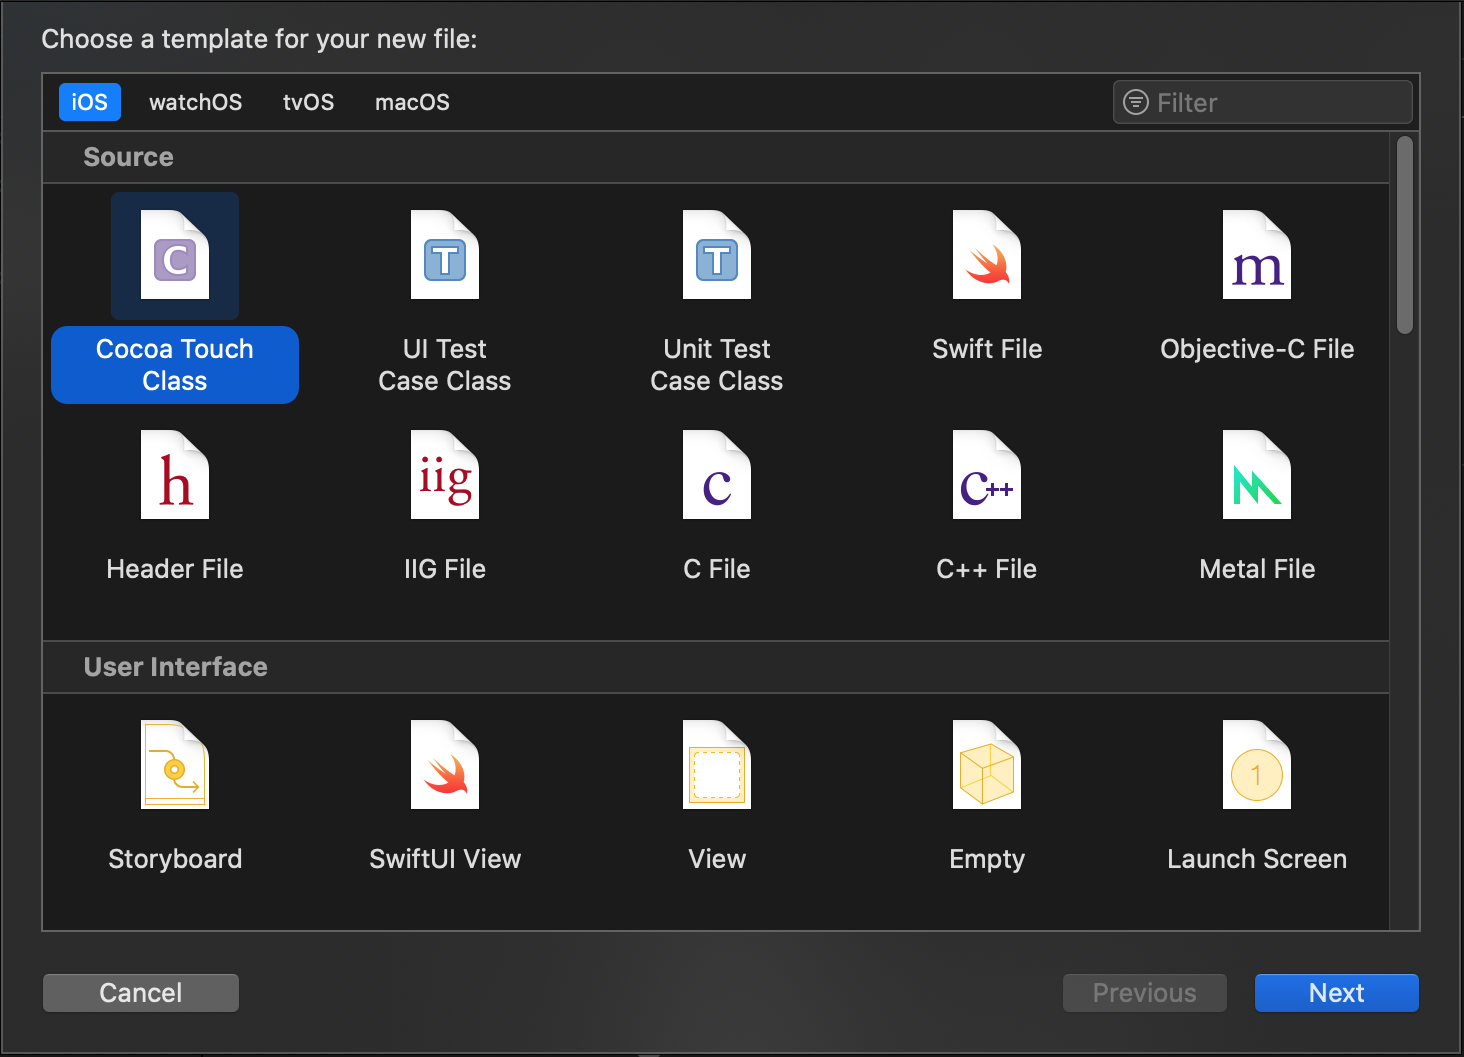
Start by creating a new file in your project folder of type "Cocoa Touch Class", and making it a Sub-Class of a UIViewController.
Do this by right-clicking (control+click) on the project folder in the Project Navigator, and selecting "New File".
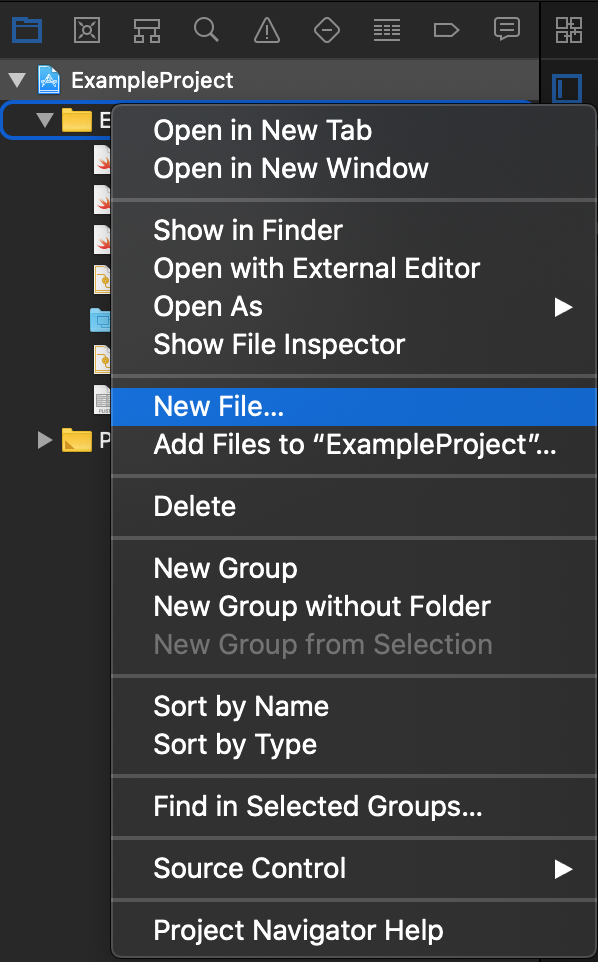
Choose a new “Cocoa Touch Class" file, and click the Next button in the bottom-right of the menu.
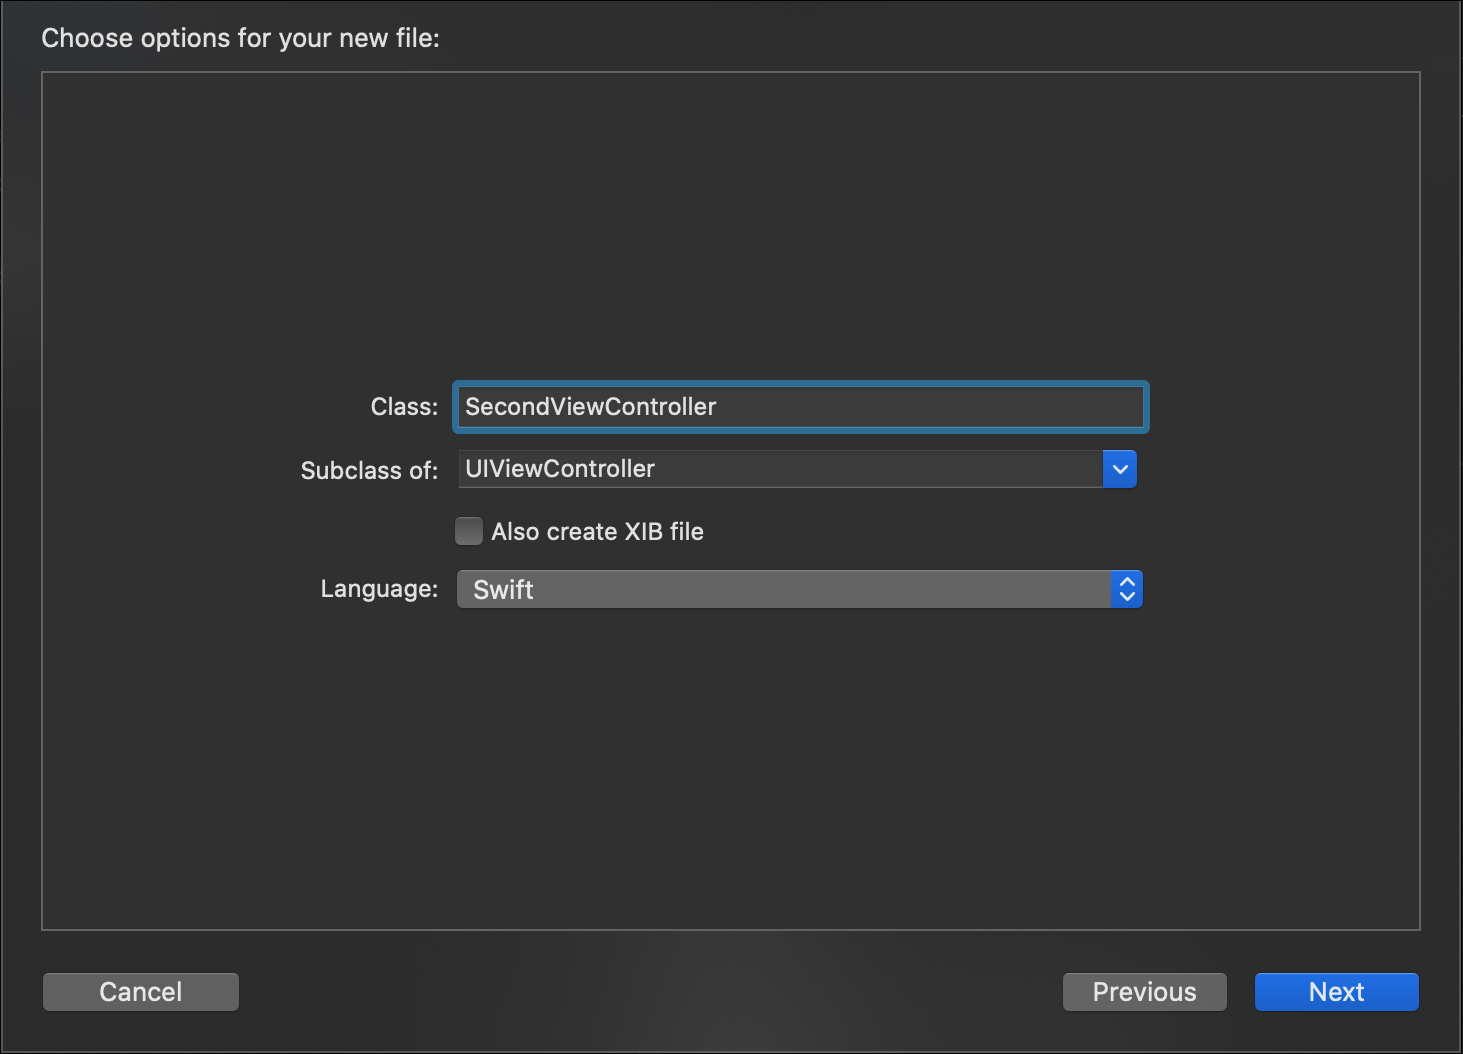
Give your new class a name in the first field, select "UIViewController" in the second field as the class you wish to inherit from. Make sure the language is set to "Swift", and click Next.
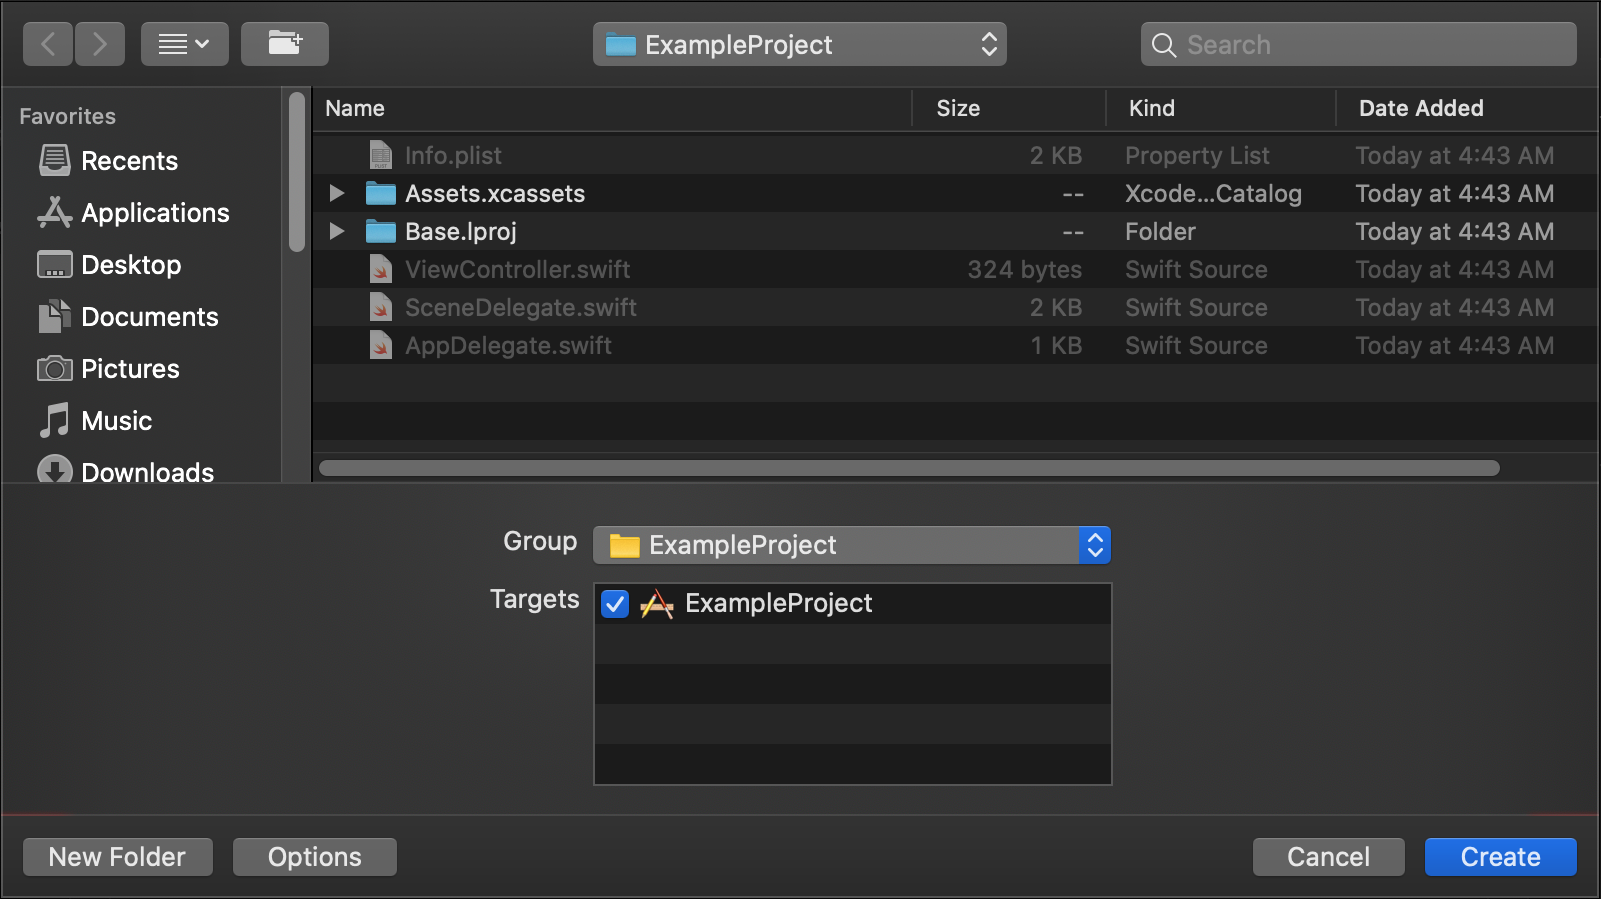
Then, choose the location you wish to save the swift file to and click Create.
Modifying the Main.storyboard
After creating the viewController class, you need to add the view to your storyboard and set the choose the new class file to control it. Start by finding the View Controller object in the Object Library of Xcode.

TIP
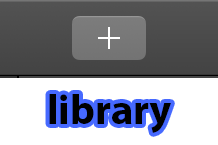
The icon to open the library is in the upper right corner of Xcode in the toolbar, and looks like this.
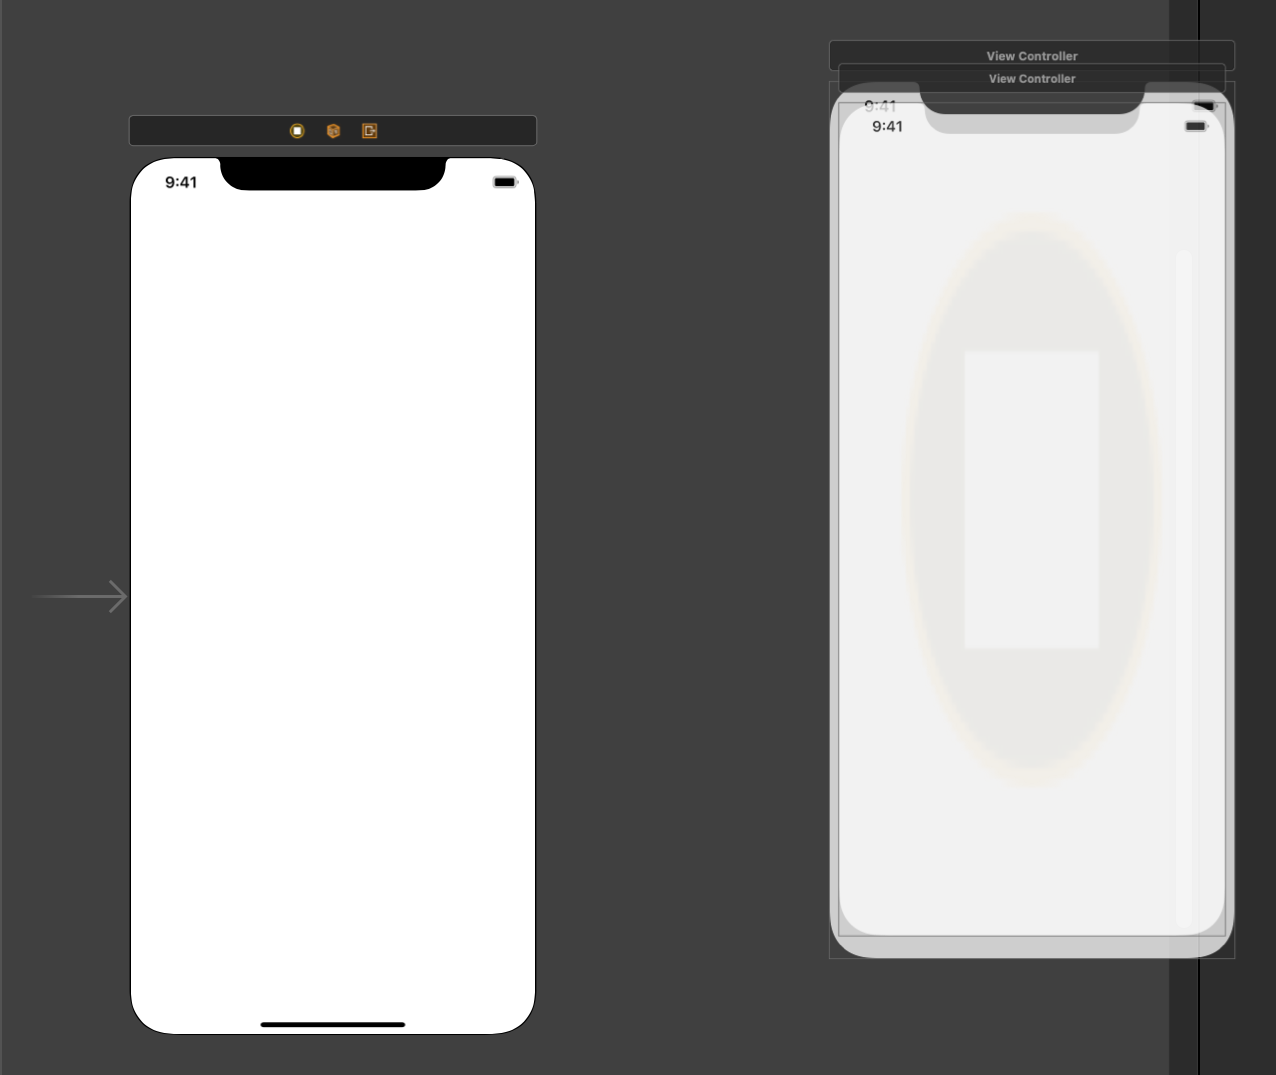
You can then add the View Controller object by dragging it in from the Object Library, and dropping it into your in your Main.storyboard layout beside the existing view.
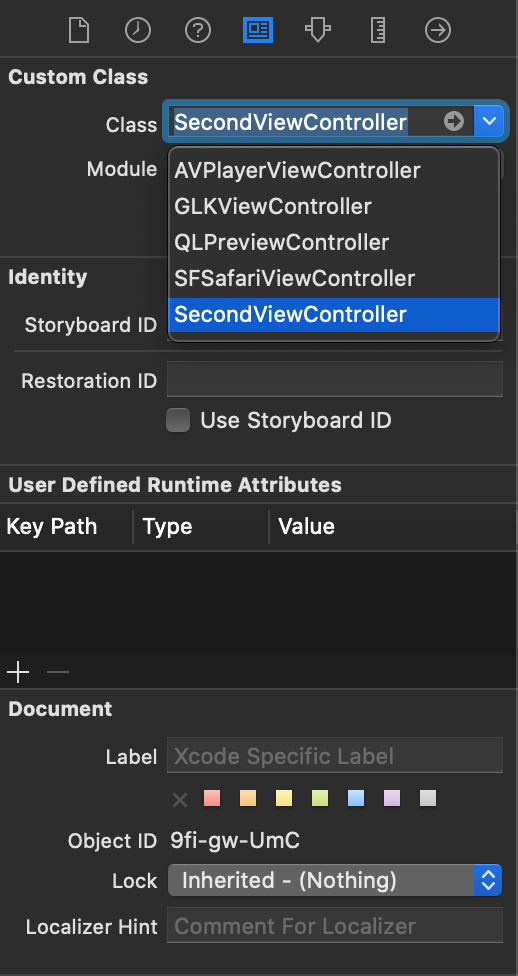
Now you must associate this view object with the class file you created. This is done by selecting the new view you just dropped in the storyboard, going to the Identity Inspector in the upper-right of Xcode and, under the first heading "Custom Class", choose your custom class name from the Class field.
You are now ready to create a layout for this new view, and write the code to control the logic in the new viewController file.
The following videos describe the Model View Controller design pattern in iOS, and goes into further details about views and sub-views:
iOS 11 Fundamentals - Introduction Pluralsight
iOS 11 Fundamentals - Using the UIKit Framework Pluralsight
iOS 11 Fundamentals - What Does "Kit" Mean in Apple Development Pluralsight
iOS 11 Fundamentals - Defining Views and View Hierarchies Pluralsight
iOS 11 Fundamentals - Model View Controller (MVC) in iOS Pluralsight