More About TableViewCells
If you want to design a custom layout for tableViewCells, there are a few steps involved. You need to add custom UITableViewCell class and tell the tableViews Prototype Cell to use this custom class. Then, you need to create your layout in the storyboard within your Prototype Cell and connect the different UI elements to your custom tableViewCell class using IBOutlets as usual.
The last thing to do is to make sure you cast your dequeued cells as your custom UITableViewCell class type when your are creating the cells and, if you want to use a custom height to your cells, you can override the default height in code, too.
Create a Custom UITableViewCell Class
Below is an example of a simple project with a TableViewController as the only view within it.

To edit the style of the cell to use a custom layout you must first select the TableView (Not TableViewController) and open the Size Inspector on the right to increase the cell height in the storyboard. In the Size Inspector uncheck 'Automatic' and enter in a custom Row Height value.
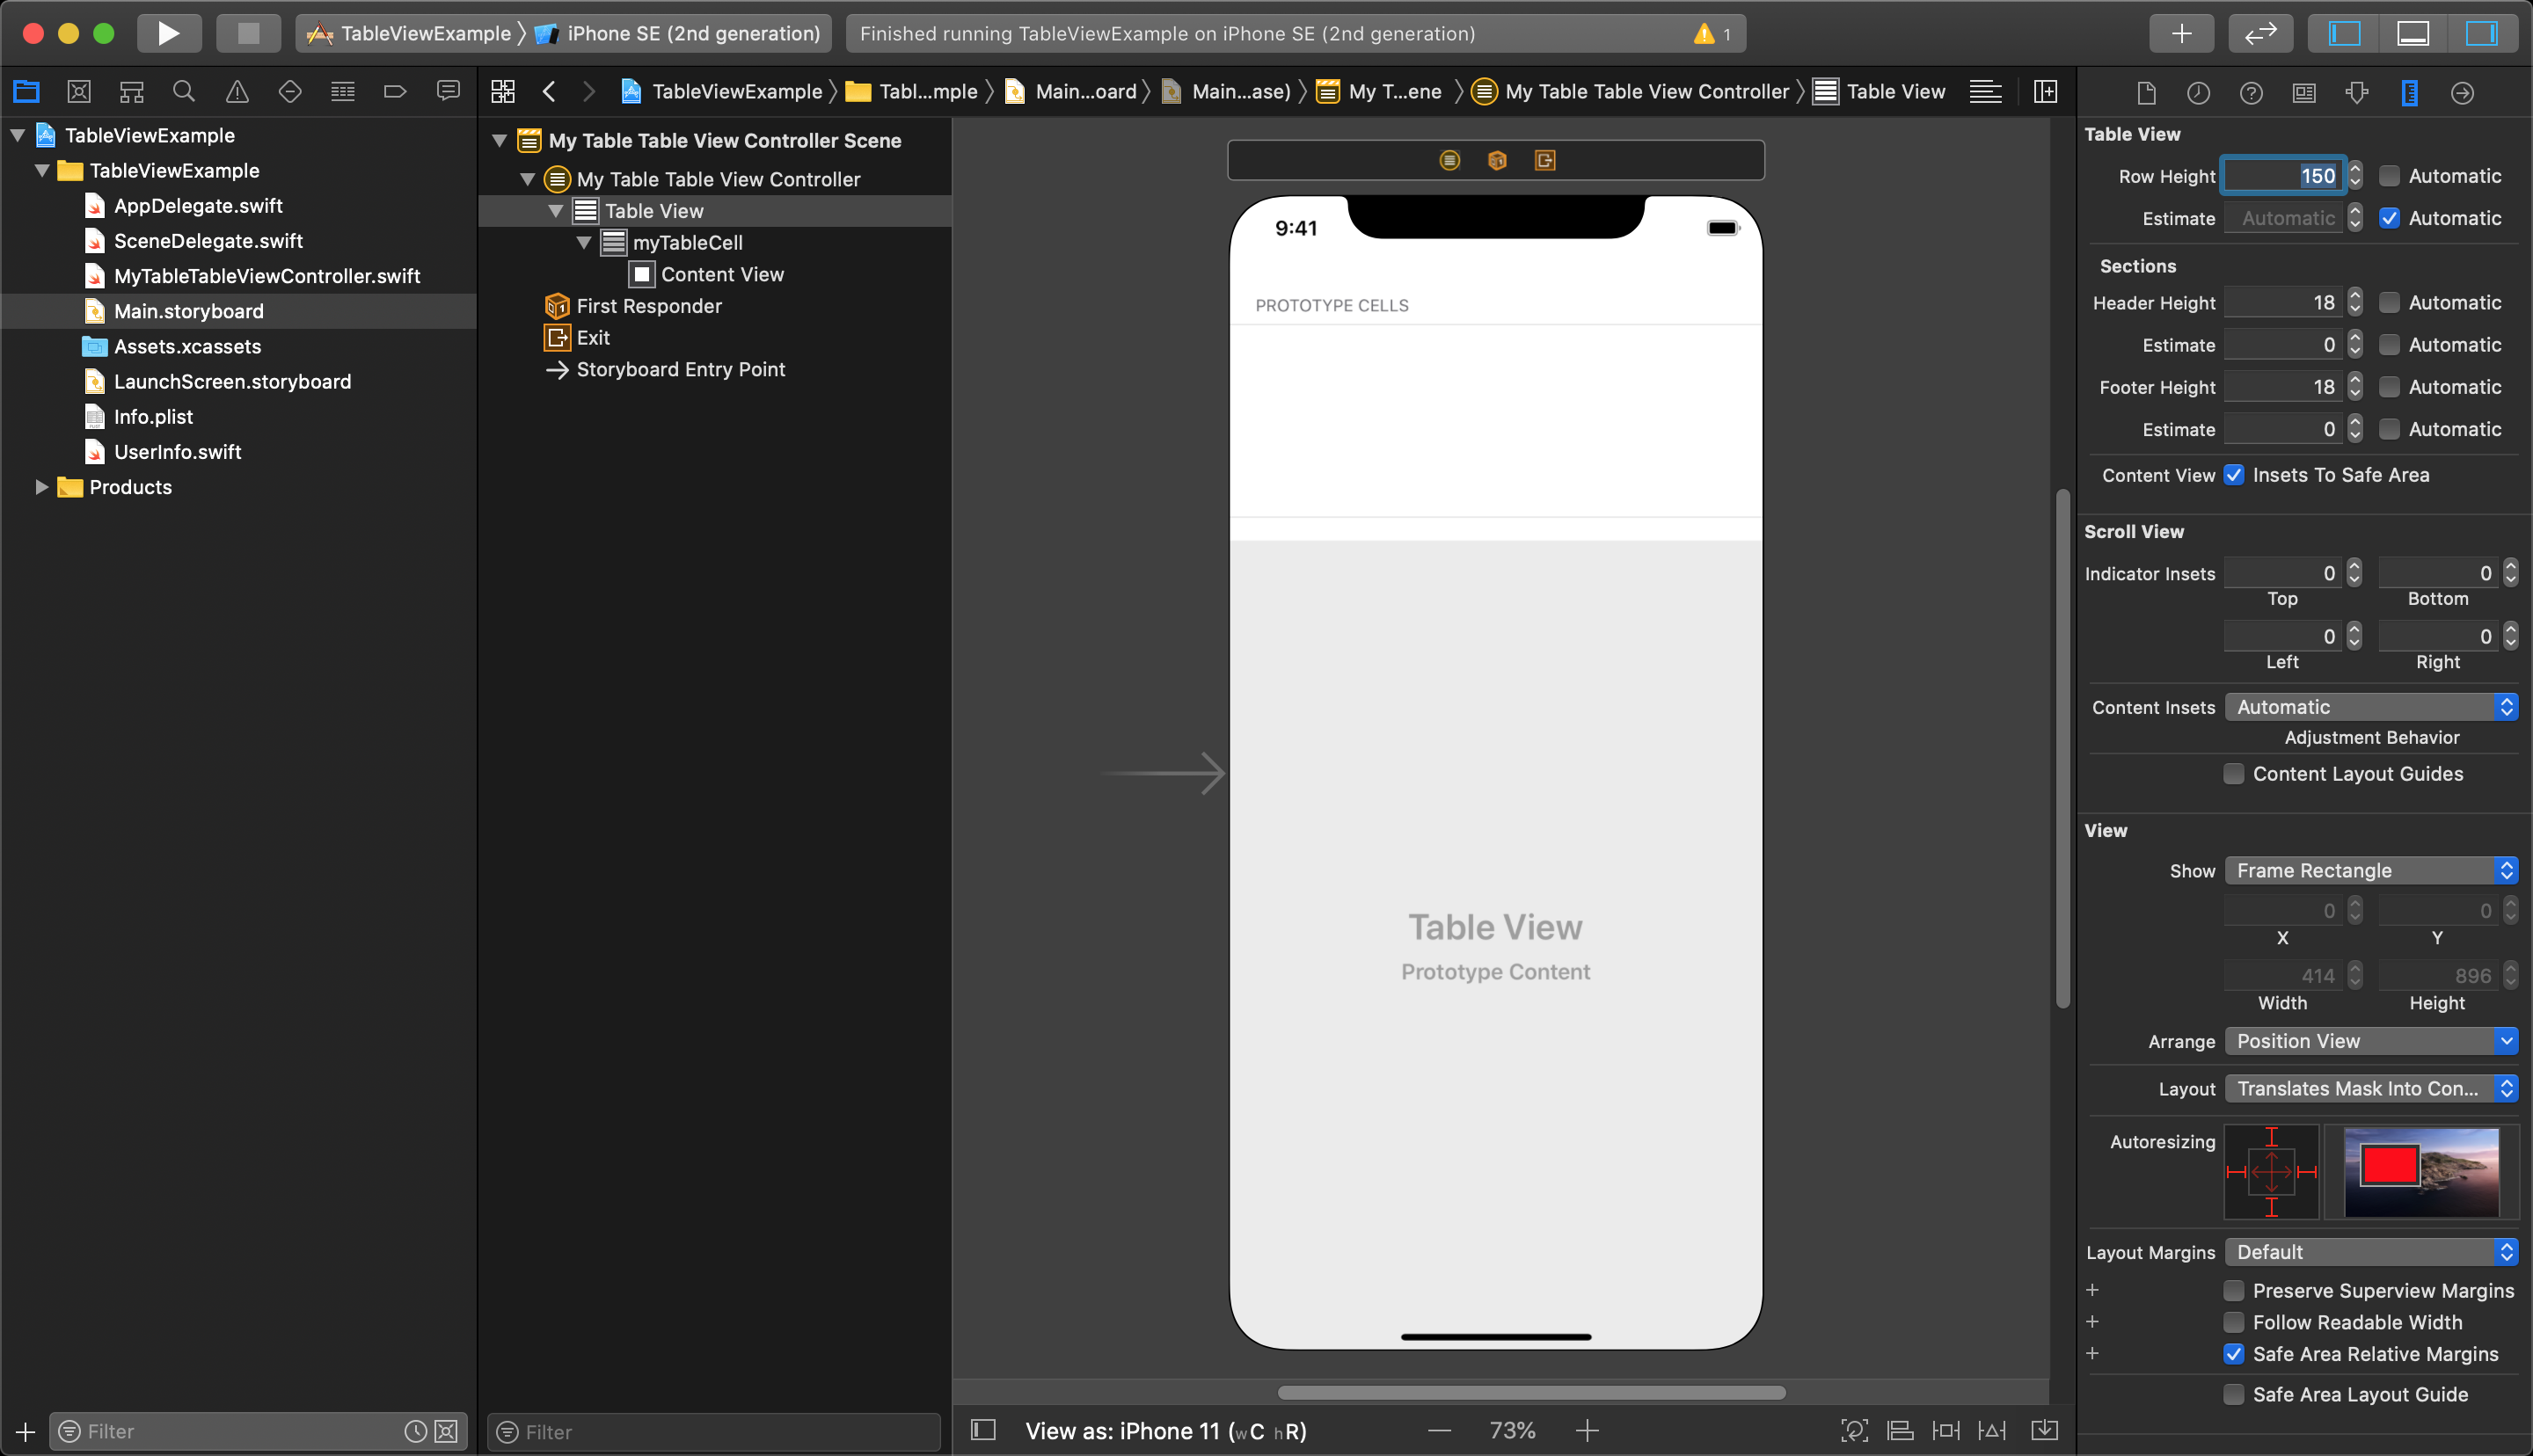
TIP
This step only sets the height in the storyboard. This same height value needs to be set in code later.
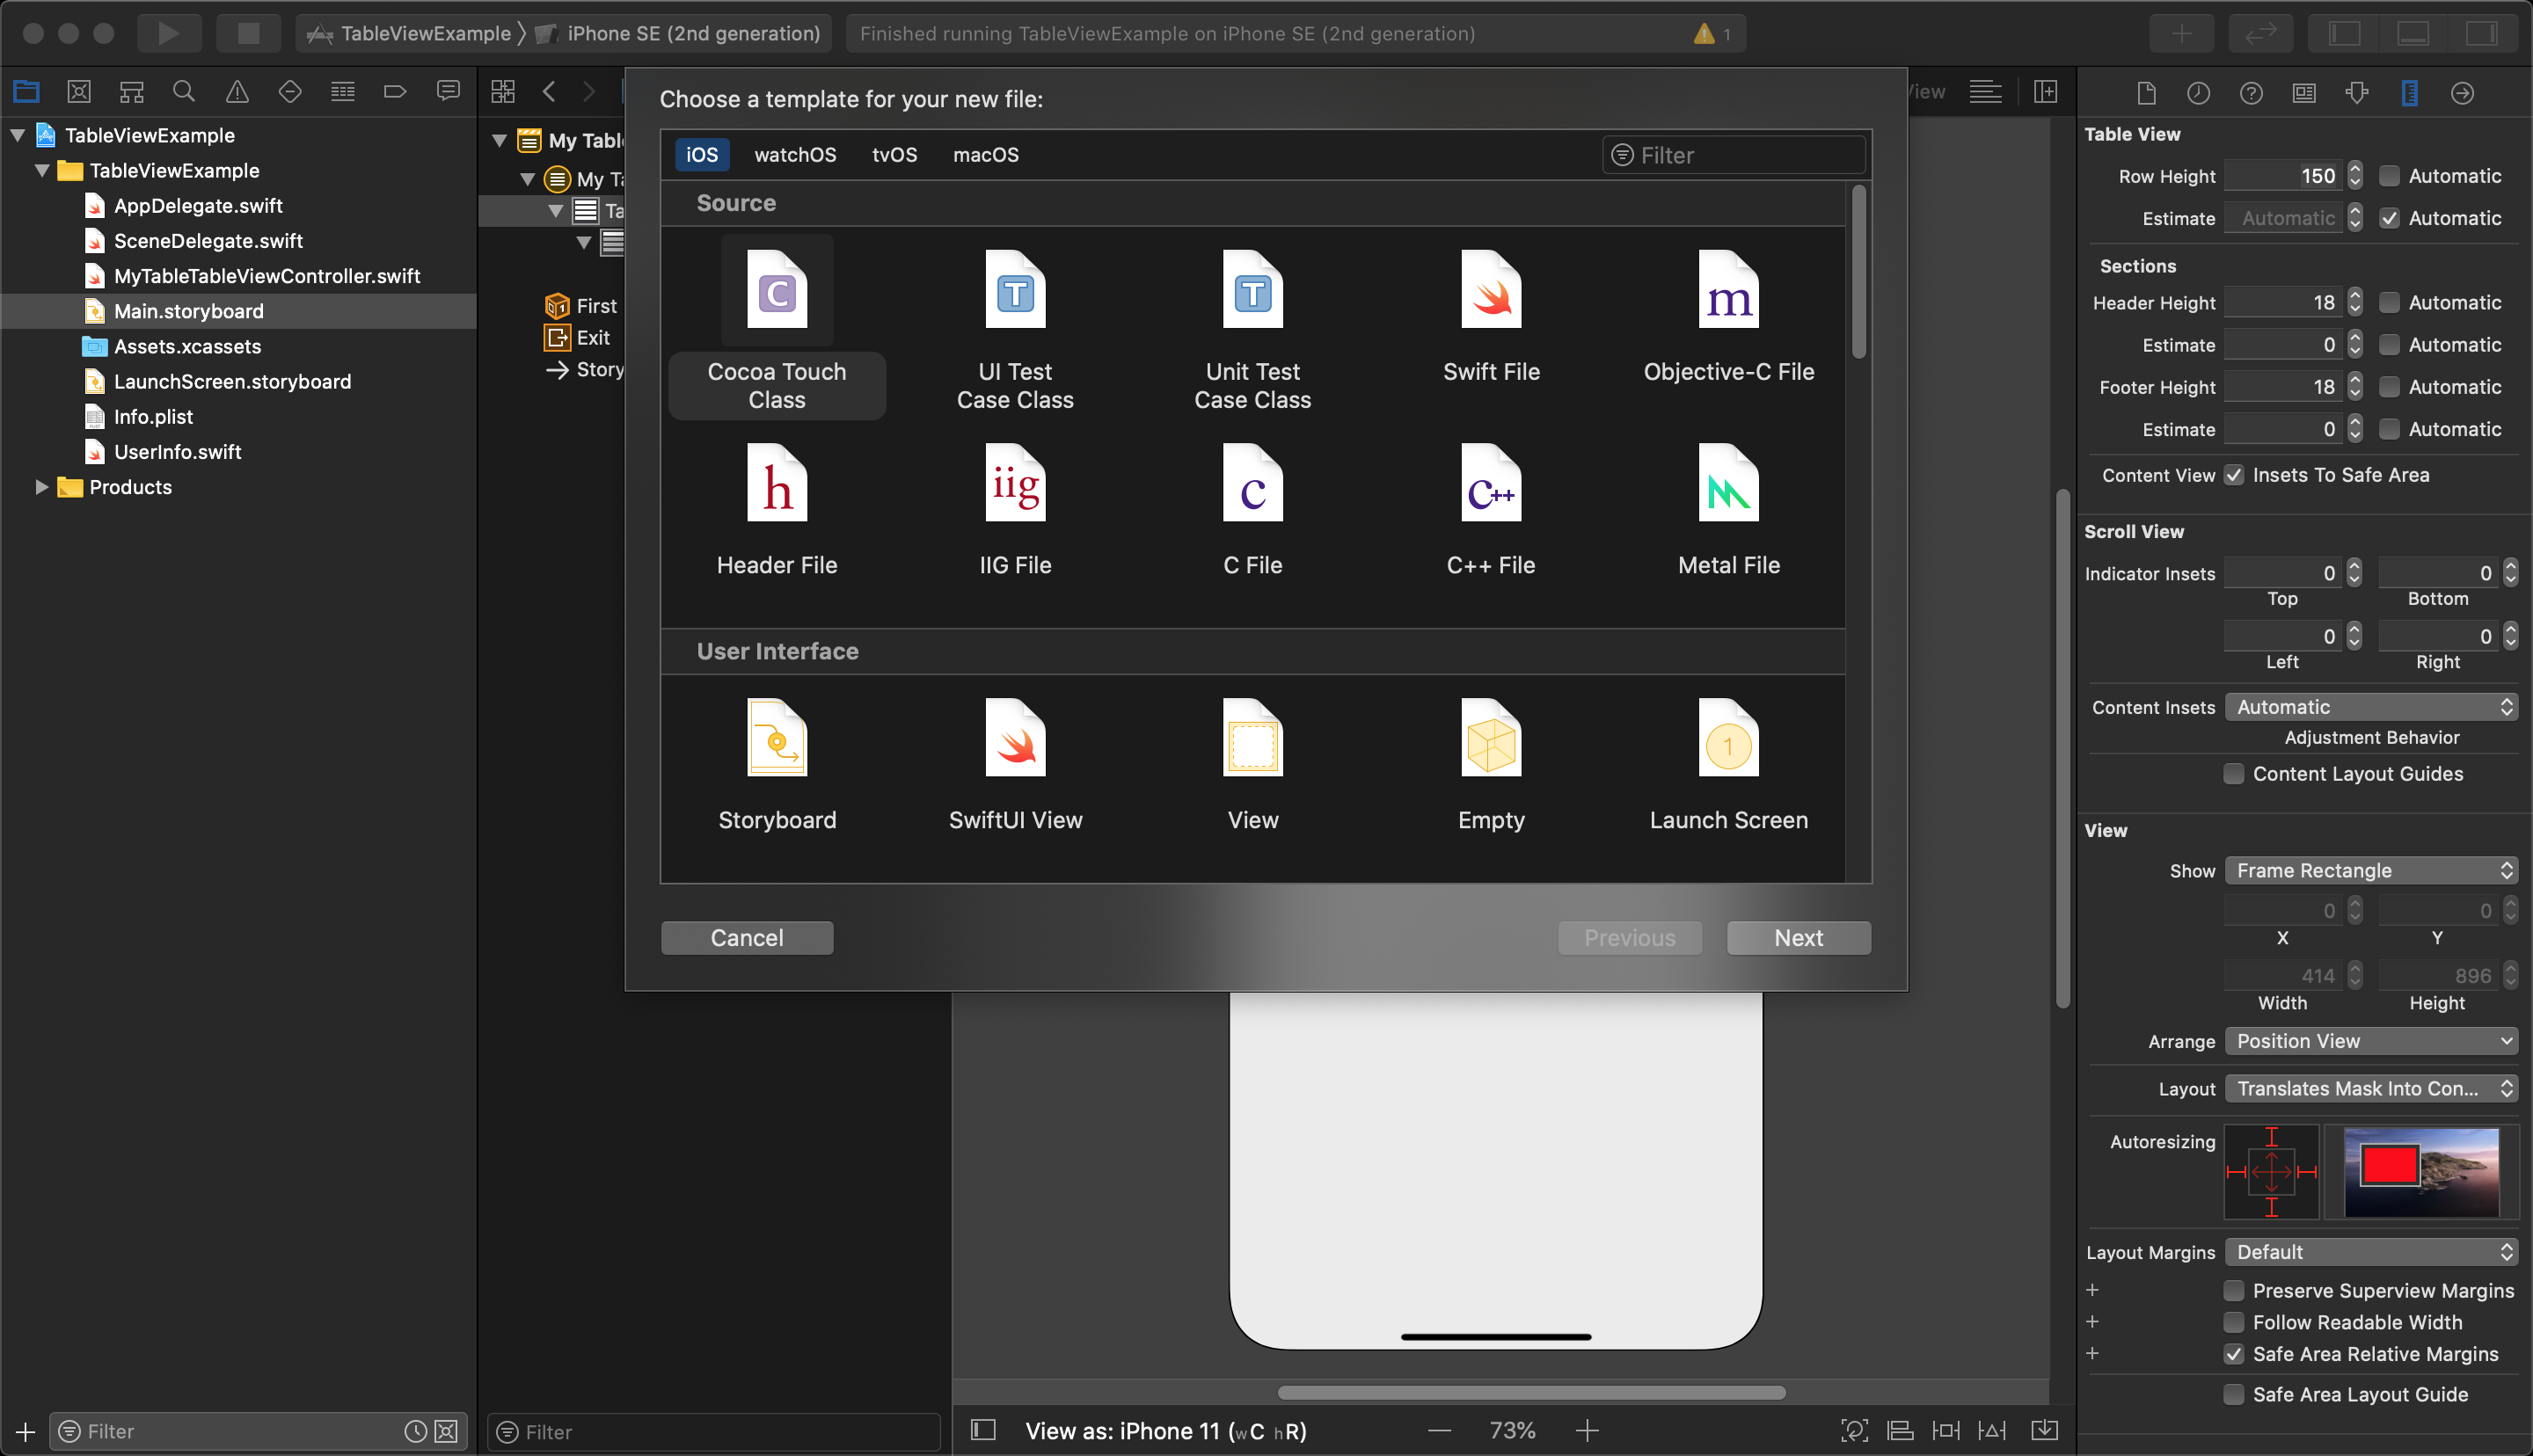
Next, a new custom class file must be added to the project.
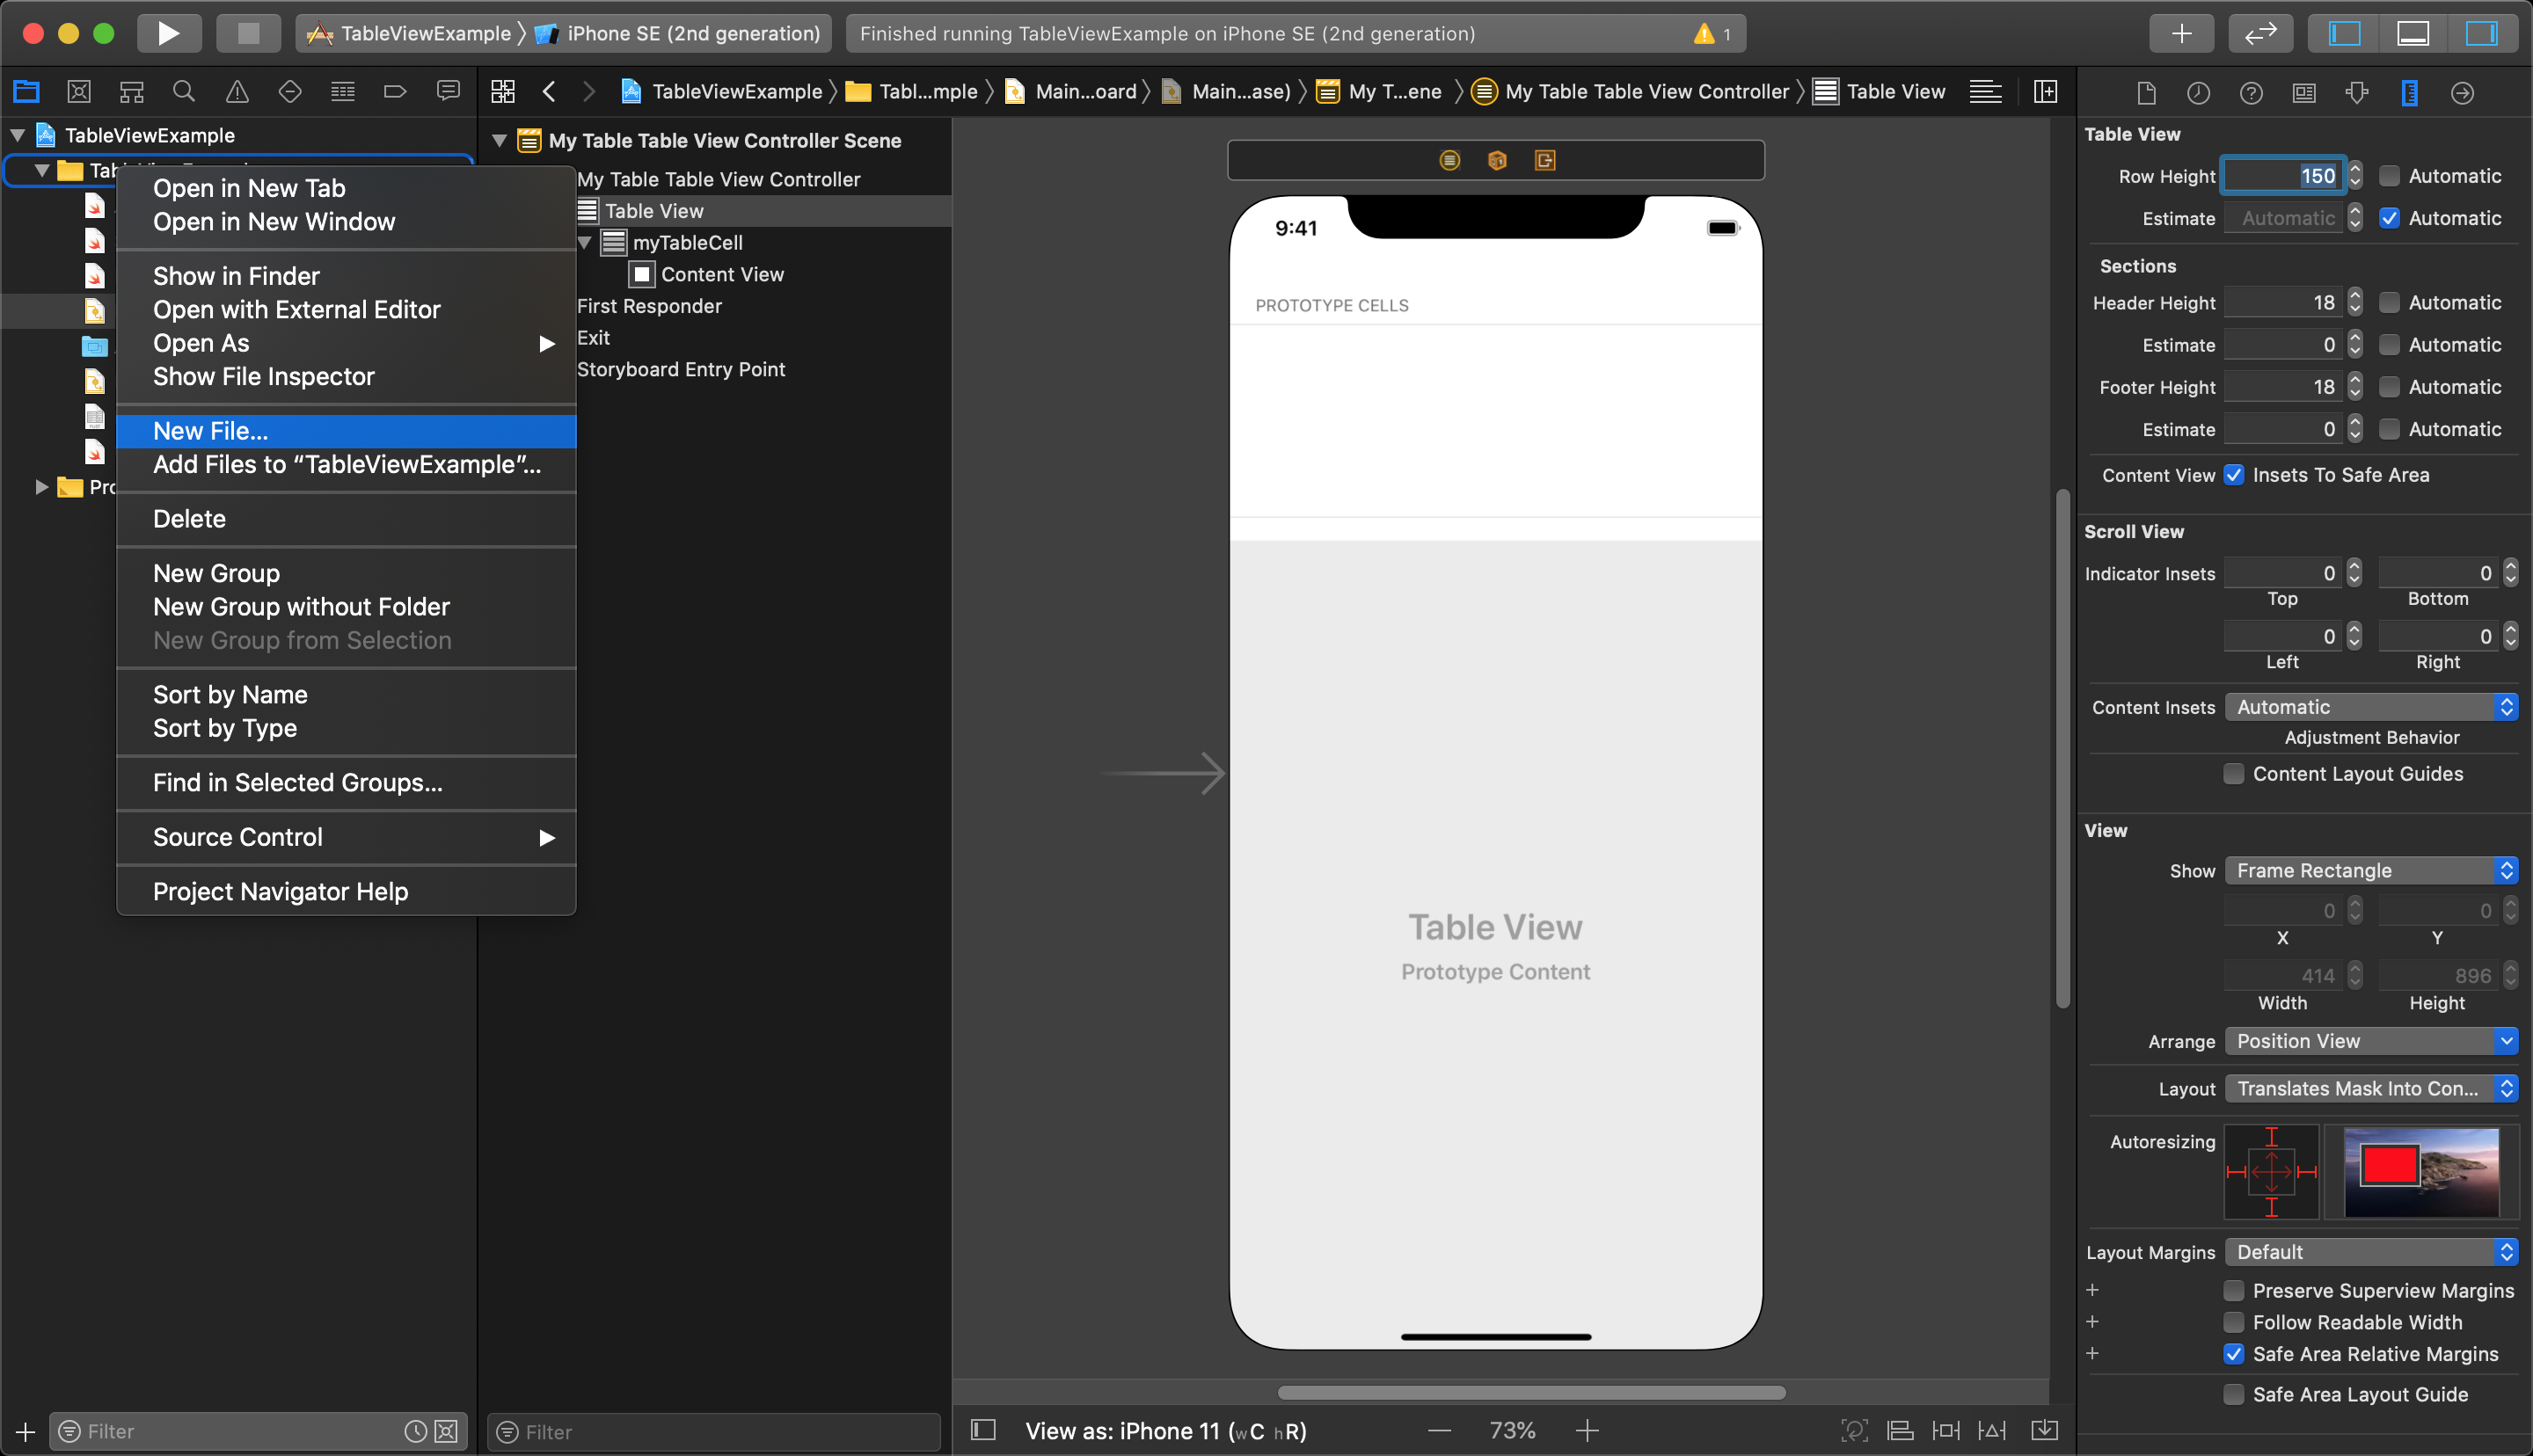
Choose a new Cocoa Touch Class.
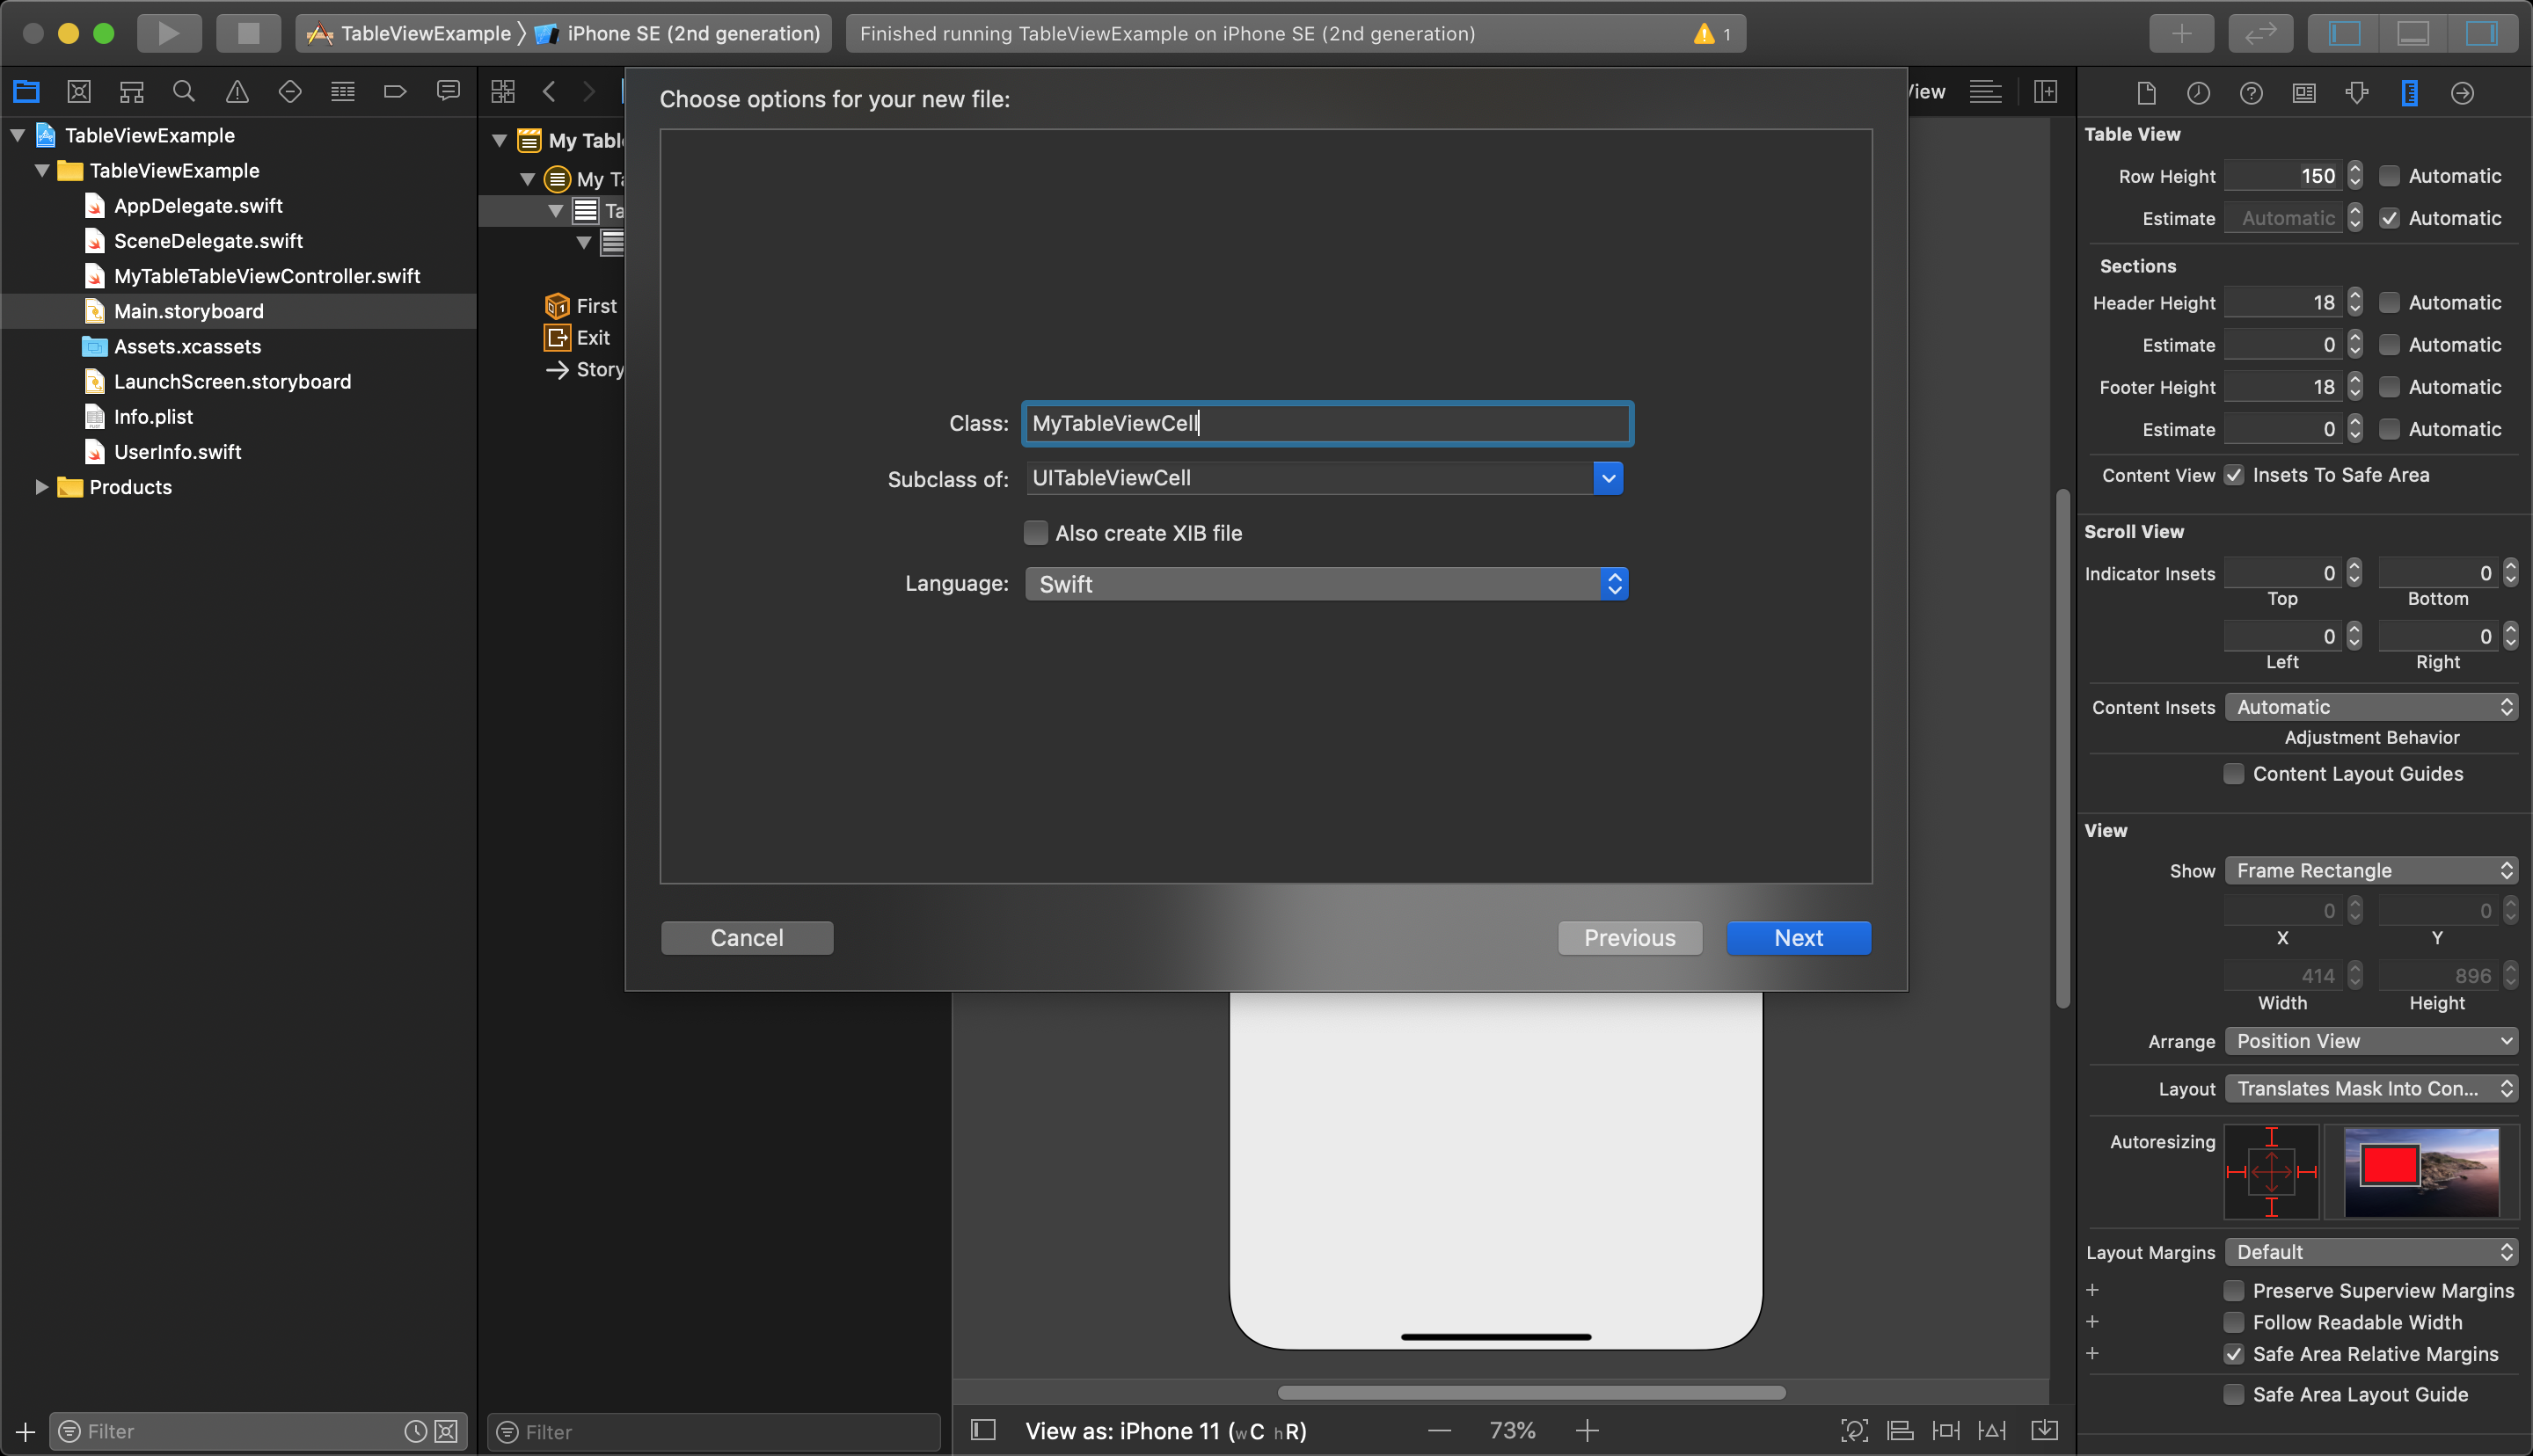
Select the new class to be a Subclass of UITableViewCell. Give it a name and save it in your project folder.
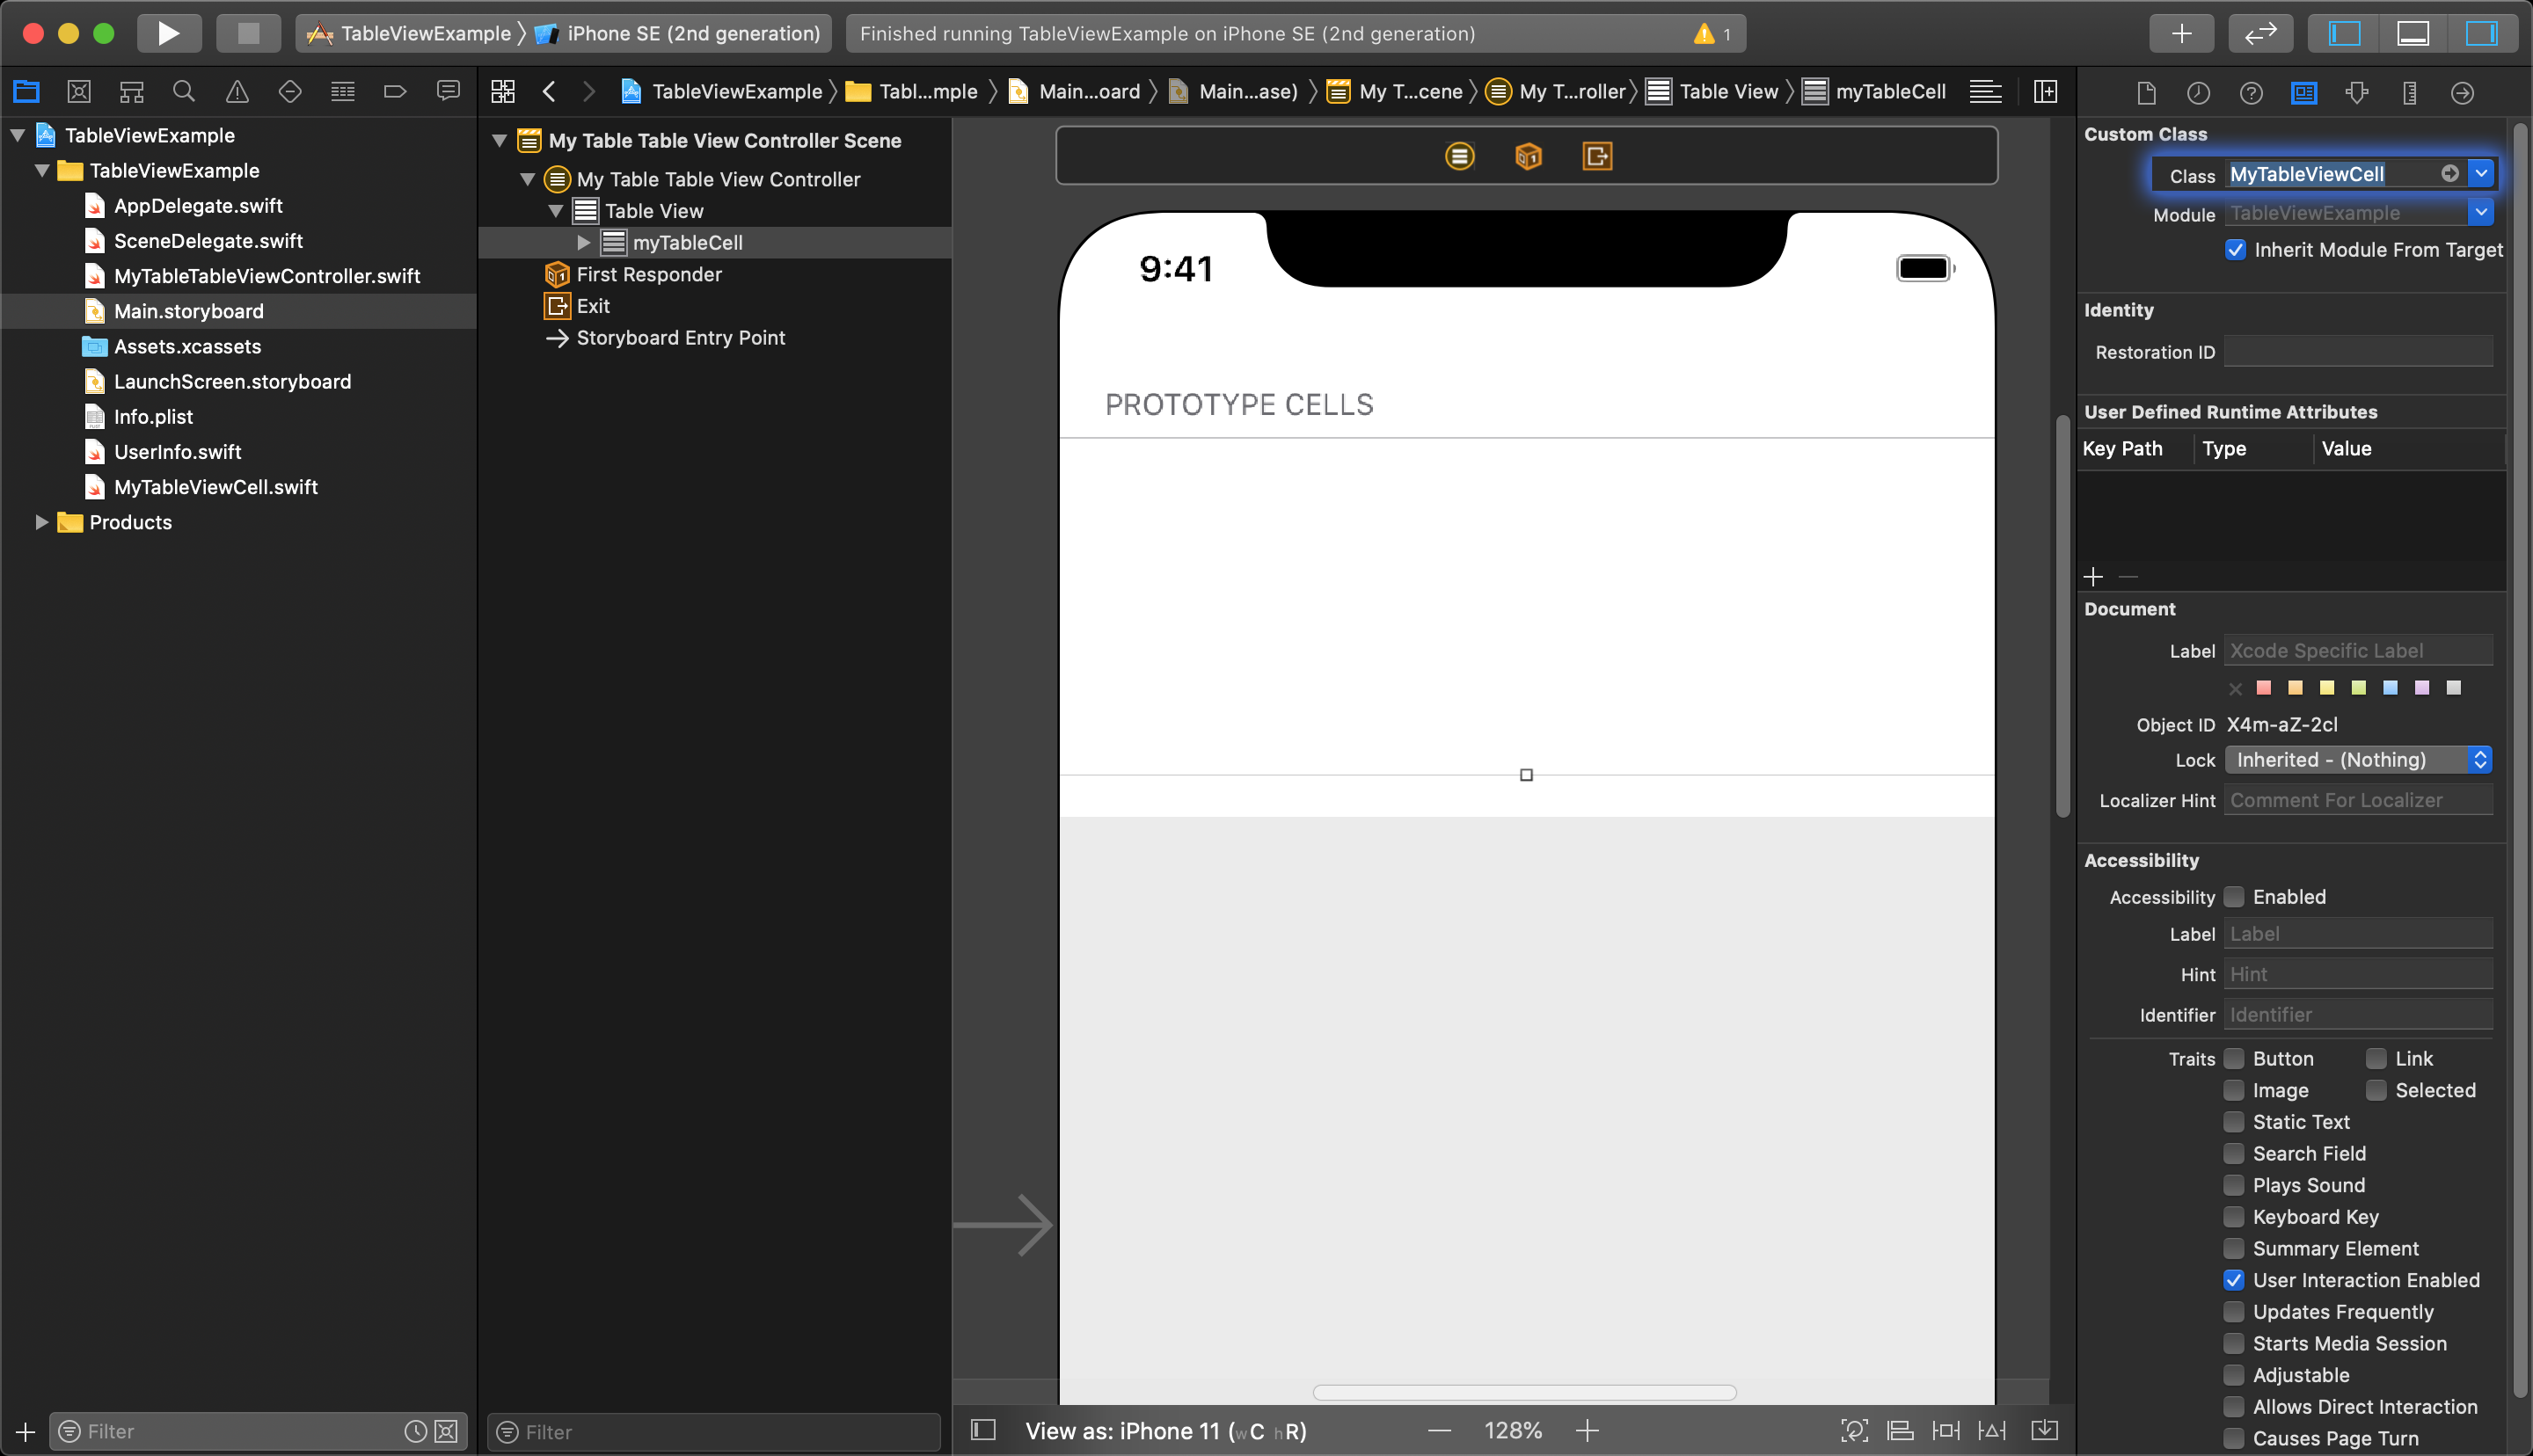
After your new file is created, open your storyboard and select you Prototype Cell again and open the Identity Inspector to set the Custom Class of the prototype so it uses your new tableViewCell class.
Add a Layout
Now, in your storyboard you can add UI elements to the Prototype Cell by simply dragging in new UI objects from the Object Library.
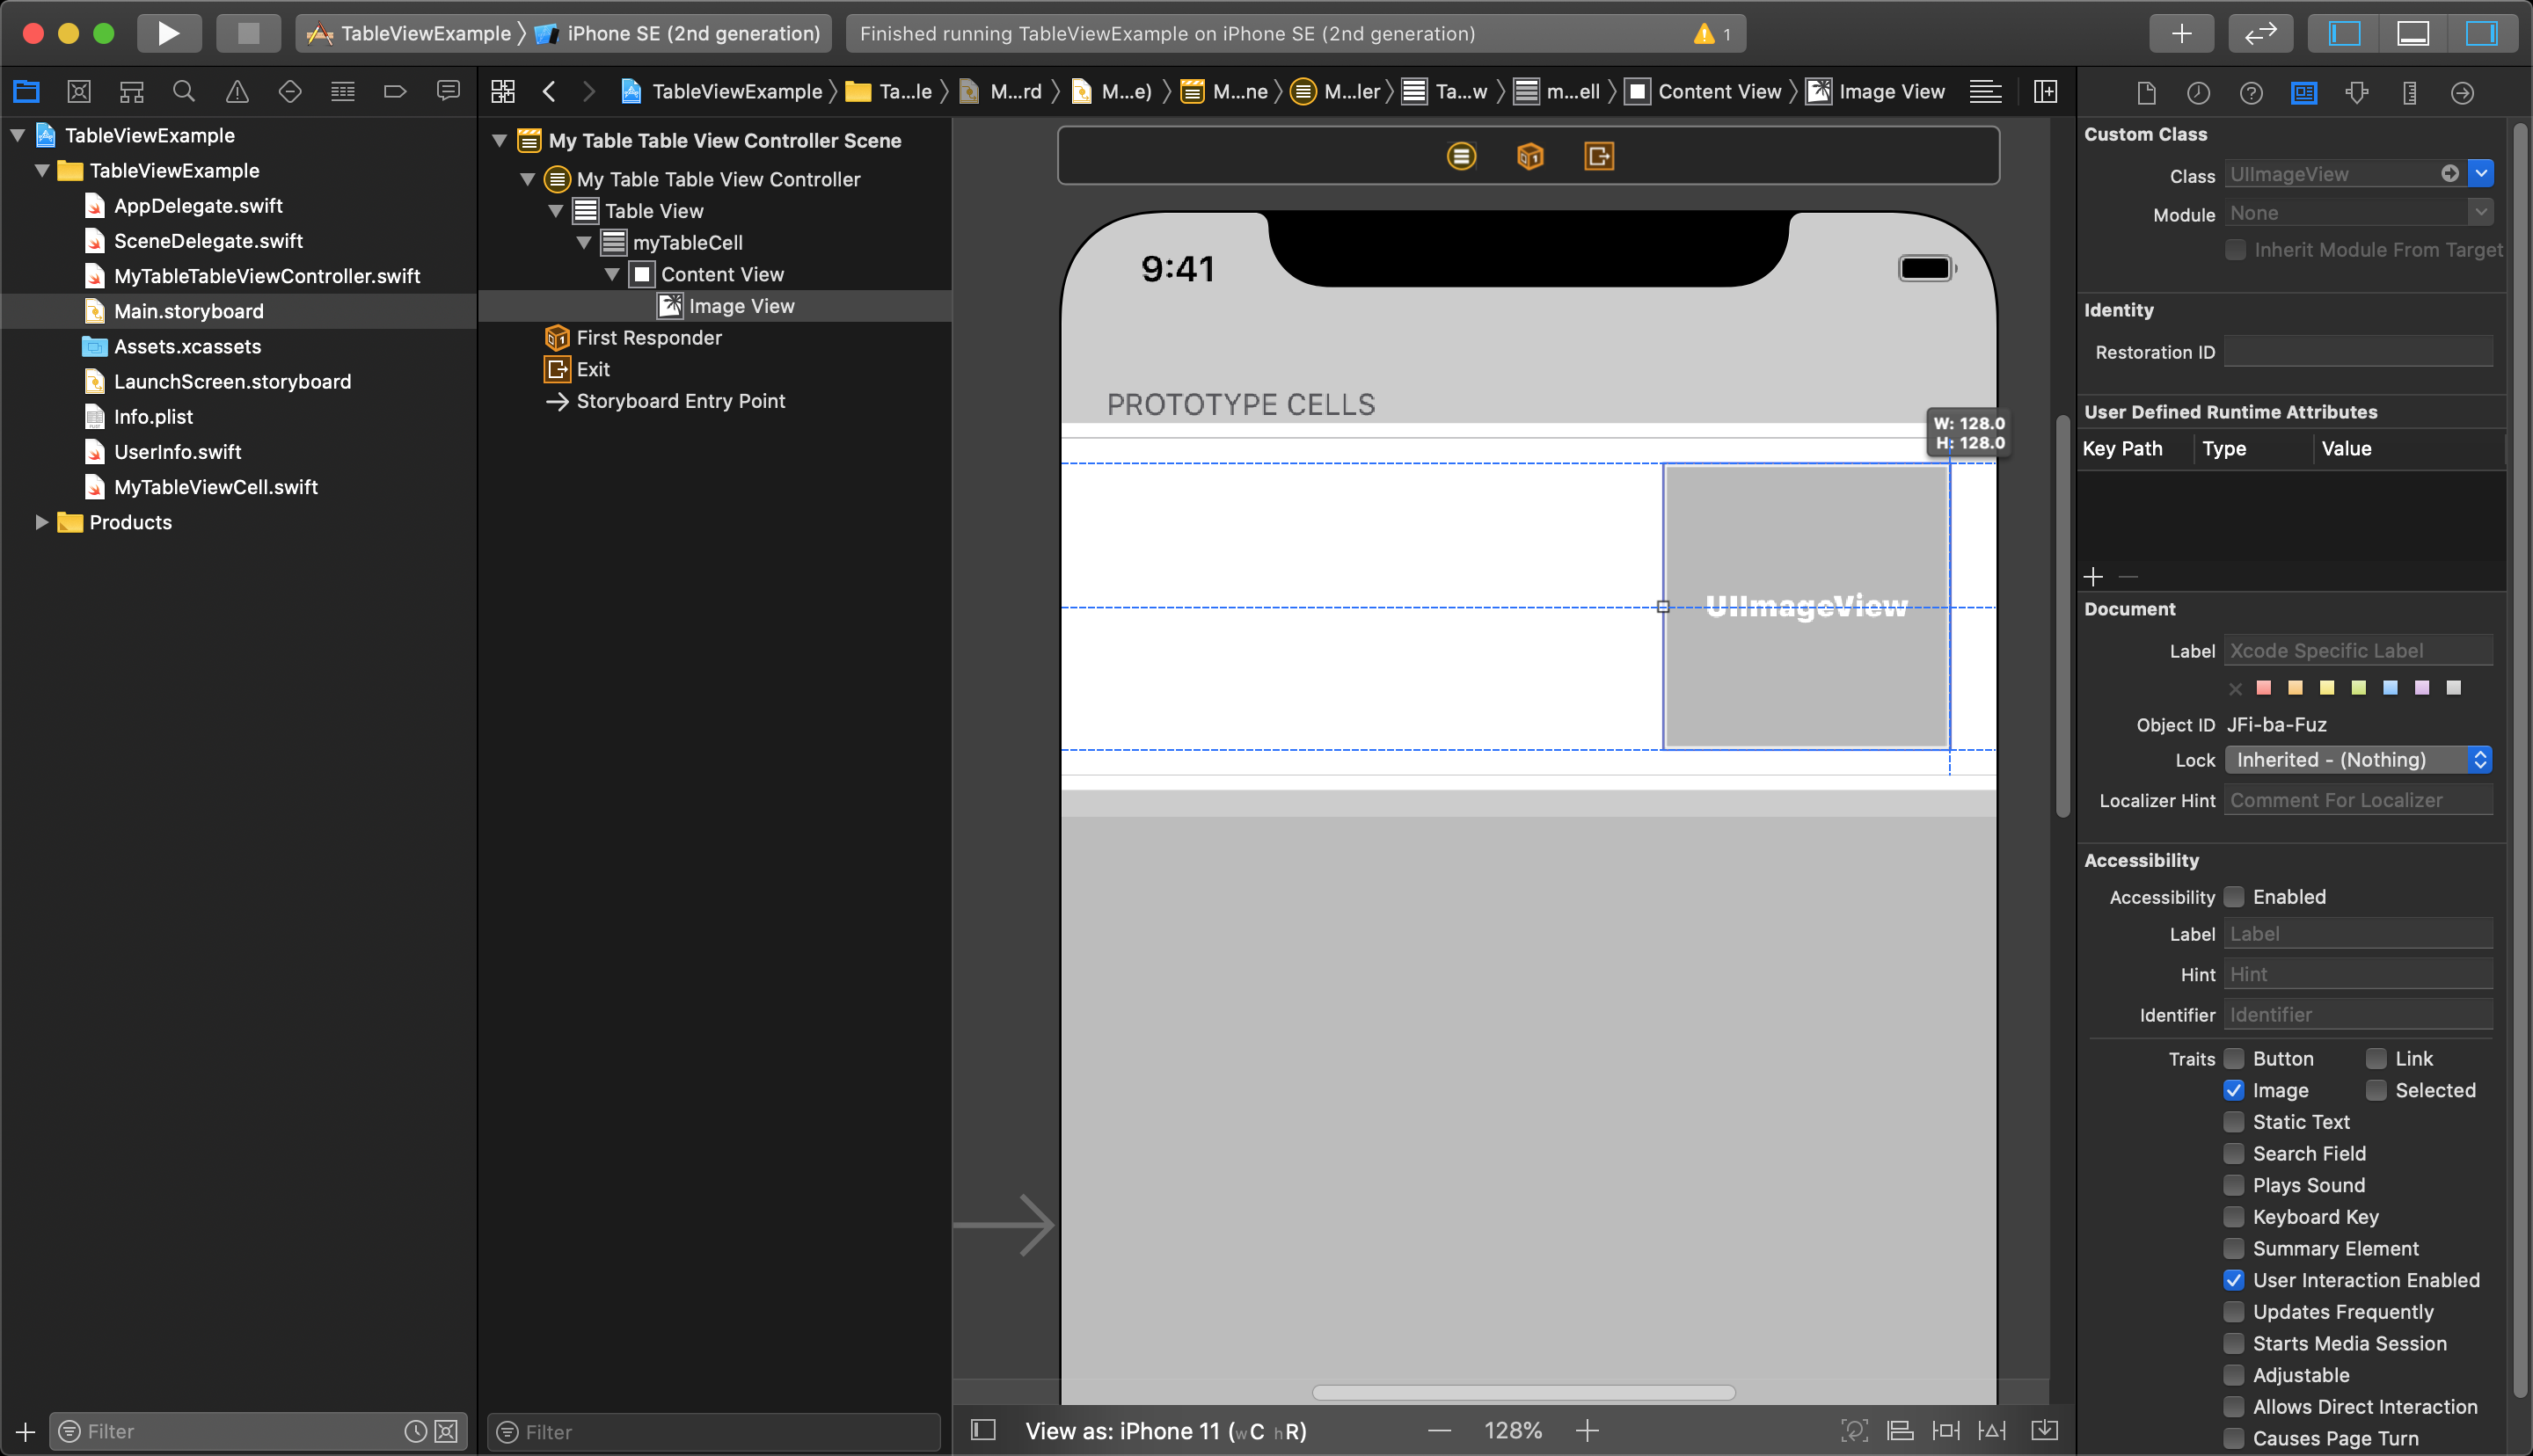
You can add what ever UI elements you want within reason, but remember that adding interactive UI objects (such as buttons, switches, etc.) can complicate the functionality of your tableViewCells.

Next, open the an additional screen in the Editor so you can see your custom tableViewController class beside your storyboard.
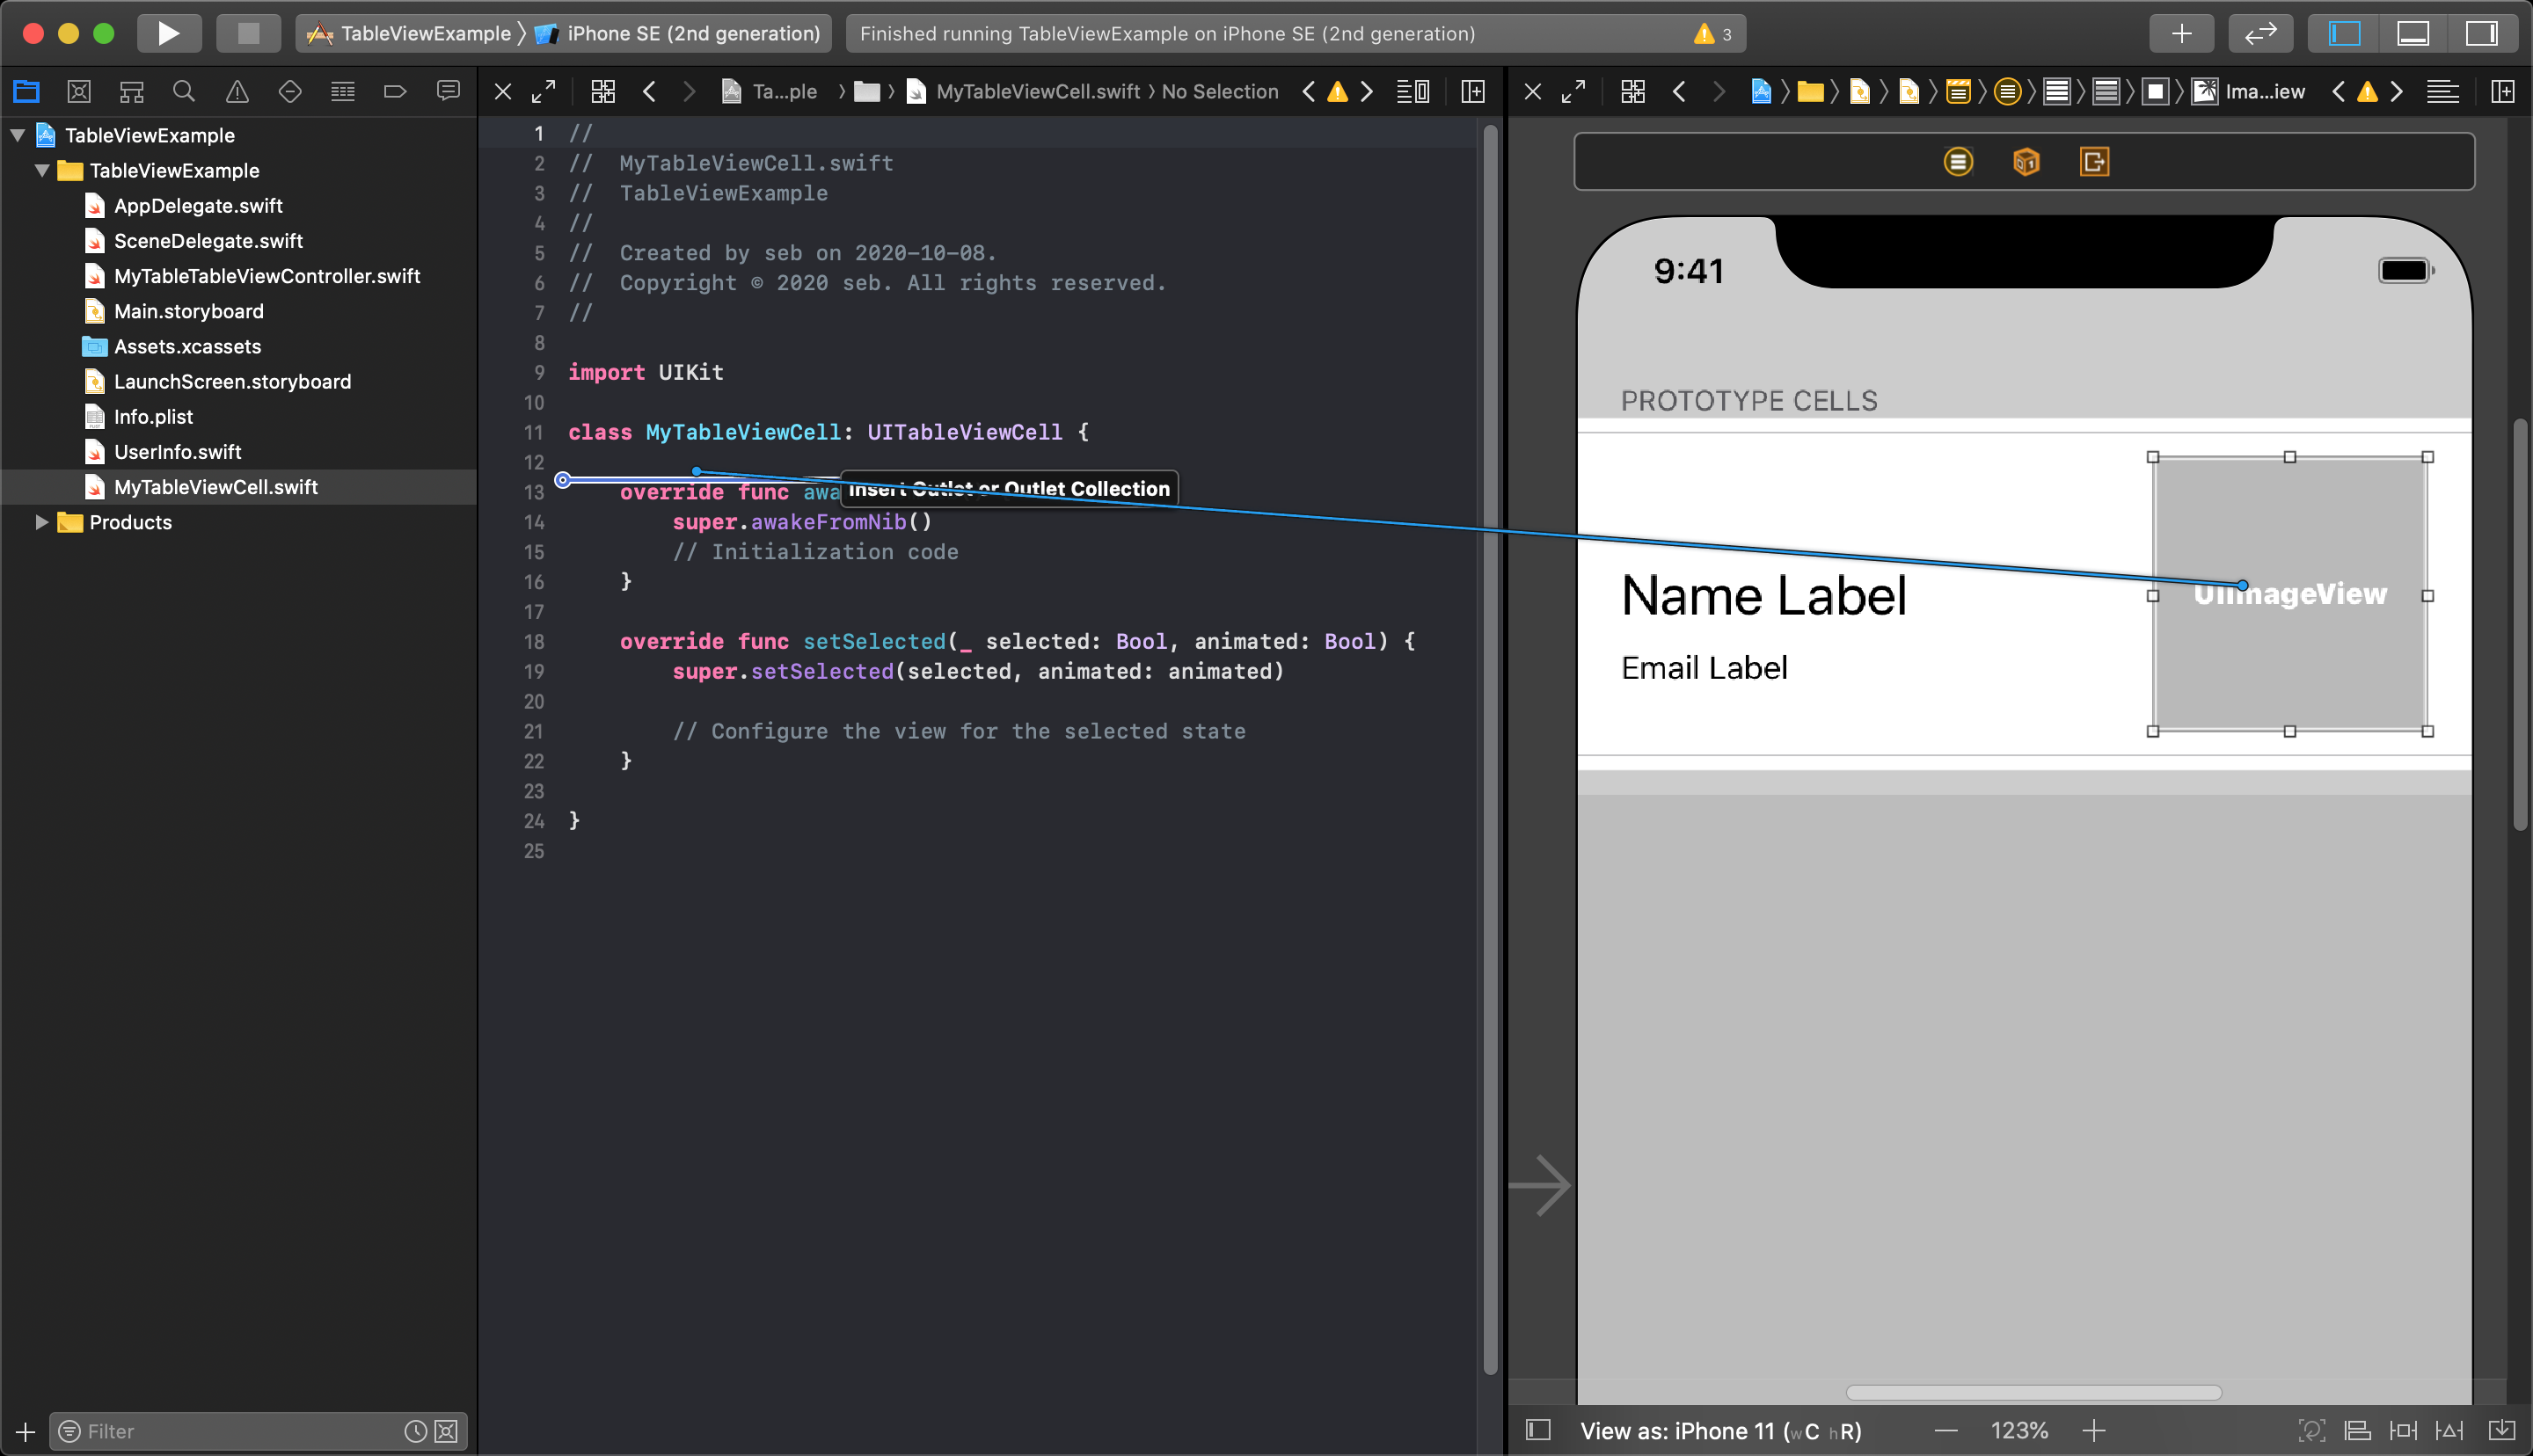
All you need to do in your custom class is make your IBOutlets, and each cell will gain the same layout from this customized Prototype Cell.

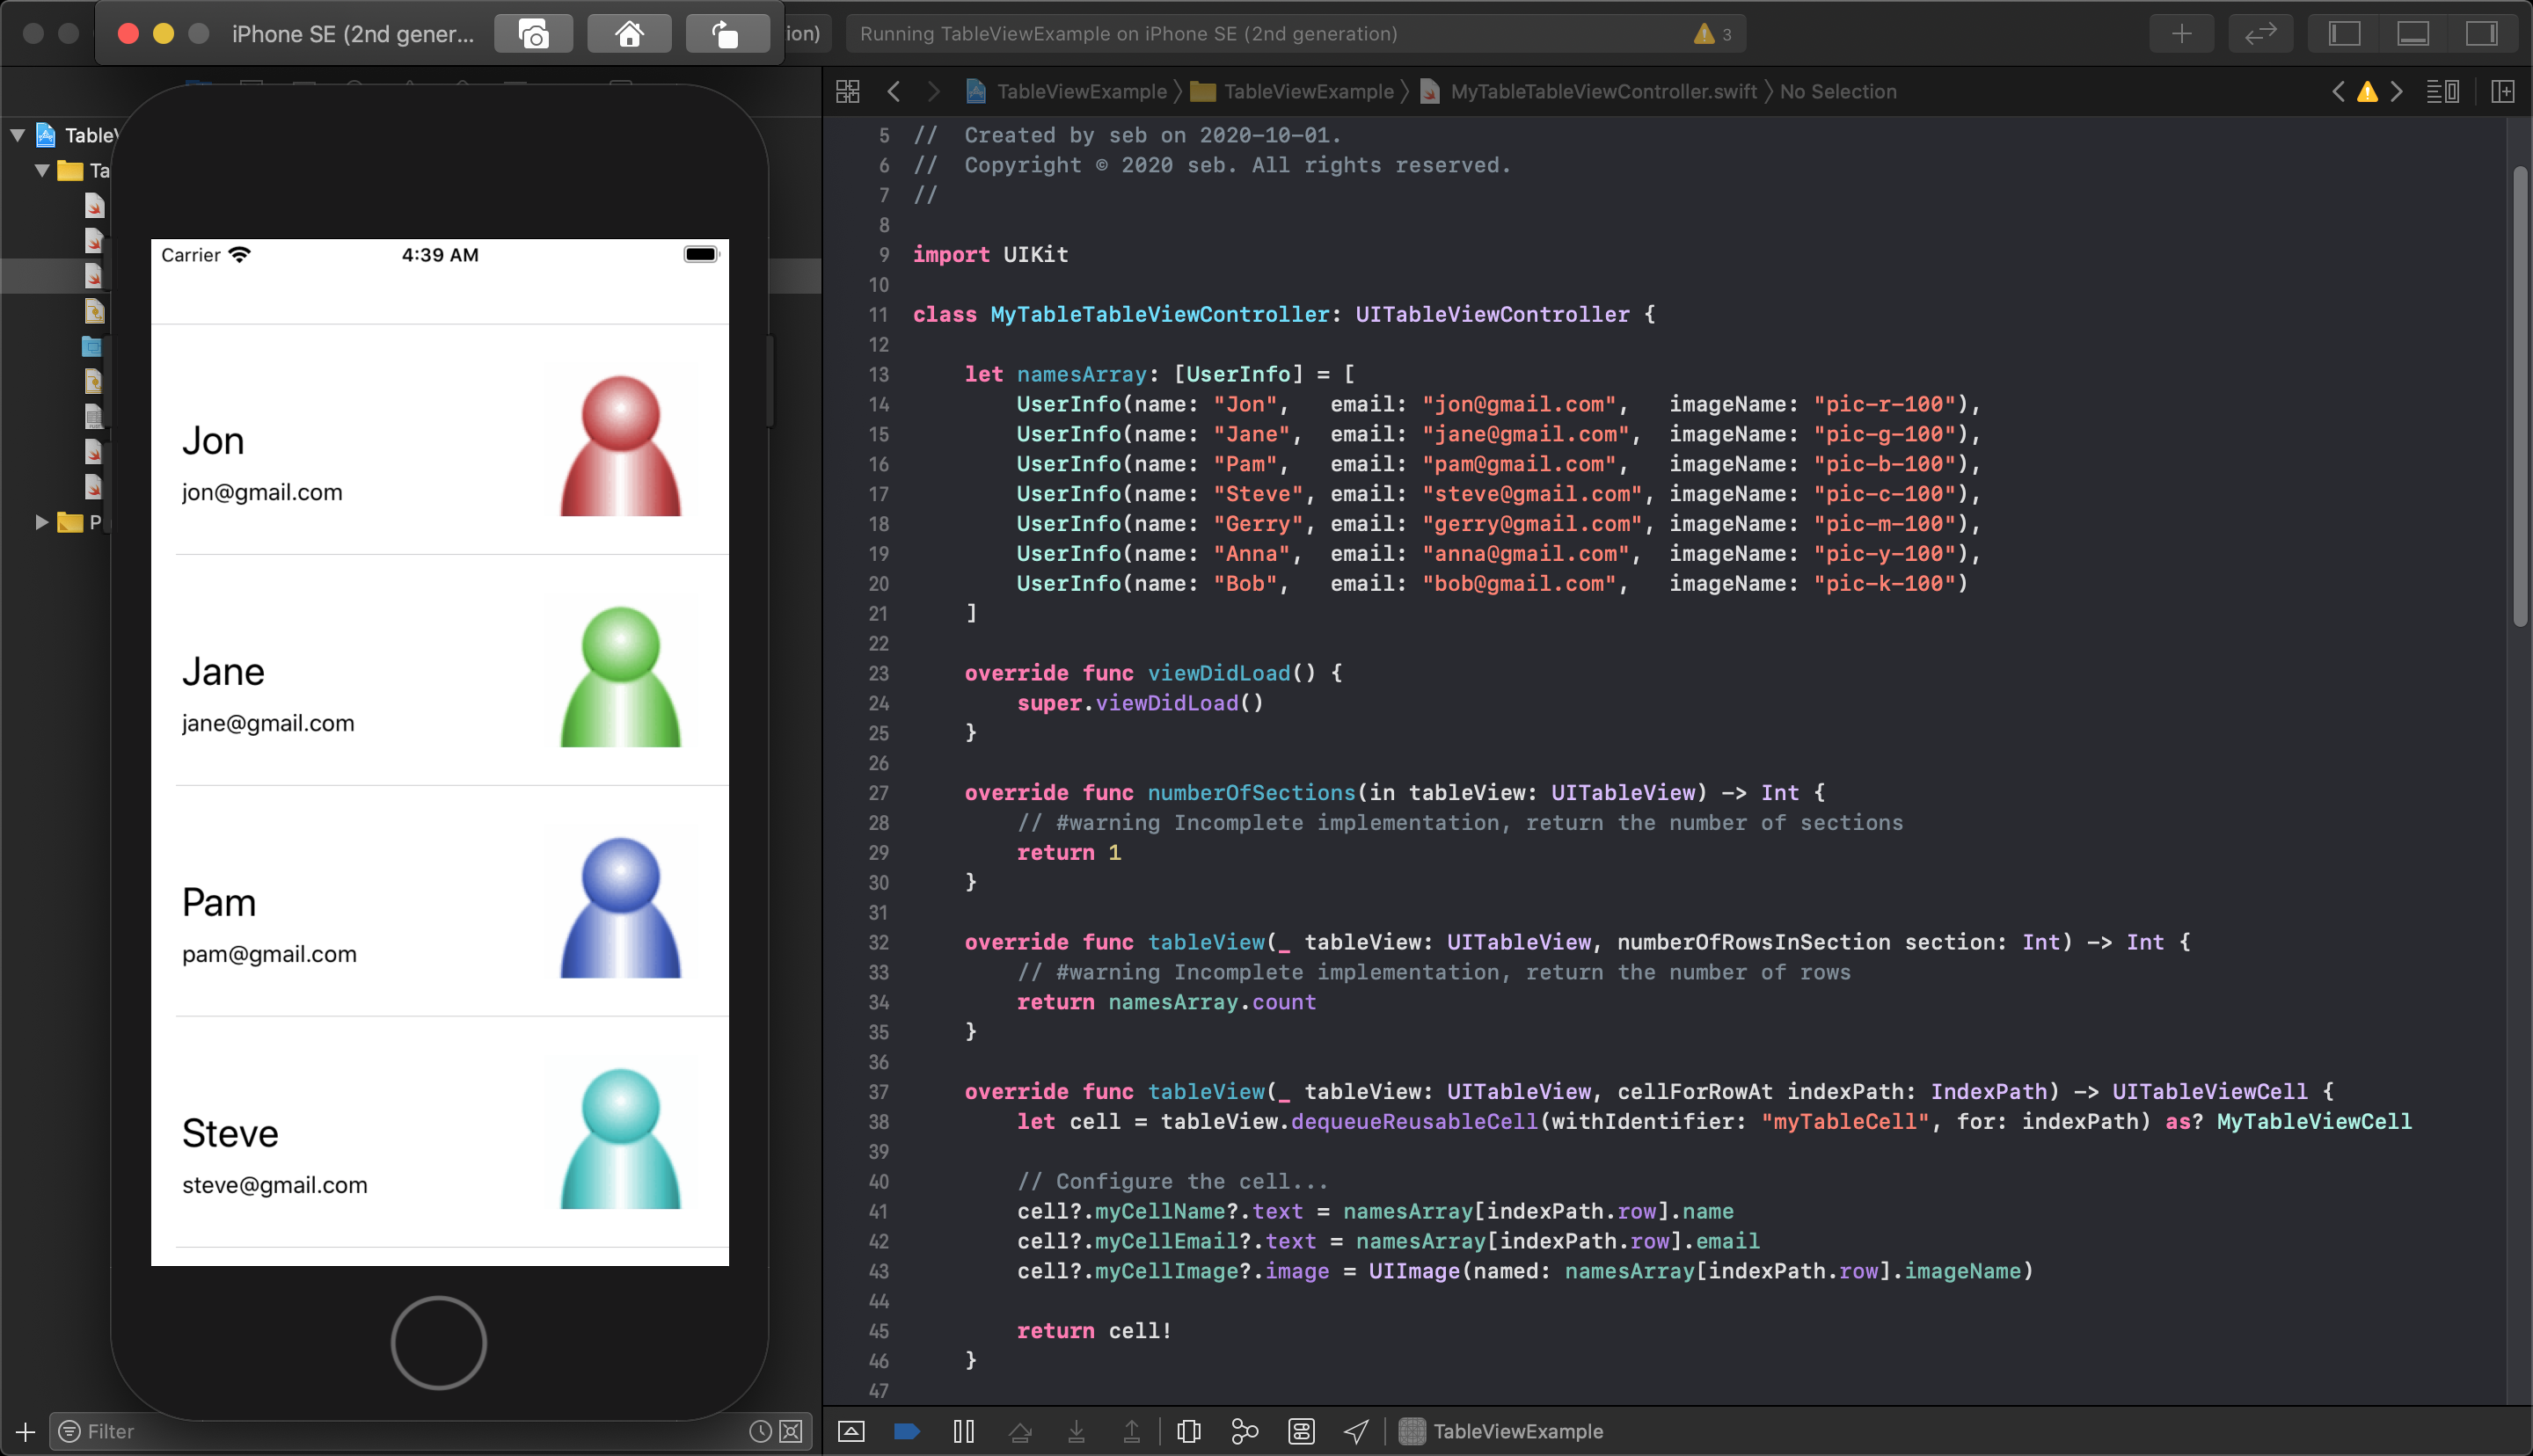
Now, in your main TableViewController file, each time you dequeue a tableViewCell it will have the outlet properties you connected into your custom class. The cell must have these new property values set to display your information.
NOTE
When using your own custom UITableViewCell class you must cast the cell returned from the tableView.dequeueReusableCell(withIdentifyer: String, for: IndexPath) function using as? YourTableViewCell class name. This creates an optional copy of the dequeued cell so you must also unwrap the cell when you return it from the tableView function.
You must also use the IBOutlet variable names from your custom TableViewCell when setting up each cell.
Changing the Cell Height in Code
At this point the application will run and show your custom TableViewCell layout with your chosen cell height. If you select your TableView object, and in the Size Inspector turn the Cell Height back to Automatic the prototype cell will shrink back down in the storyboard. When the application is run, the tableView will automatically choose a hight automatically based on the contents of each cell. This can be useful if your content can very in size.
But, if you wish to set the cell heights programmatically you can set the height of each cell when they are being created. You could use this to set some cells to one height and others to a different height.
This is done with another tableView function you must add to your tableViewController class. This function is called tableView(tableView, heightForRowAt indexPath)->CGFloat.
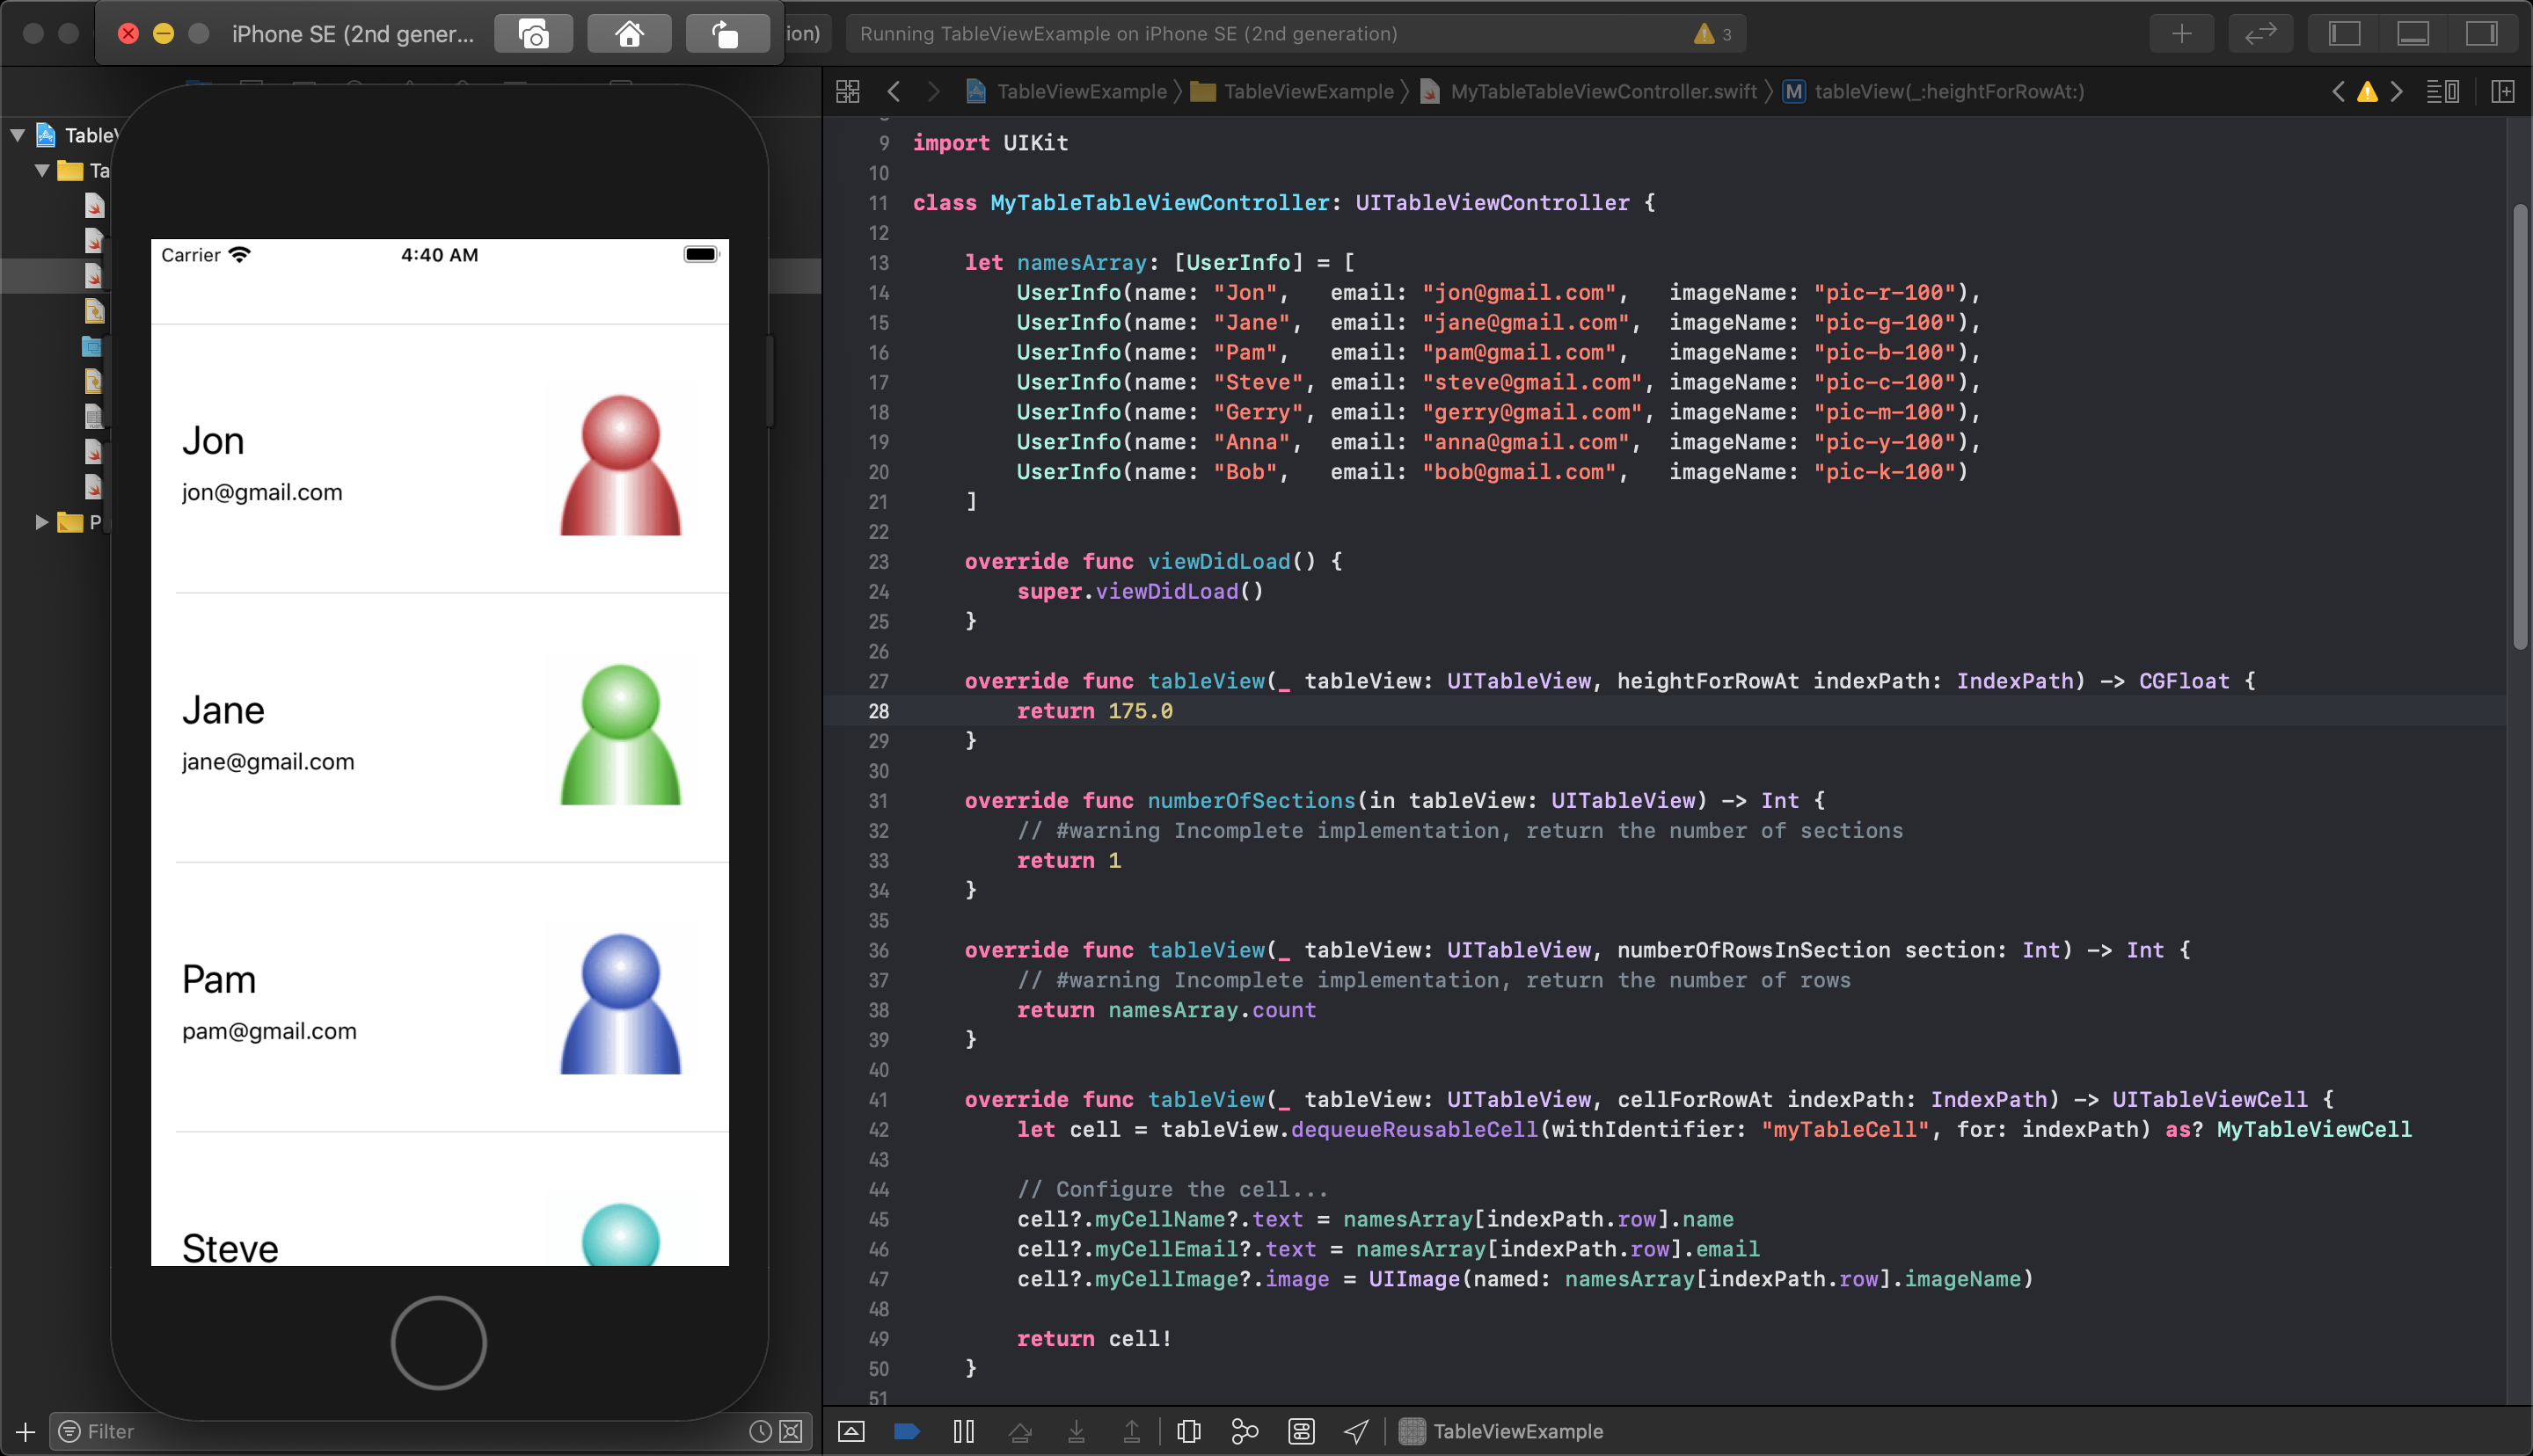
This function requires you to return a float that sets the cell height - in this case, 150 was used for the cell height in the storyboard at the beginning. When we return 175 from this function and run the application again, the cells will all display at this new height.