Scroll View
A scroll view is a UI object that acts like a big canvas which displays a large area of content - more than will fit in a single view. This view can be any size (up to the size of its parent view) and lets the user swipe around the scroll view to move around the larger area in an interactive way.
With a scroll view, you must define the size of the overall scroll view within that view, and you decide on the size of the content area.
Adding a Scroll Sub-View
To add a scroll view to your viewController, first find the Scroll View object in the Object Library within Xcode.
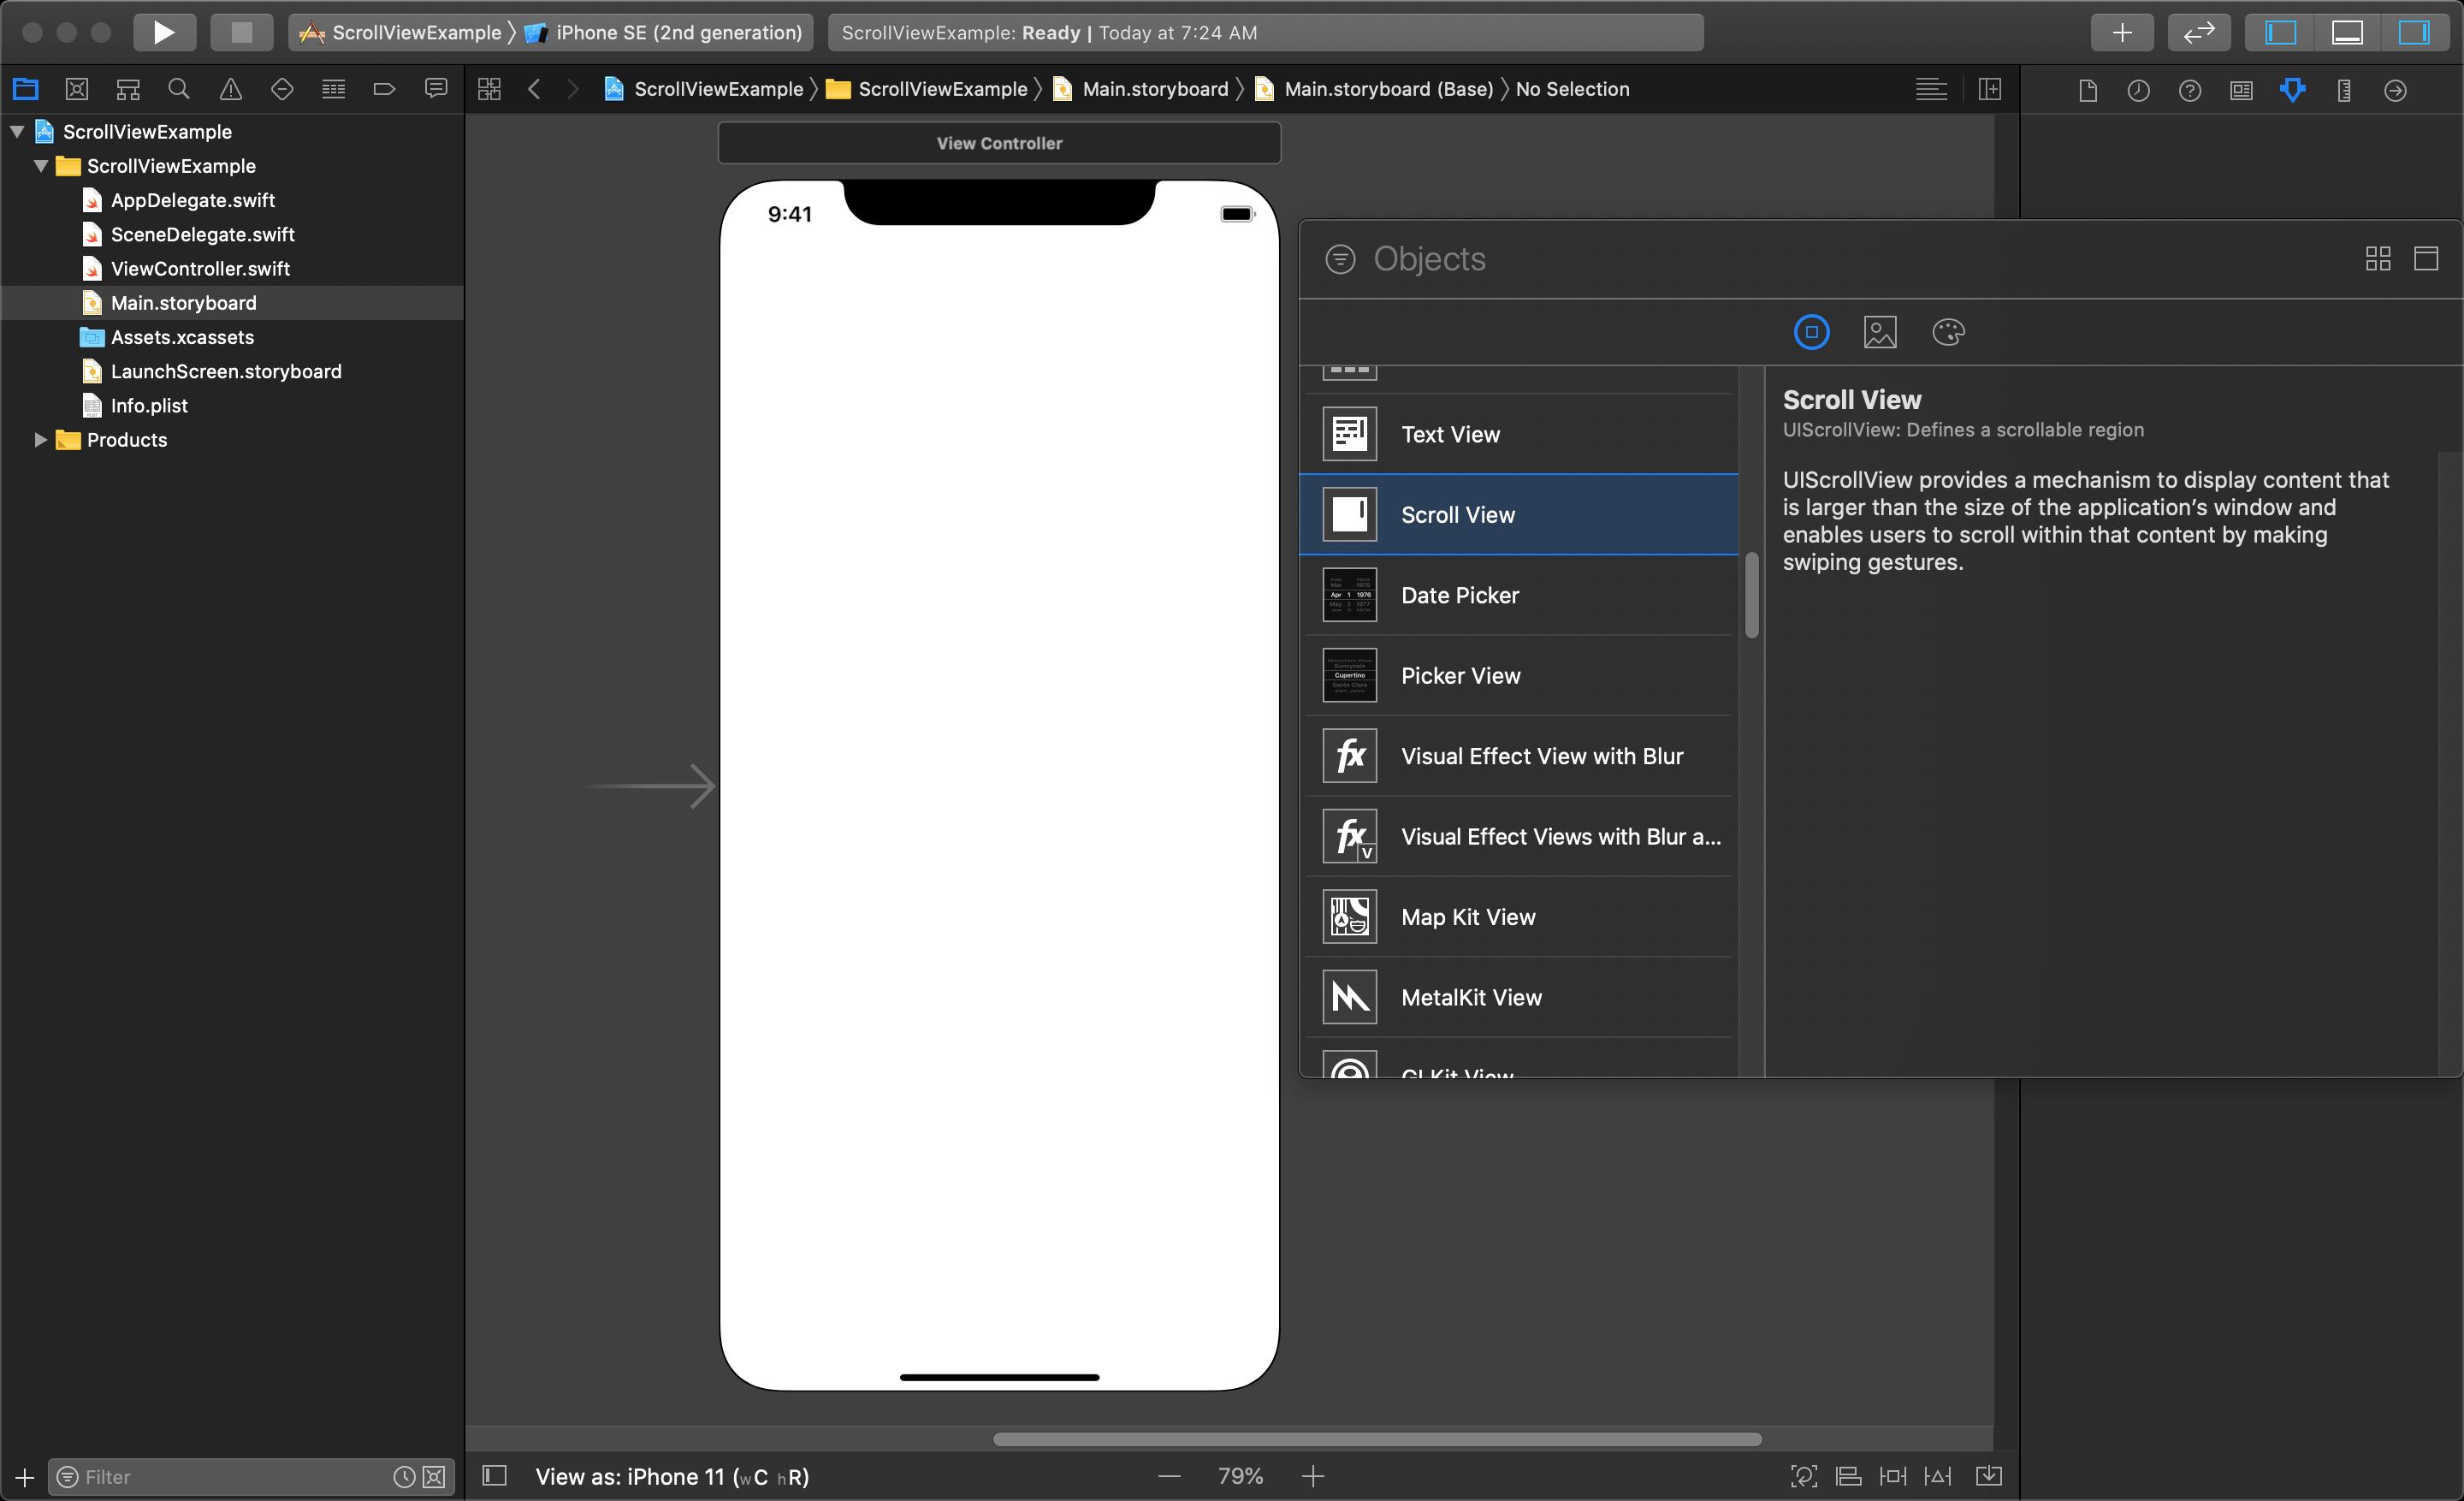
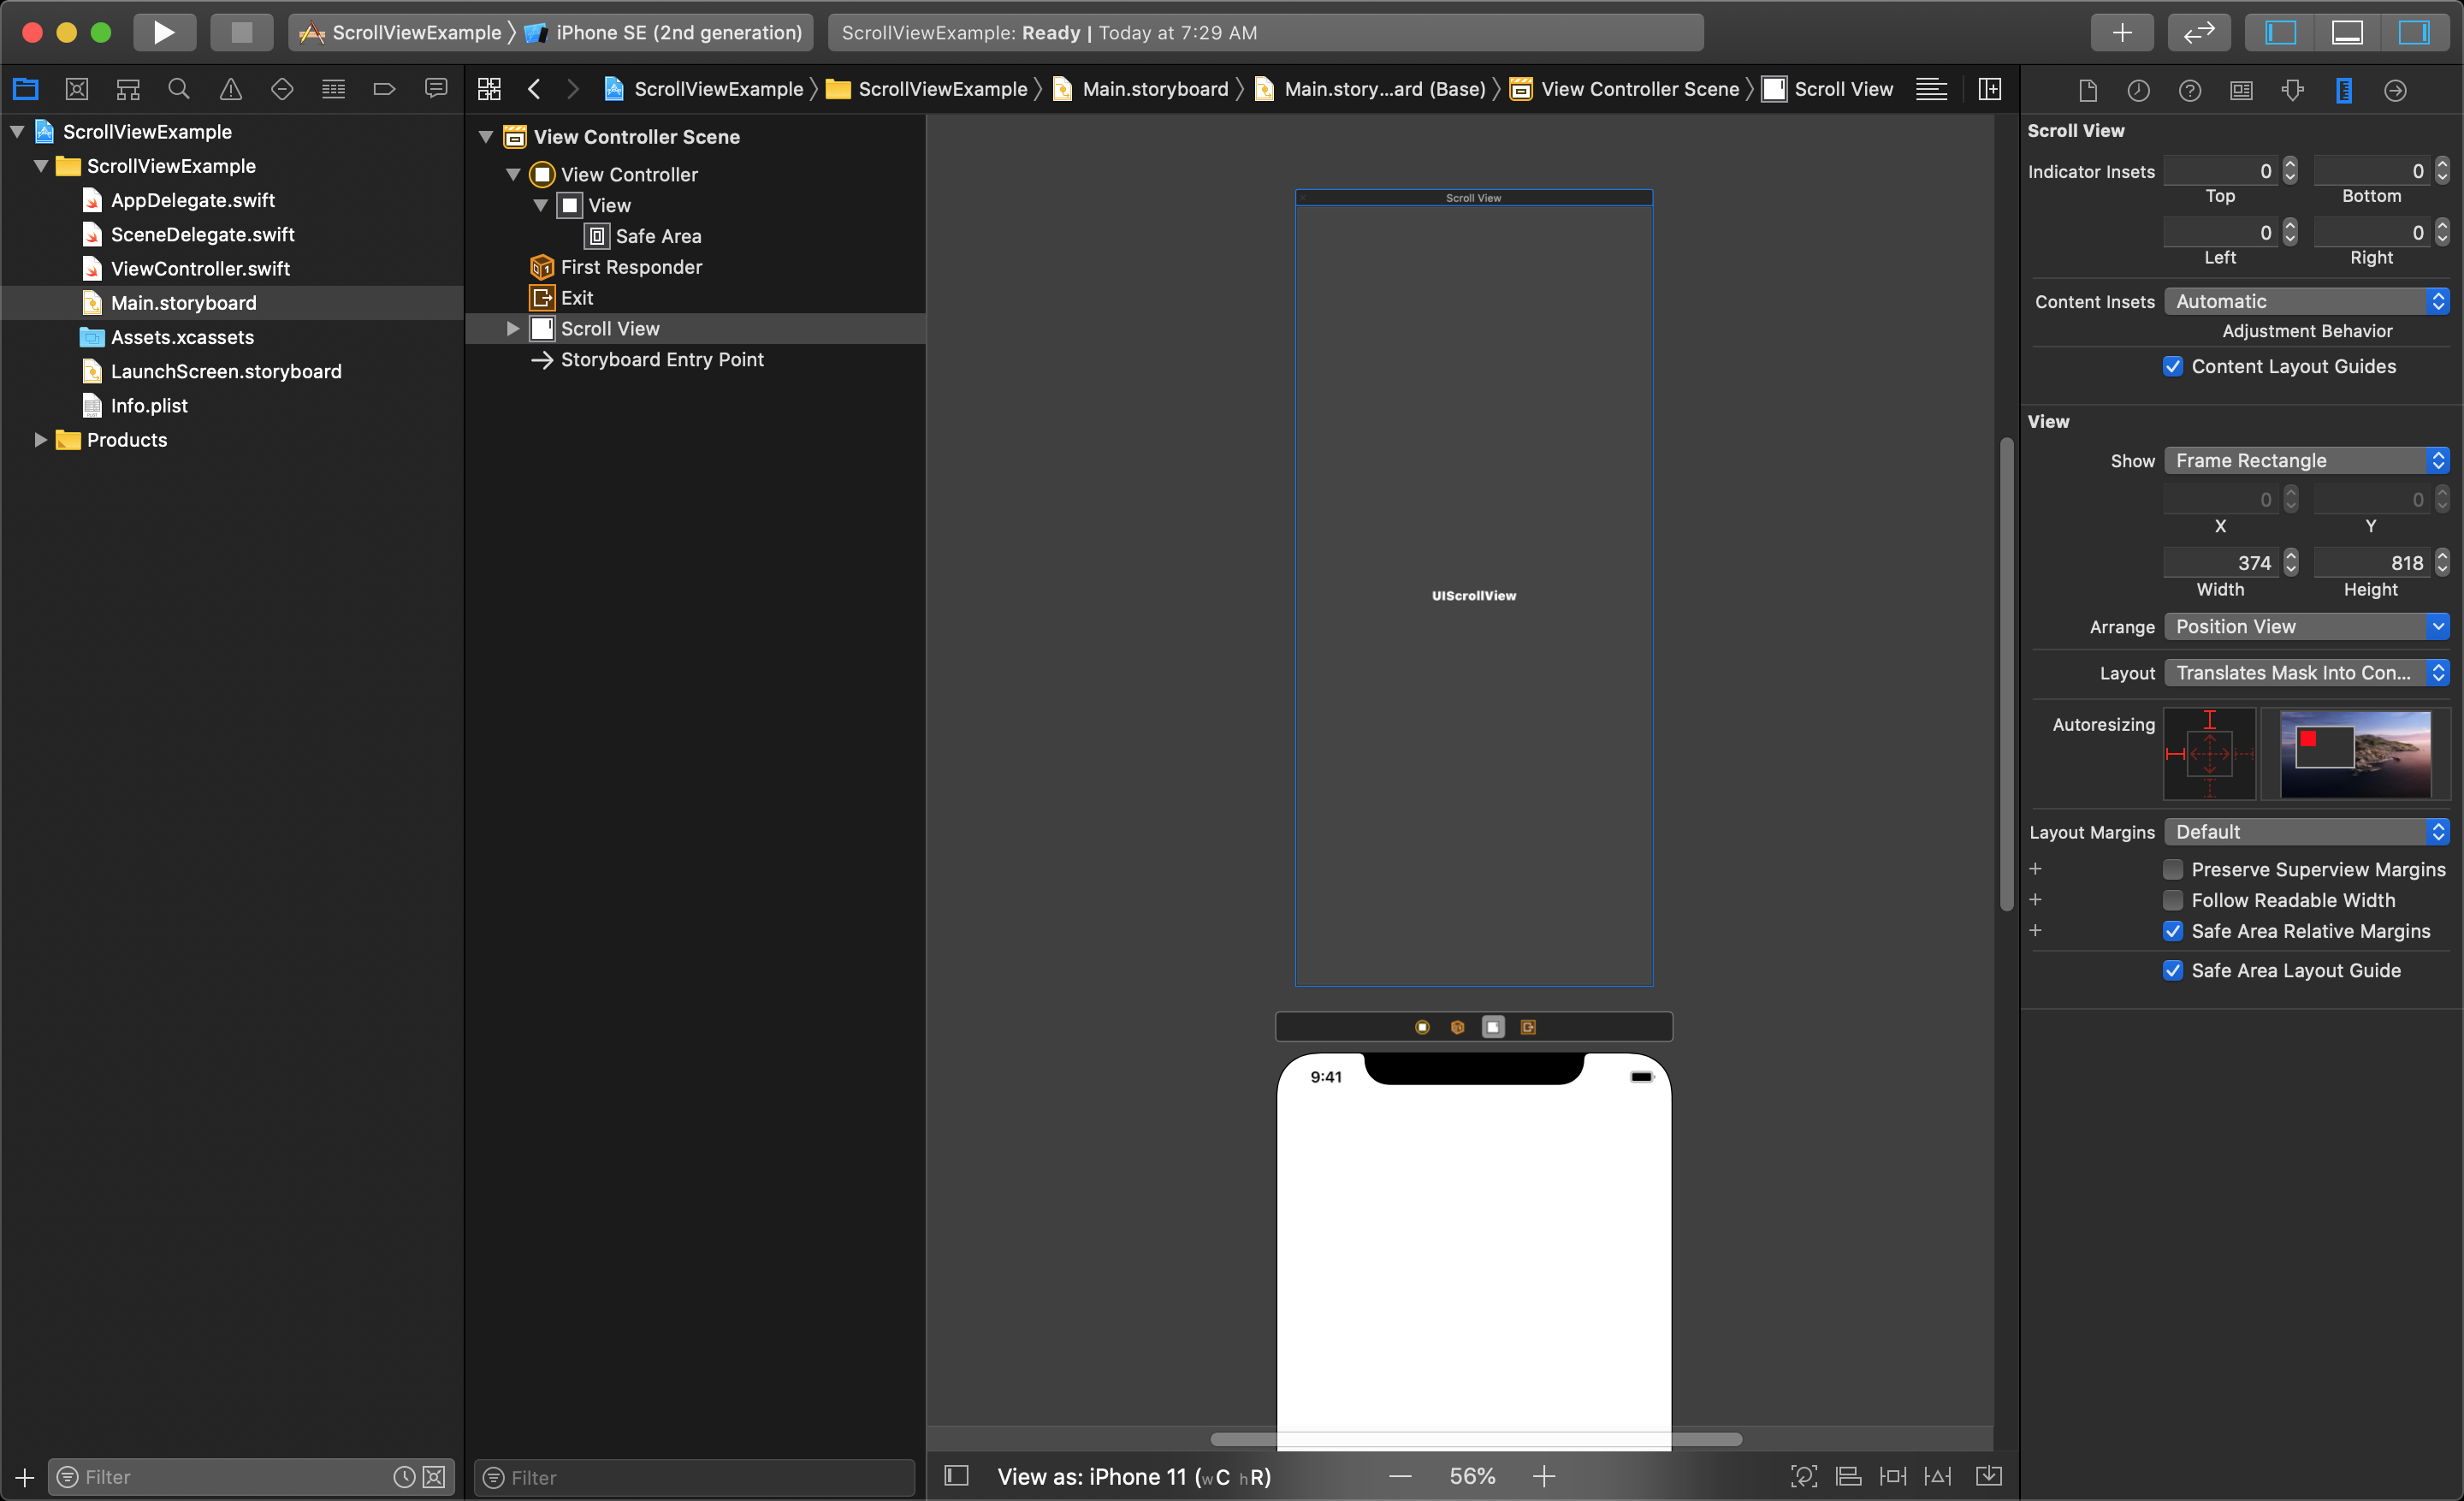
Dragging this into your view, you will see the scroll view is a small sub-view within the main view.
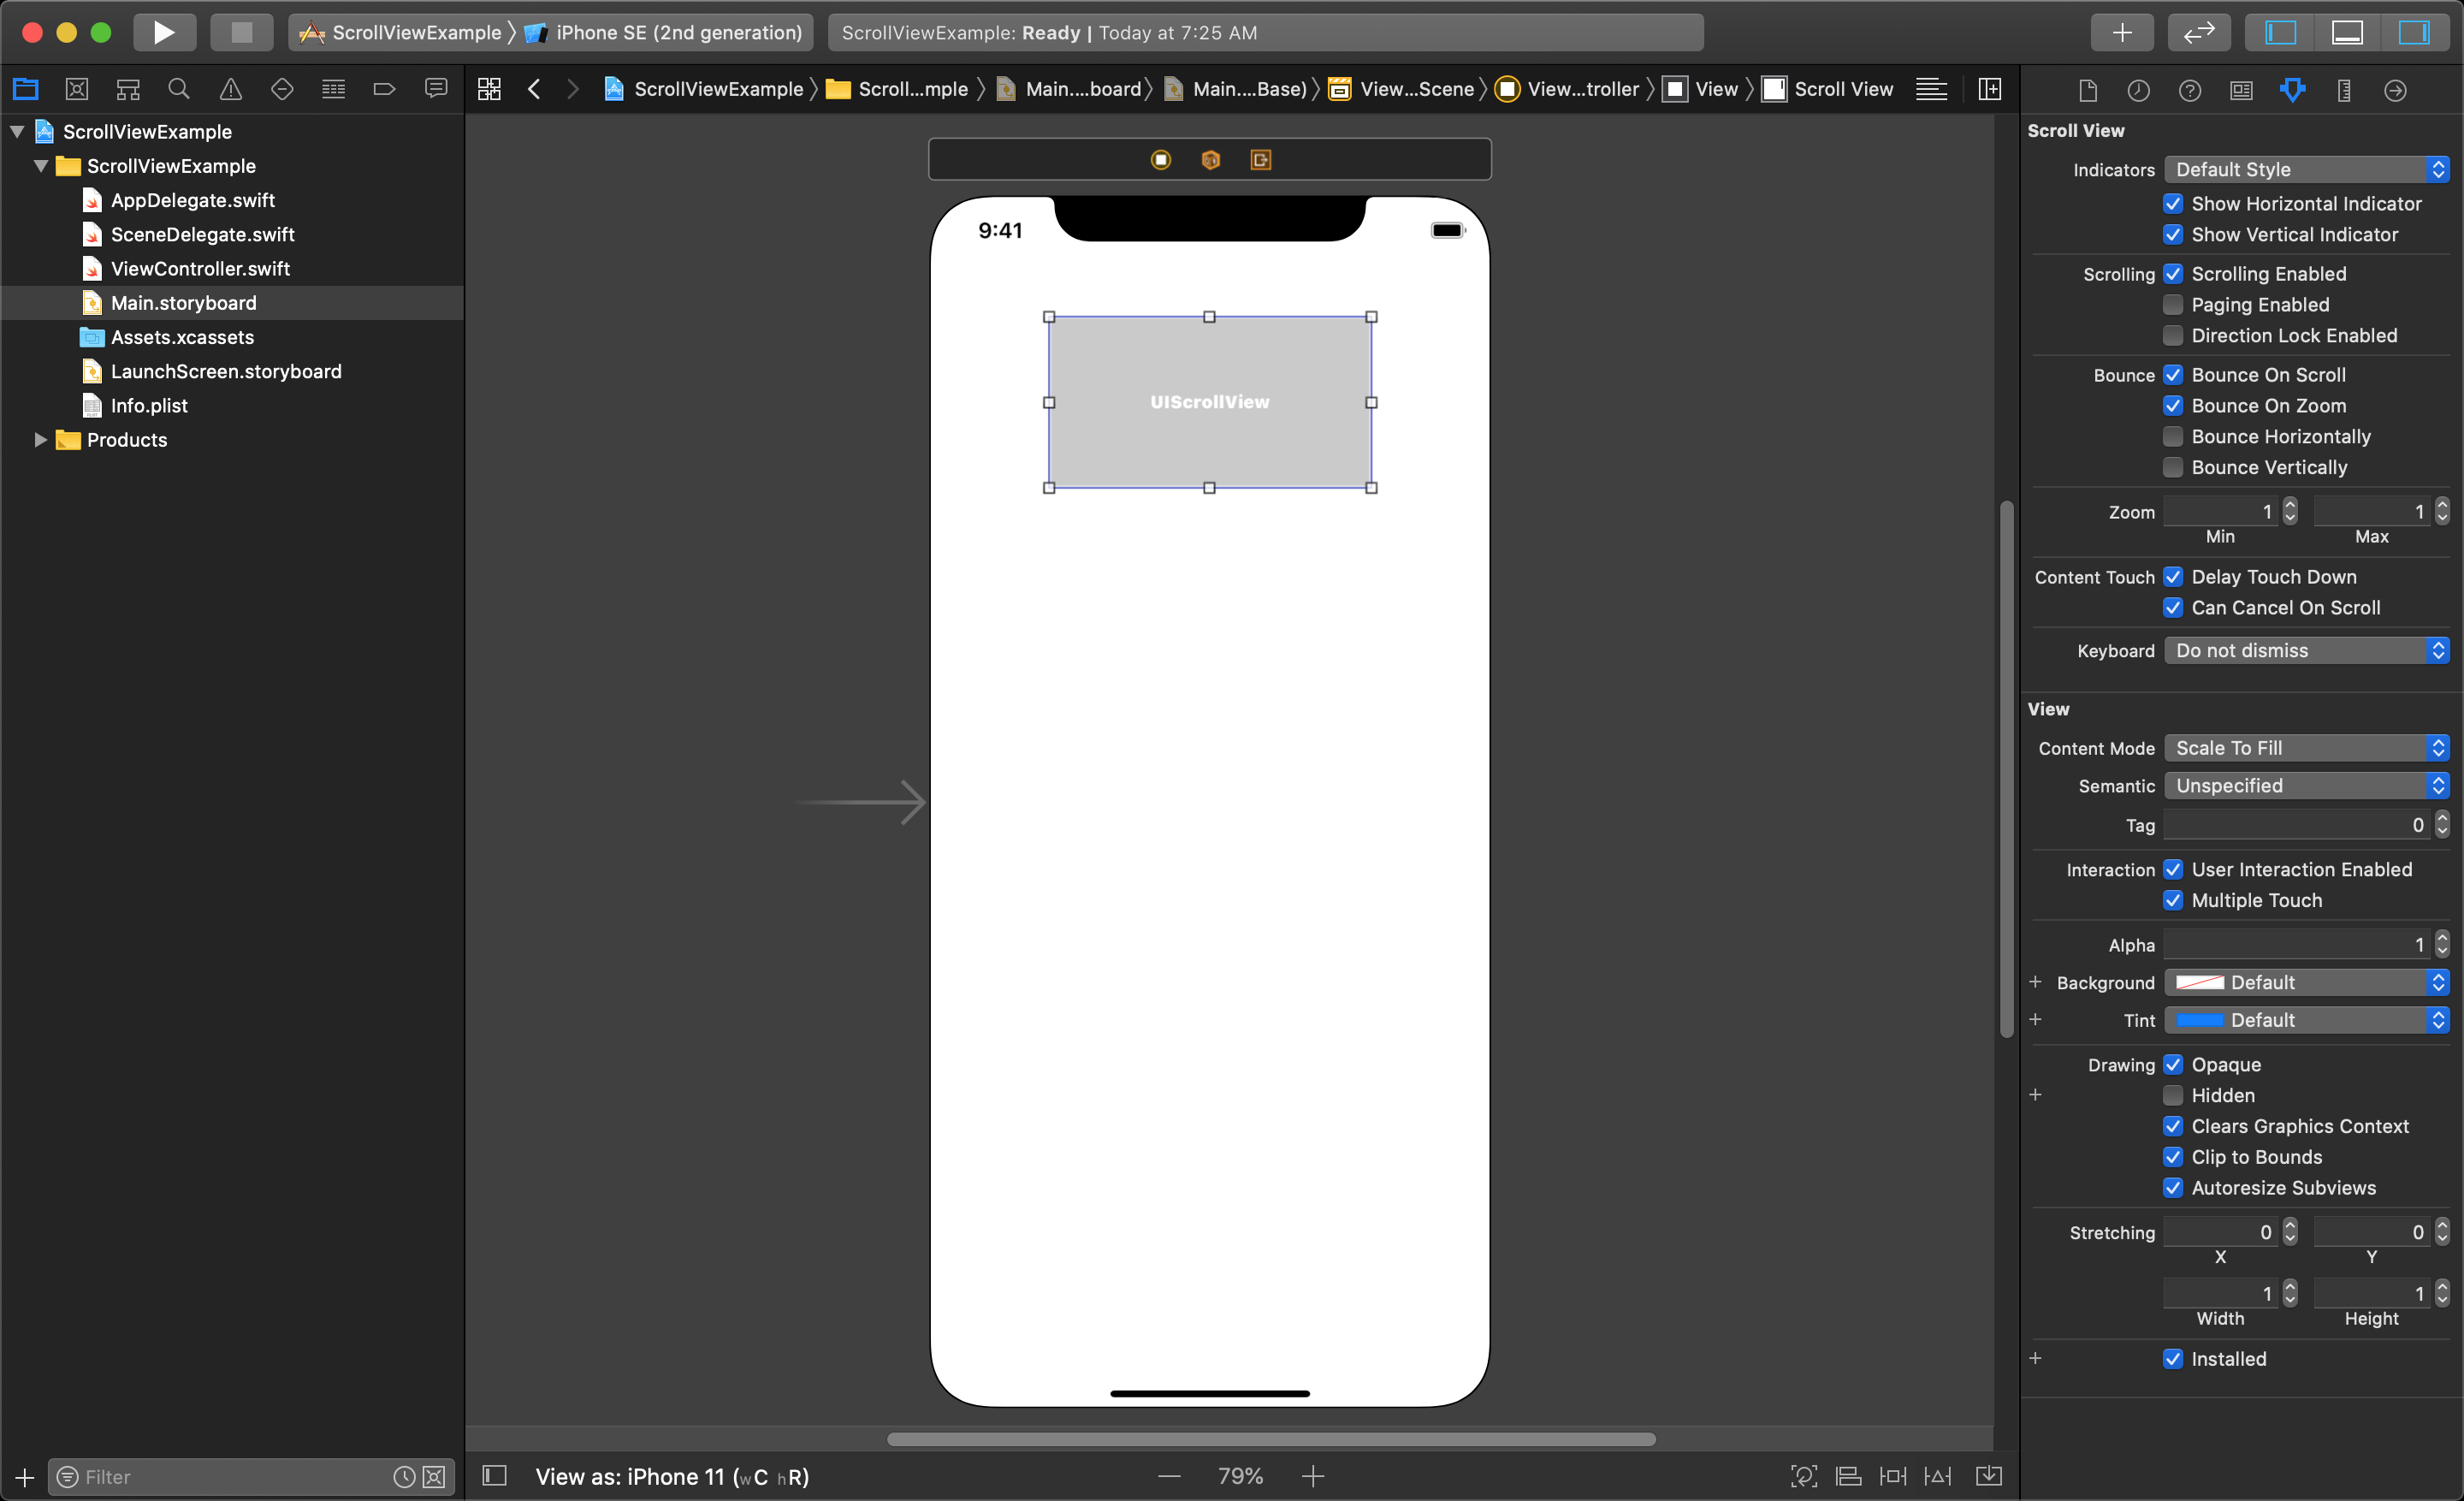
Now, stretch the scroll view to the size you would like. The example (shown below) will stretch the scroll view to the same size as the view it was placed in (its parent view).
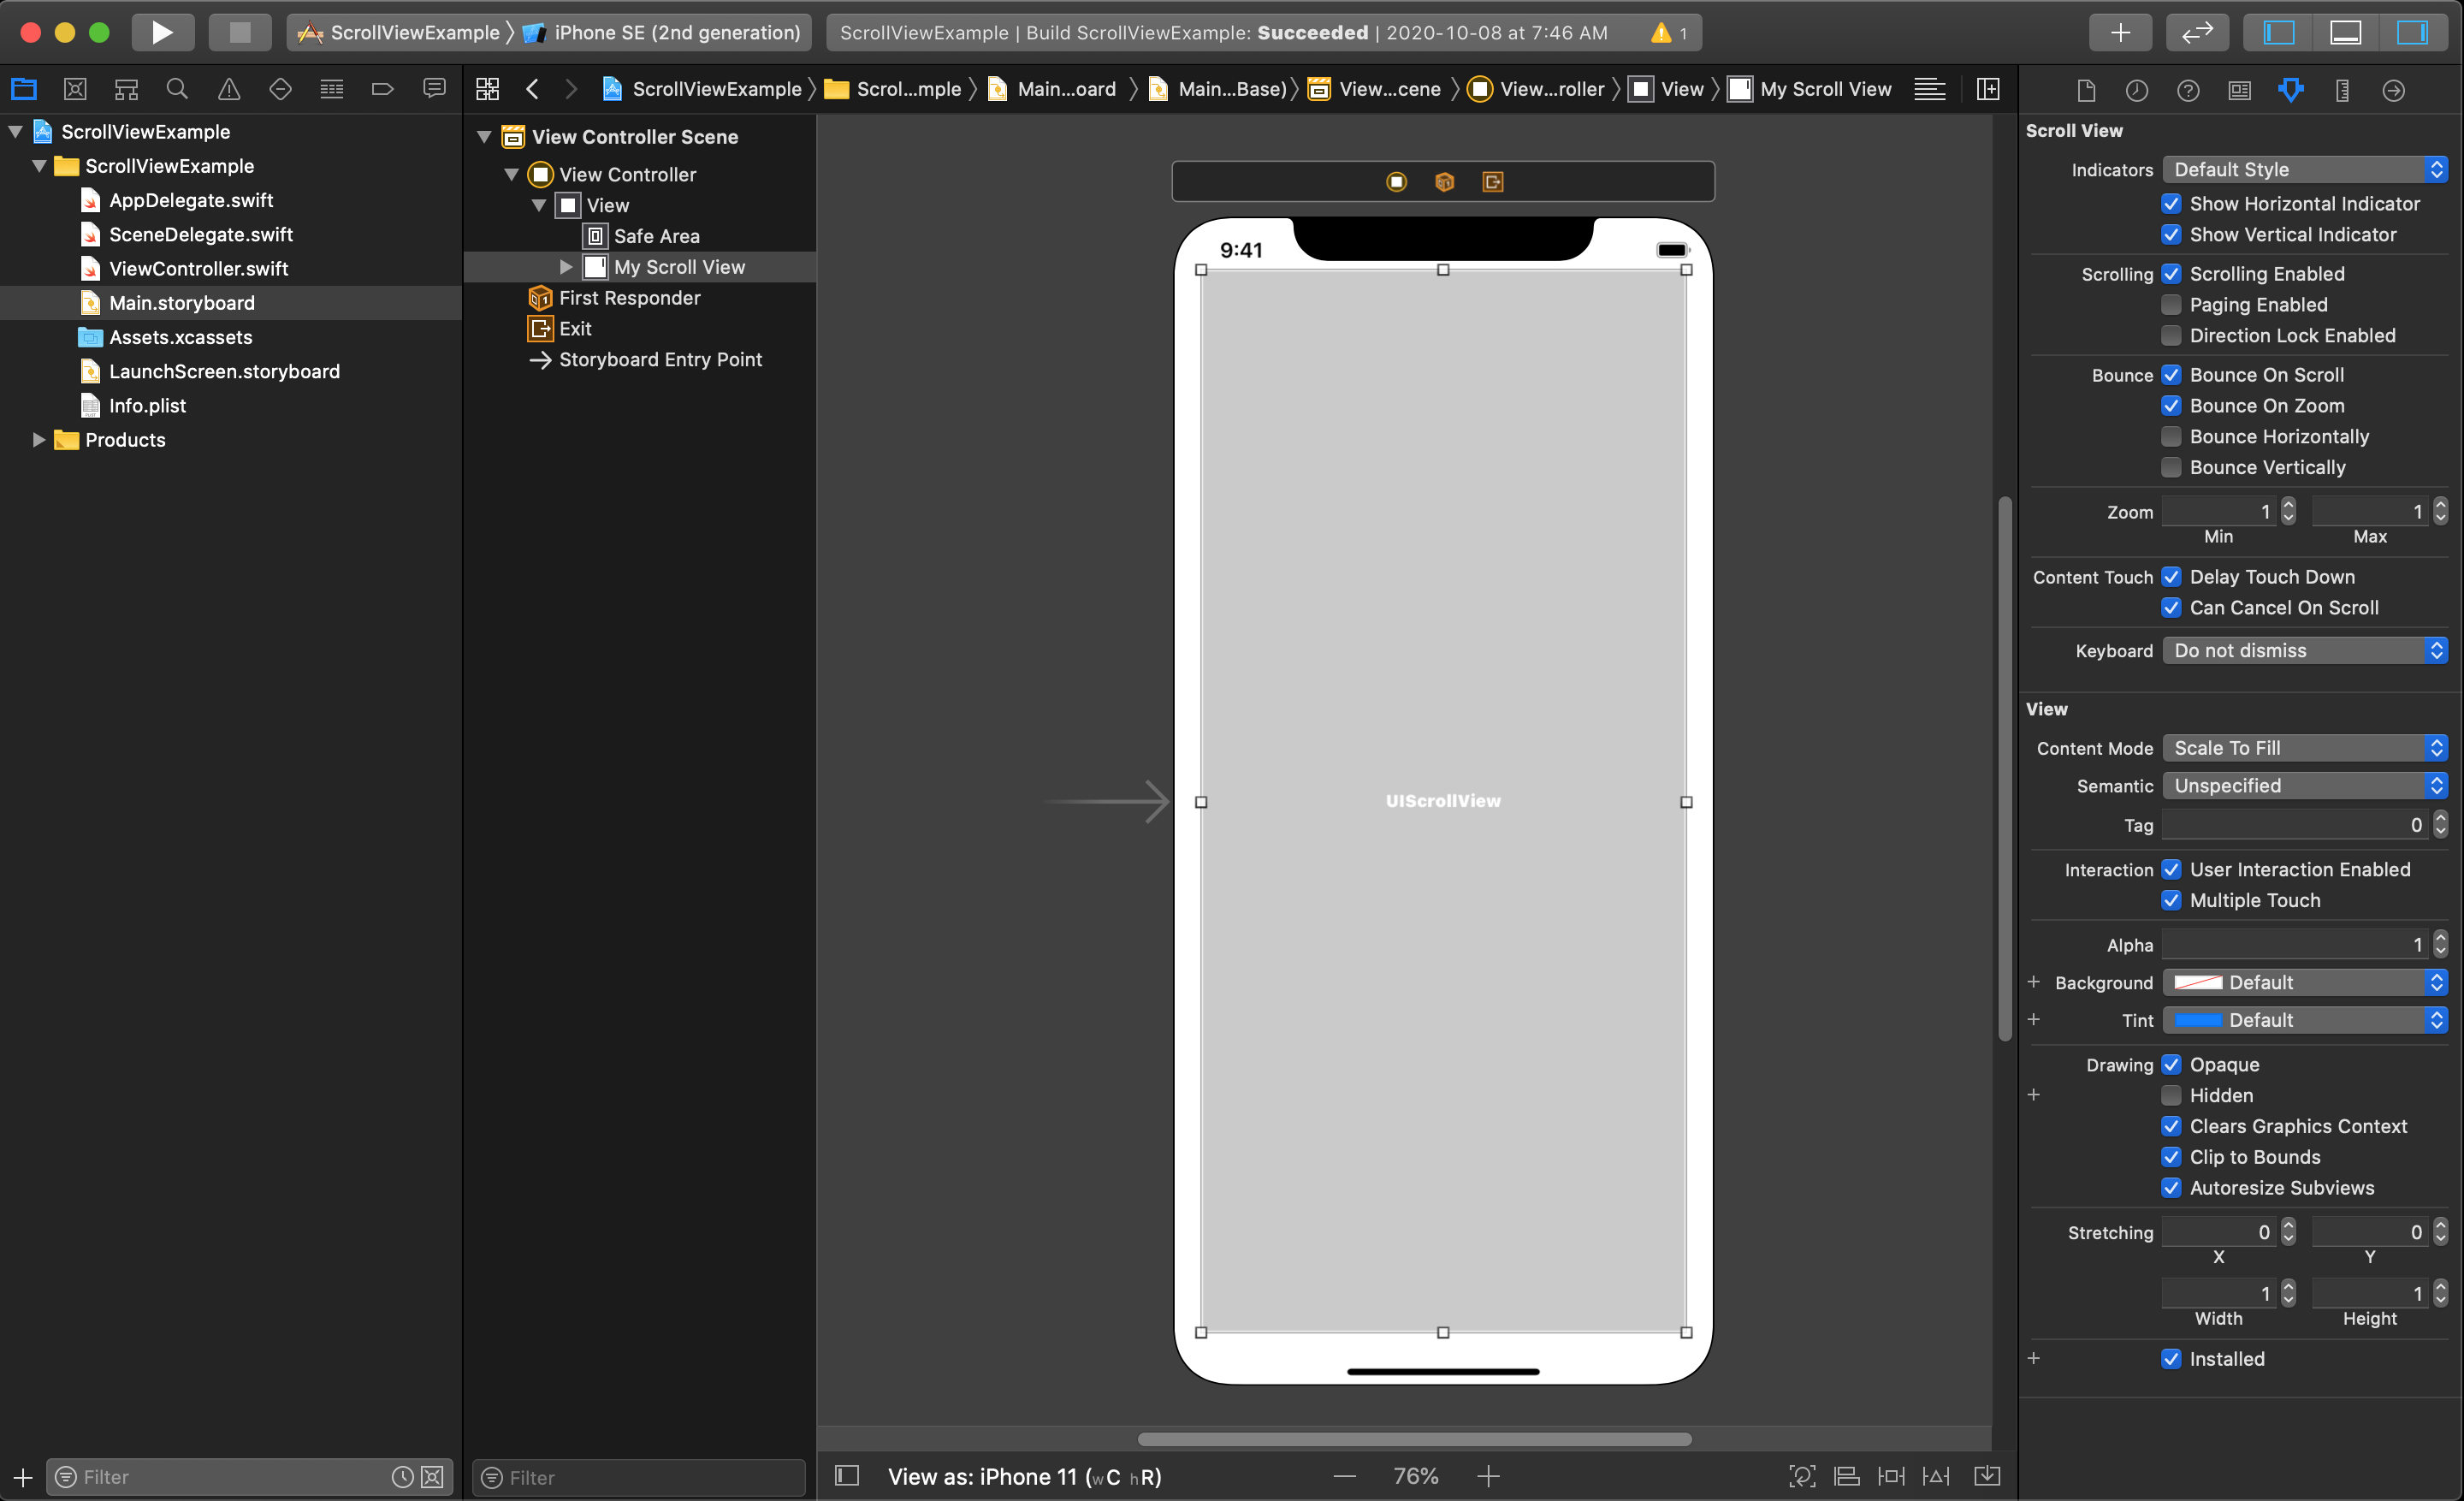
Next, in the Document Outline area in Xcode, drag the scroll view outside of the main View Controller hierarchy - keeping it within the View Controller scene but keeping it outside of the main view in the storyboard - so we can edit the full area.I f we don't do this step, the borders of the main view will cut off the rest of the scroll view, making it impossible to lay out content.
TIP
We will have to add the scroll view back in the view for it to render. We will do this in code later in the lesson.
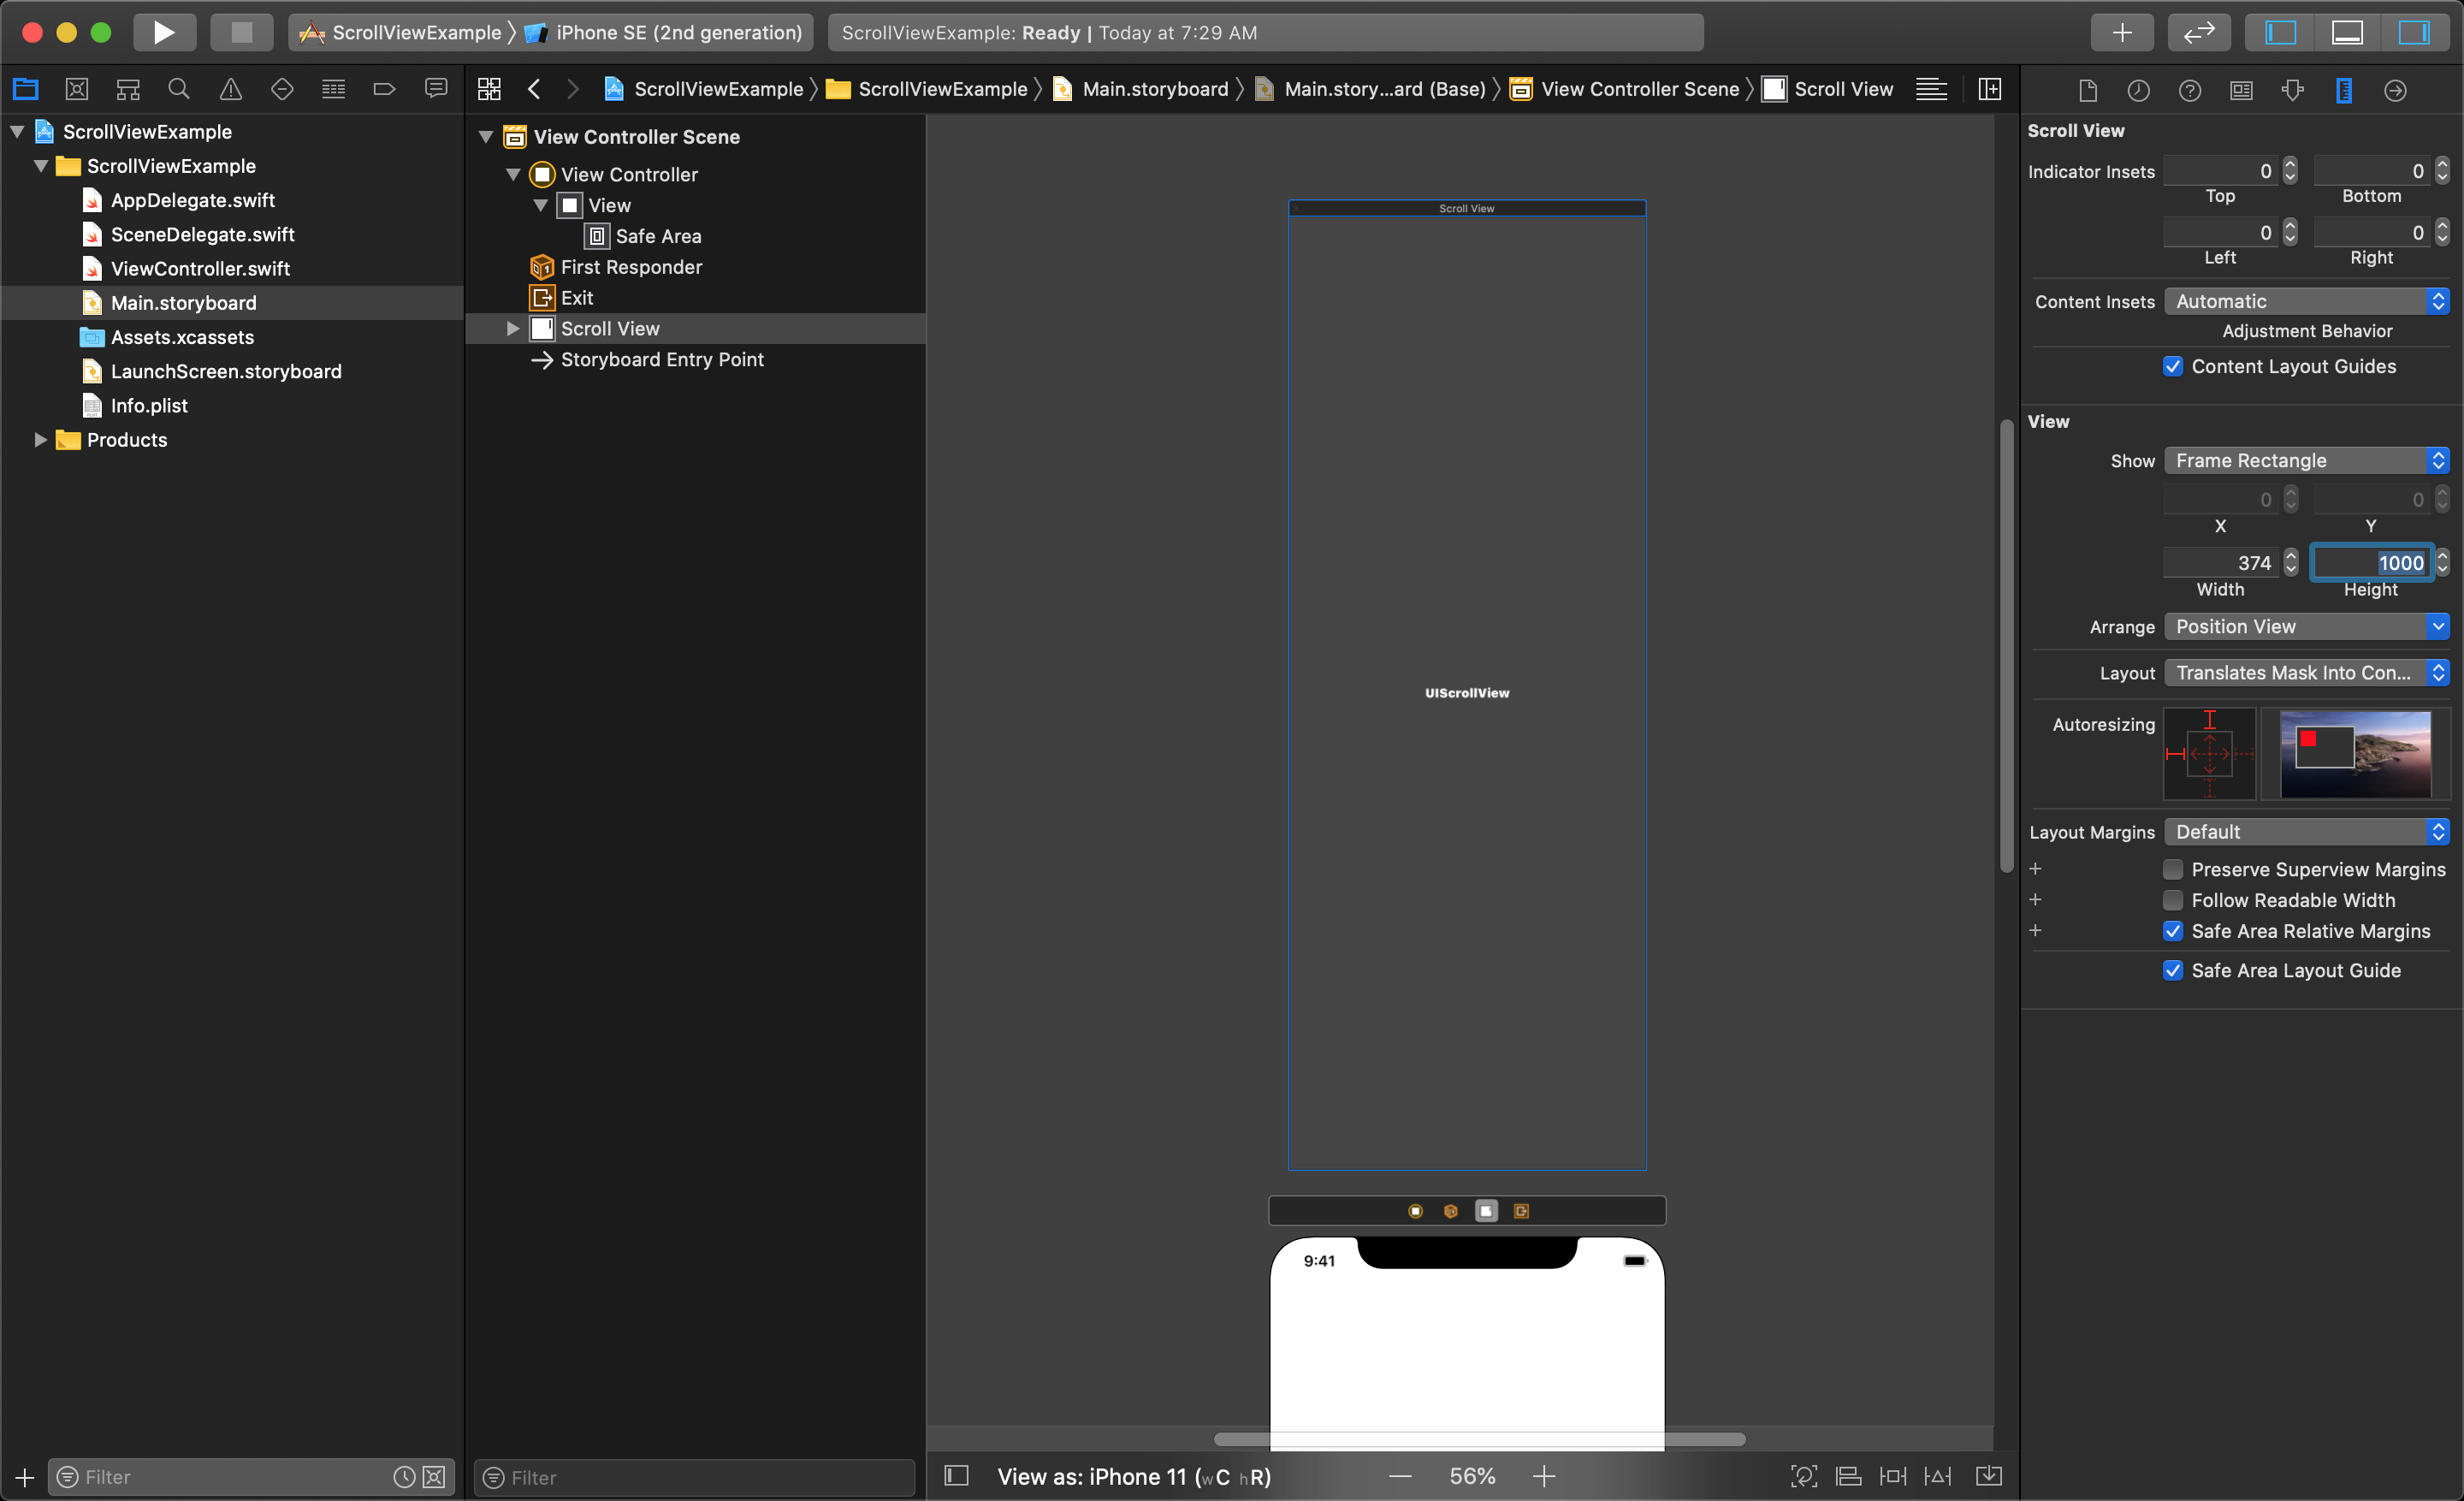
Now, the scroll view is sitting outside the main view in the storyboard, letting you edit it much easier. When you select that scroll view in the storyboard and go to the Size Inspector on the right in Xcode, you can define the overall size of the content area.
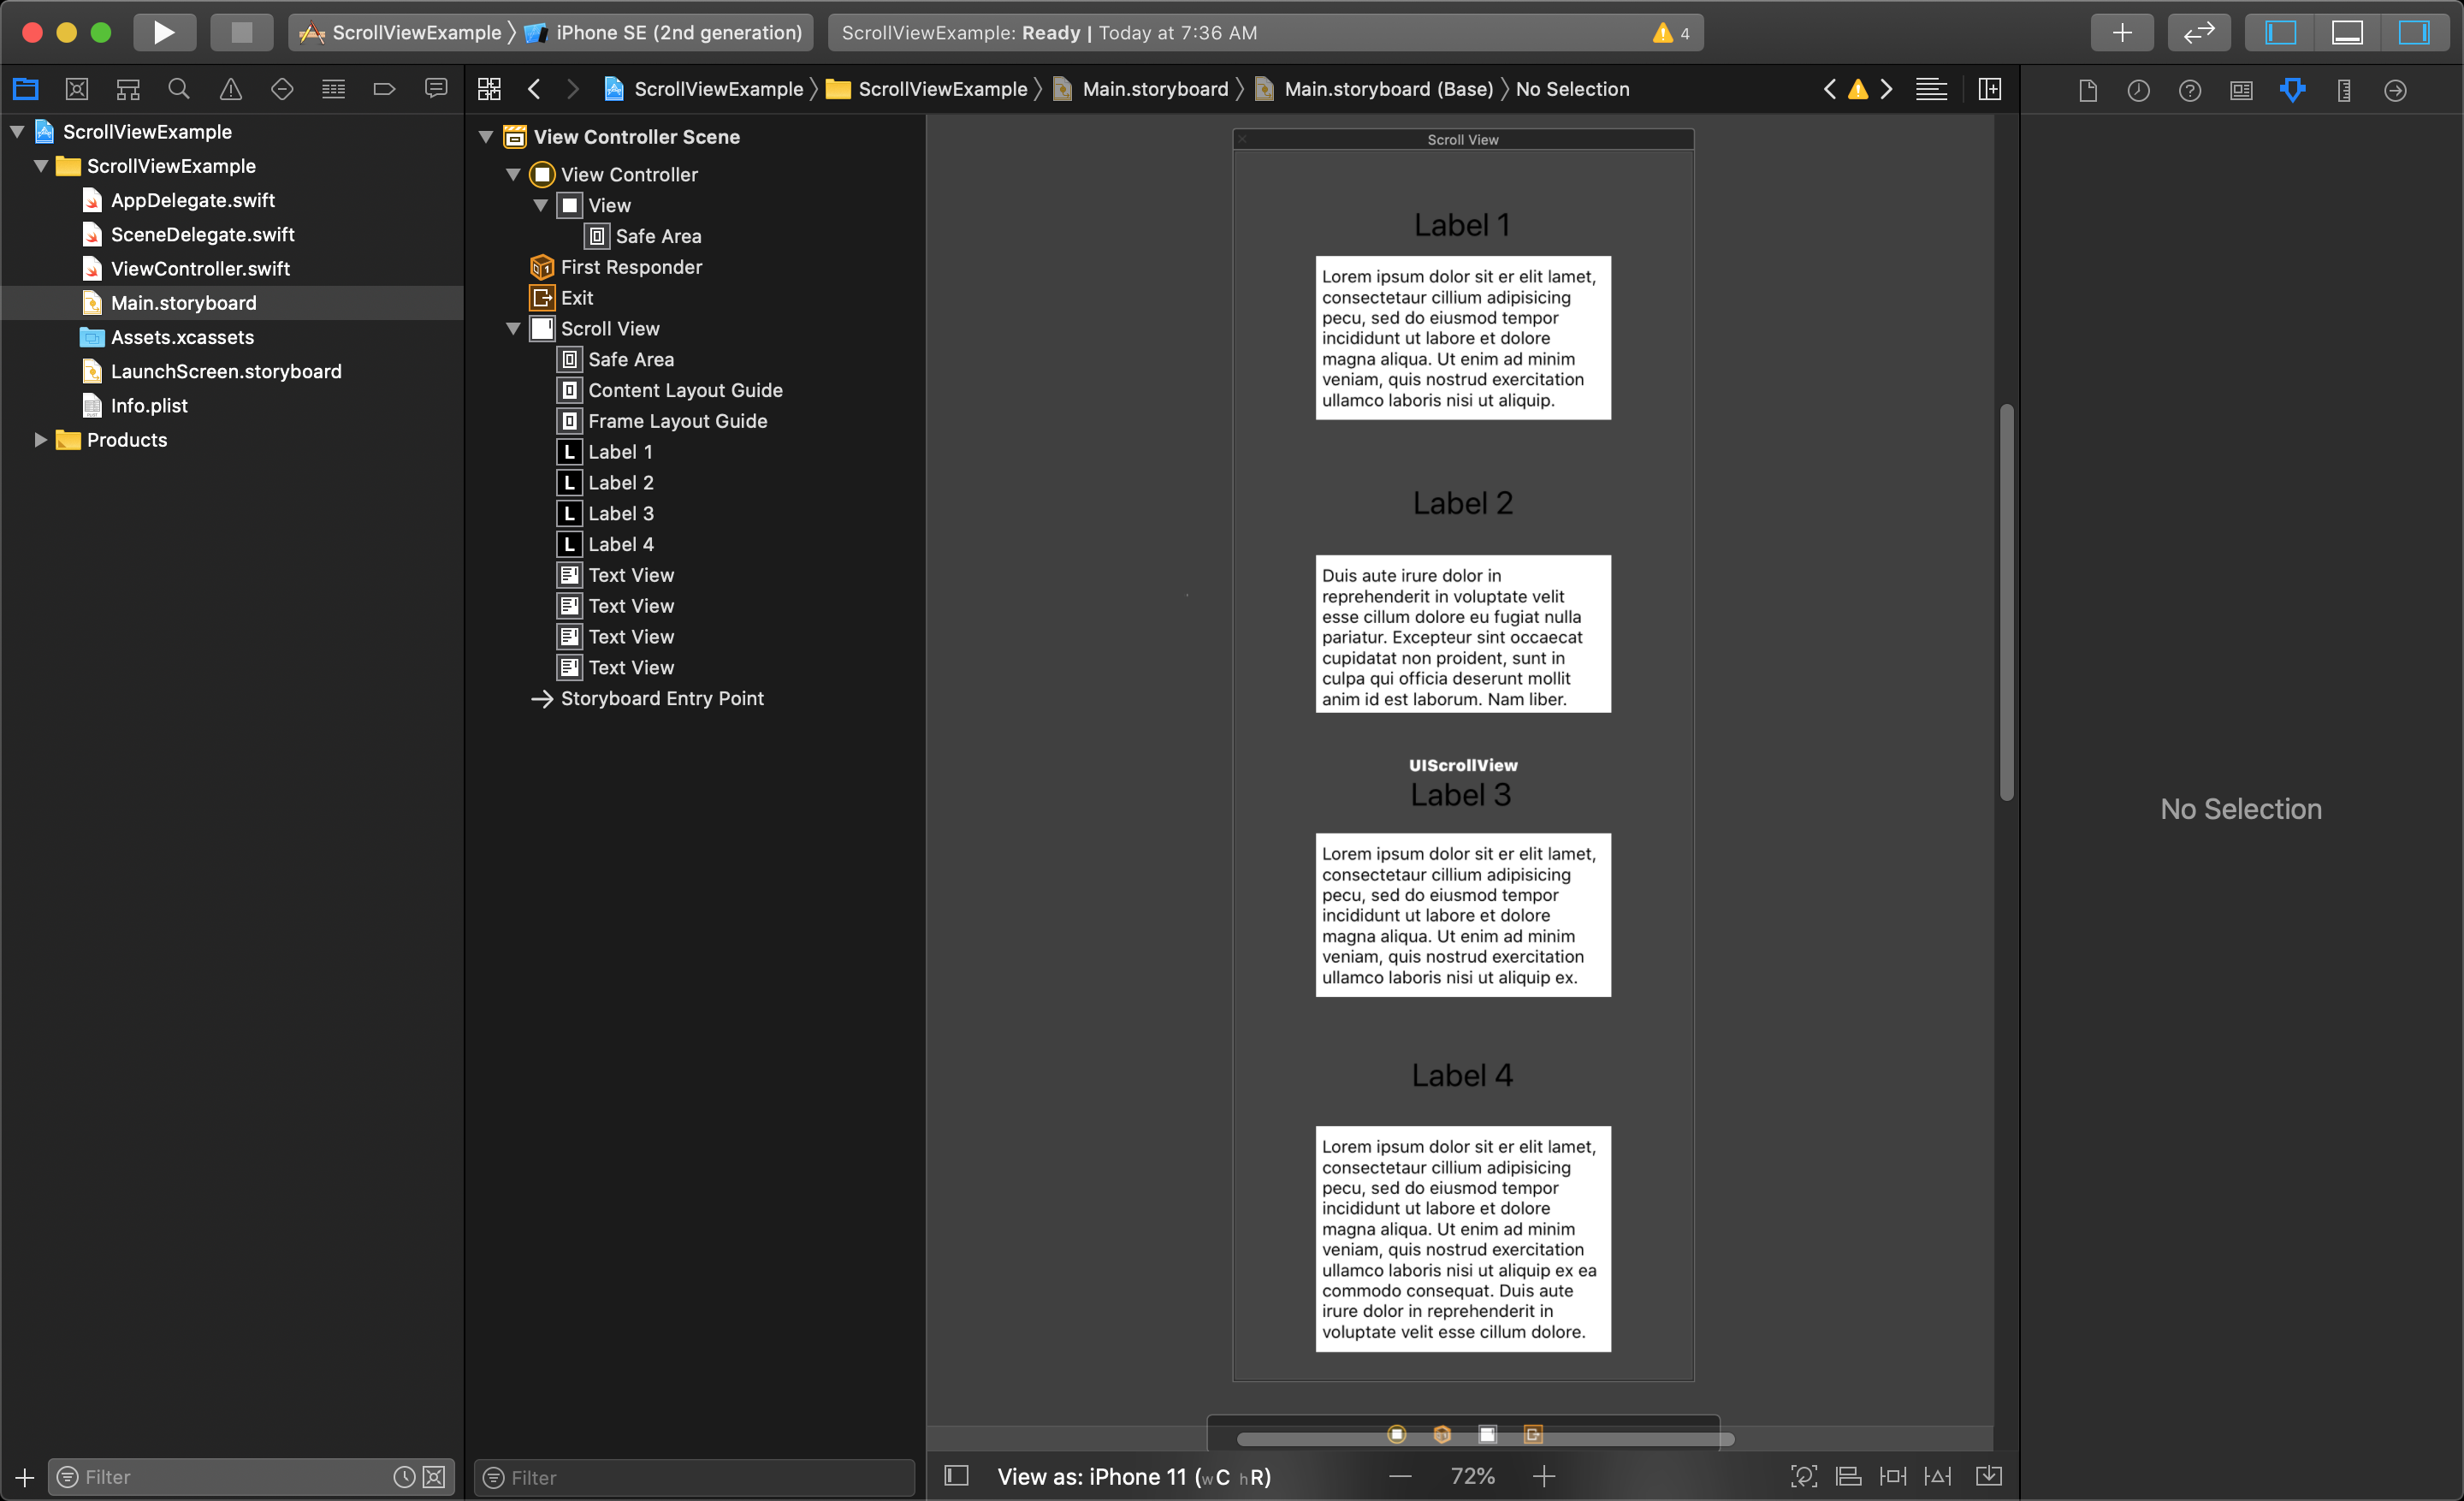
Now you can add the UI objects to this scroll view as you would in a normal view.
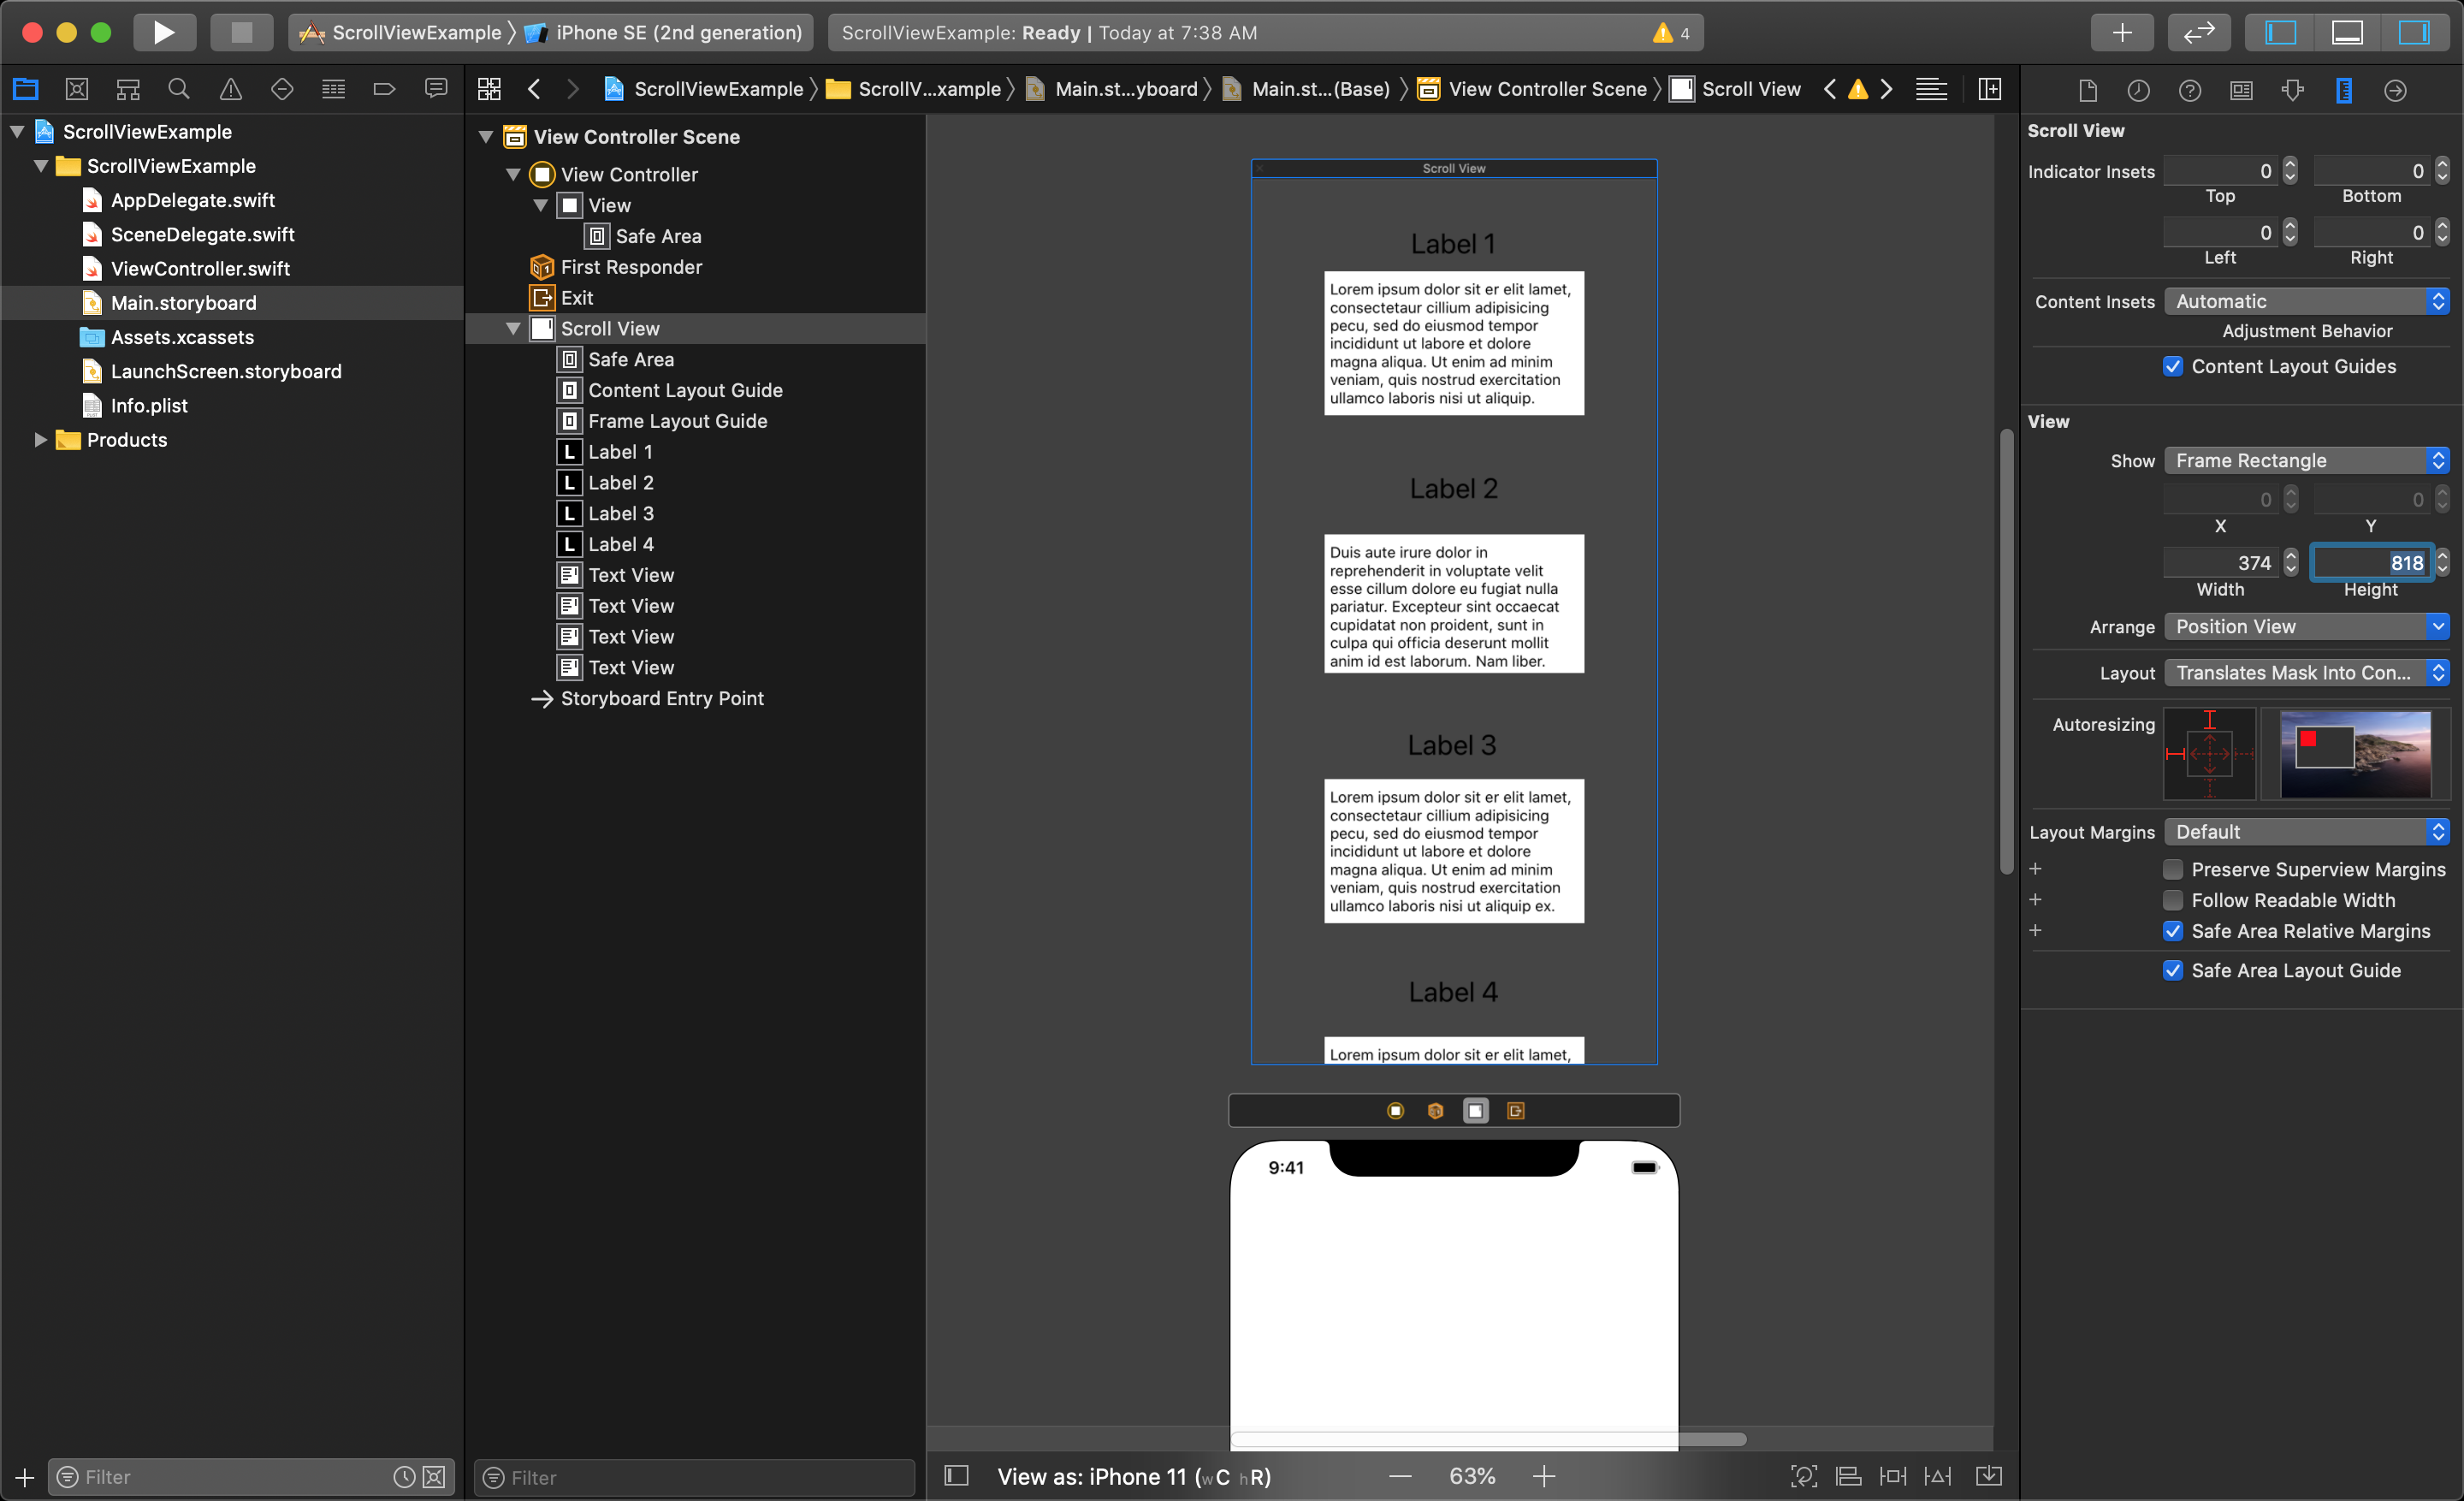
After the layout is done, go to the Size Inspector on the right in Xcode with the scroll view selected, and set the size of the view back to its default. Even though you see the content get cut off, it is still there and accessible.
Connecting and Setting Scroll View Properties
Now that the scroll view is set up in the storyboard properly, it's time to connect it to the viewController class and finish setting it up. First, you must connect the scroll view to an Outlet in your viewController class.
Start by selecting the main view in the storyboard and opening the Assistant Editor. This will show the storyboard and the viewController class at the same time. Press Control+click then drag from the scroll view to the top of your viewController class to create an Outlet.
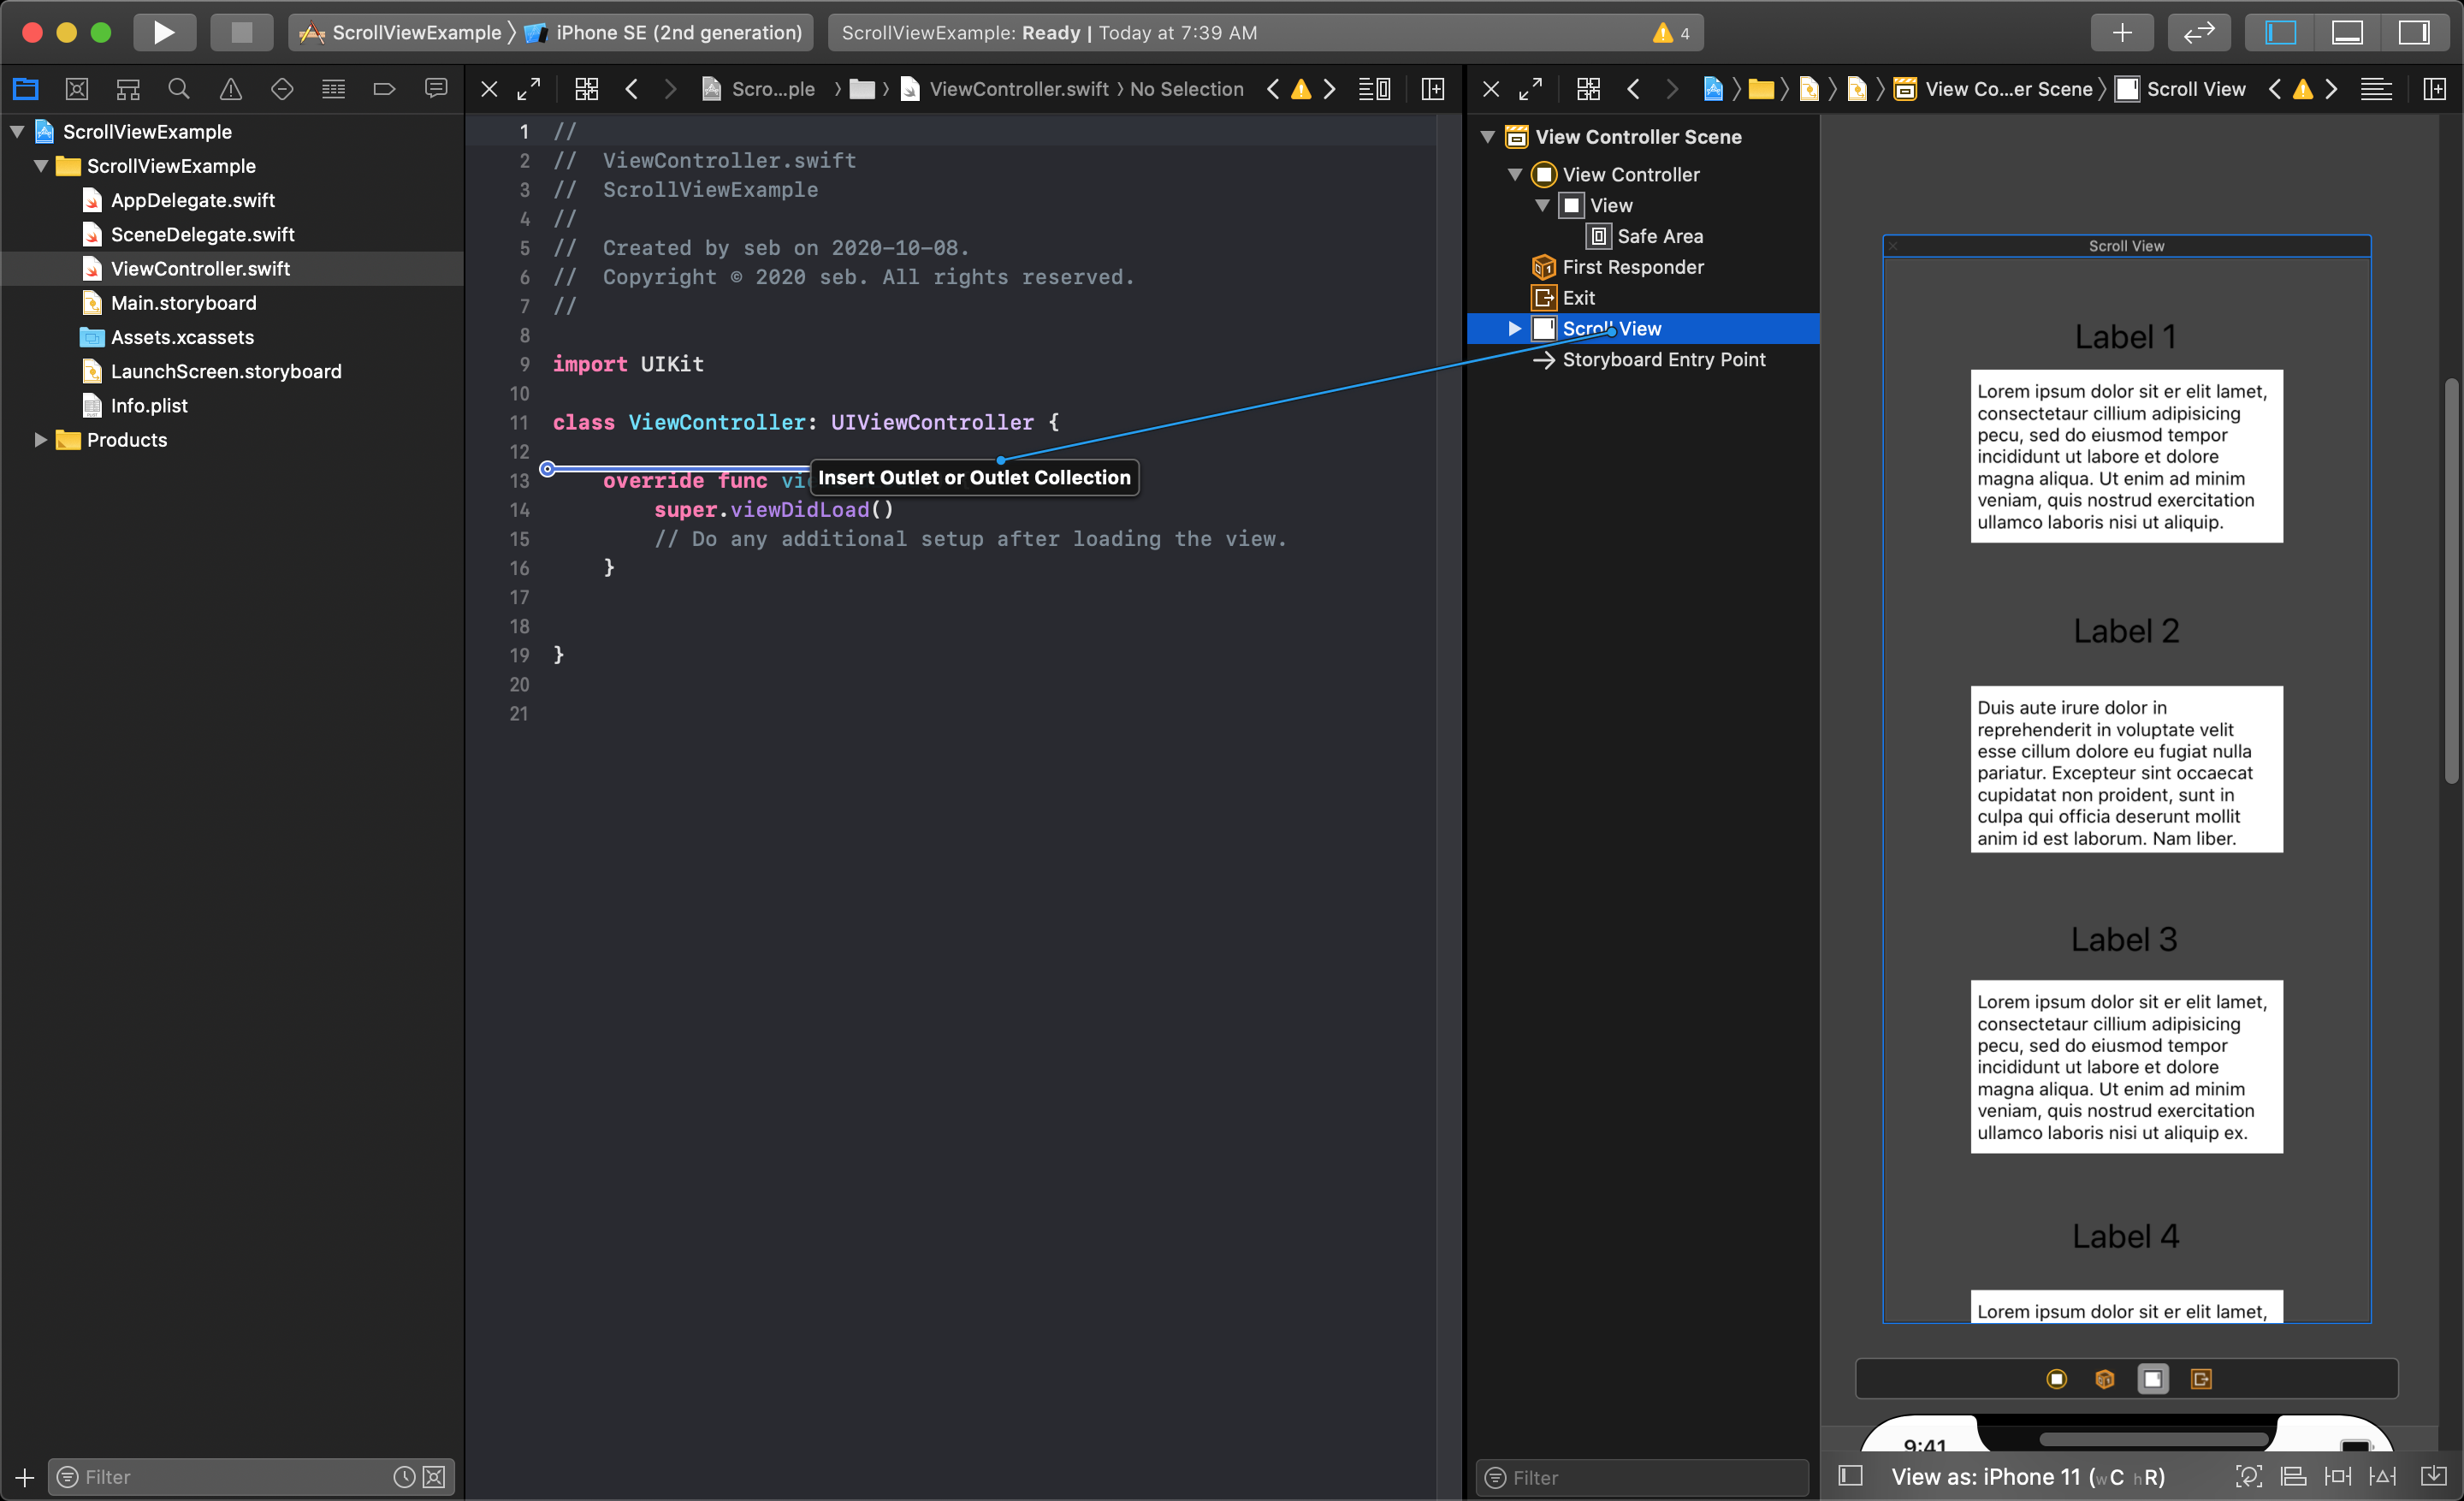
This pops up a dialog that lets you enter the name of the Outlet you are creating. Name it what you would like, make the Storage option set to weak, then click the Connect button.

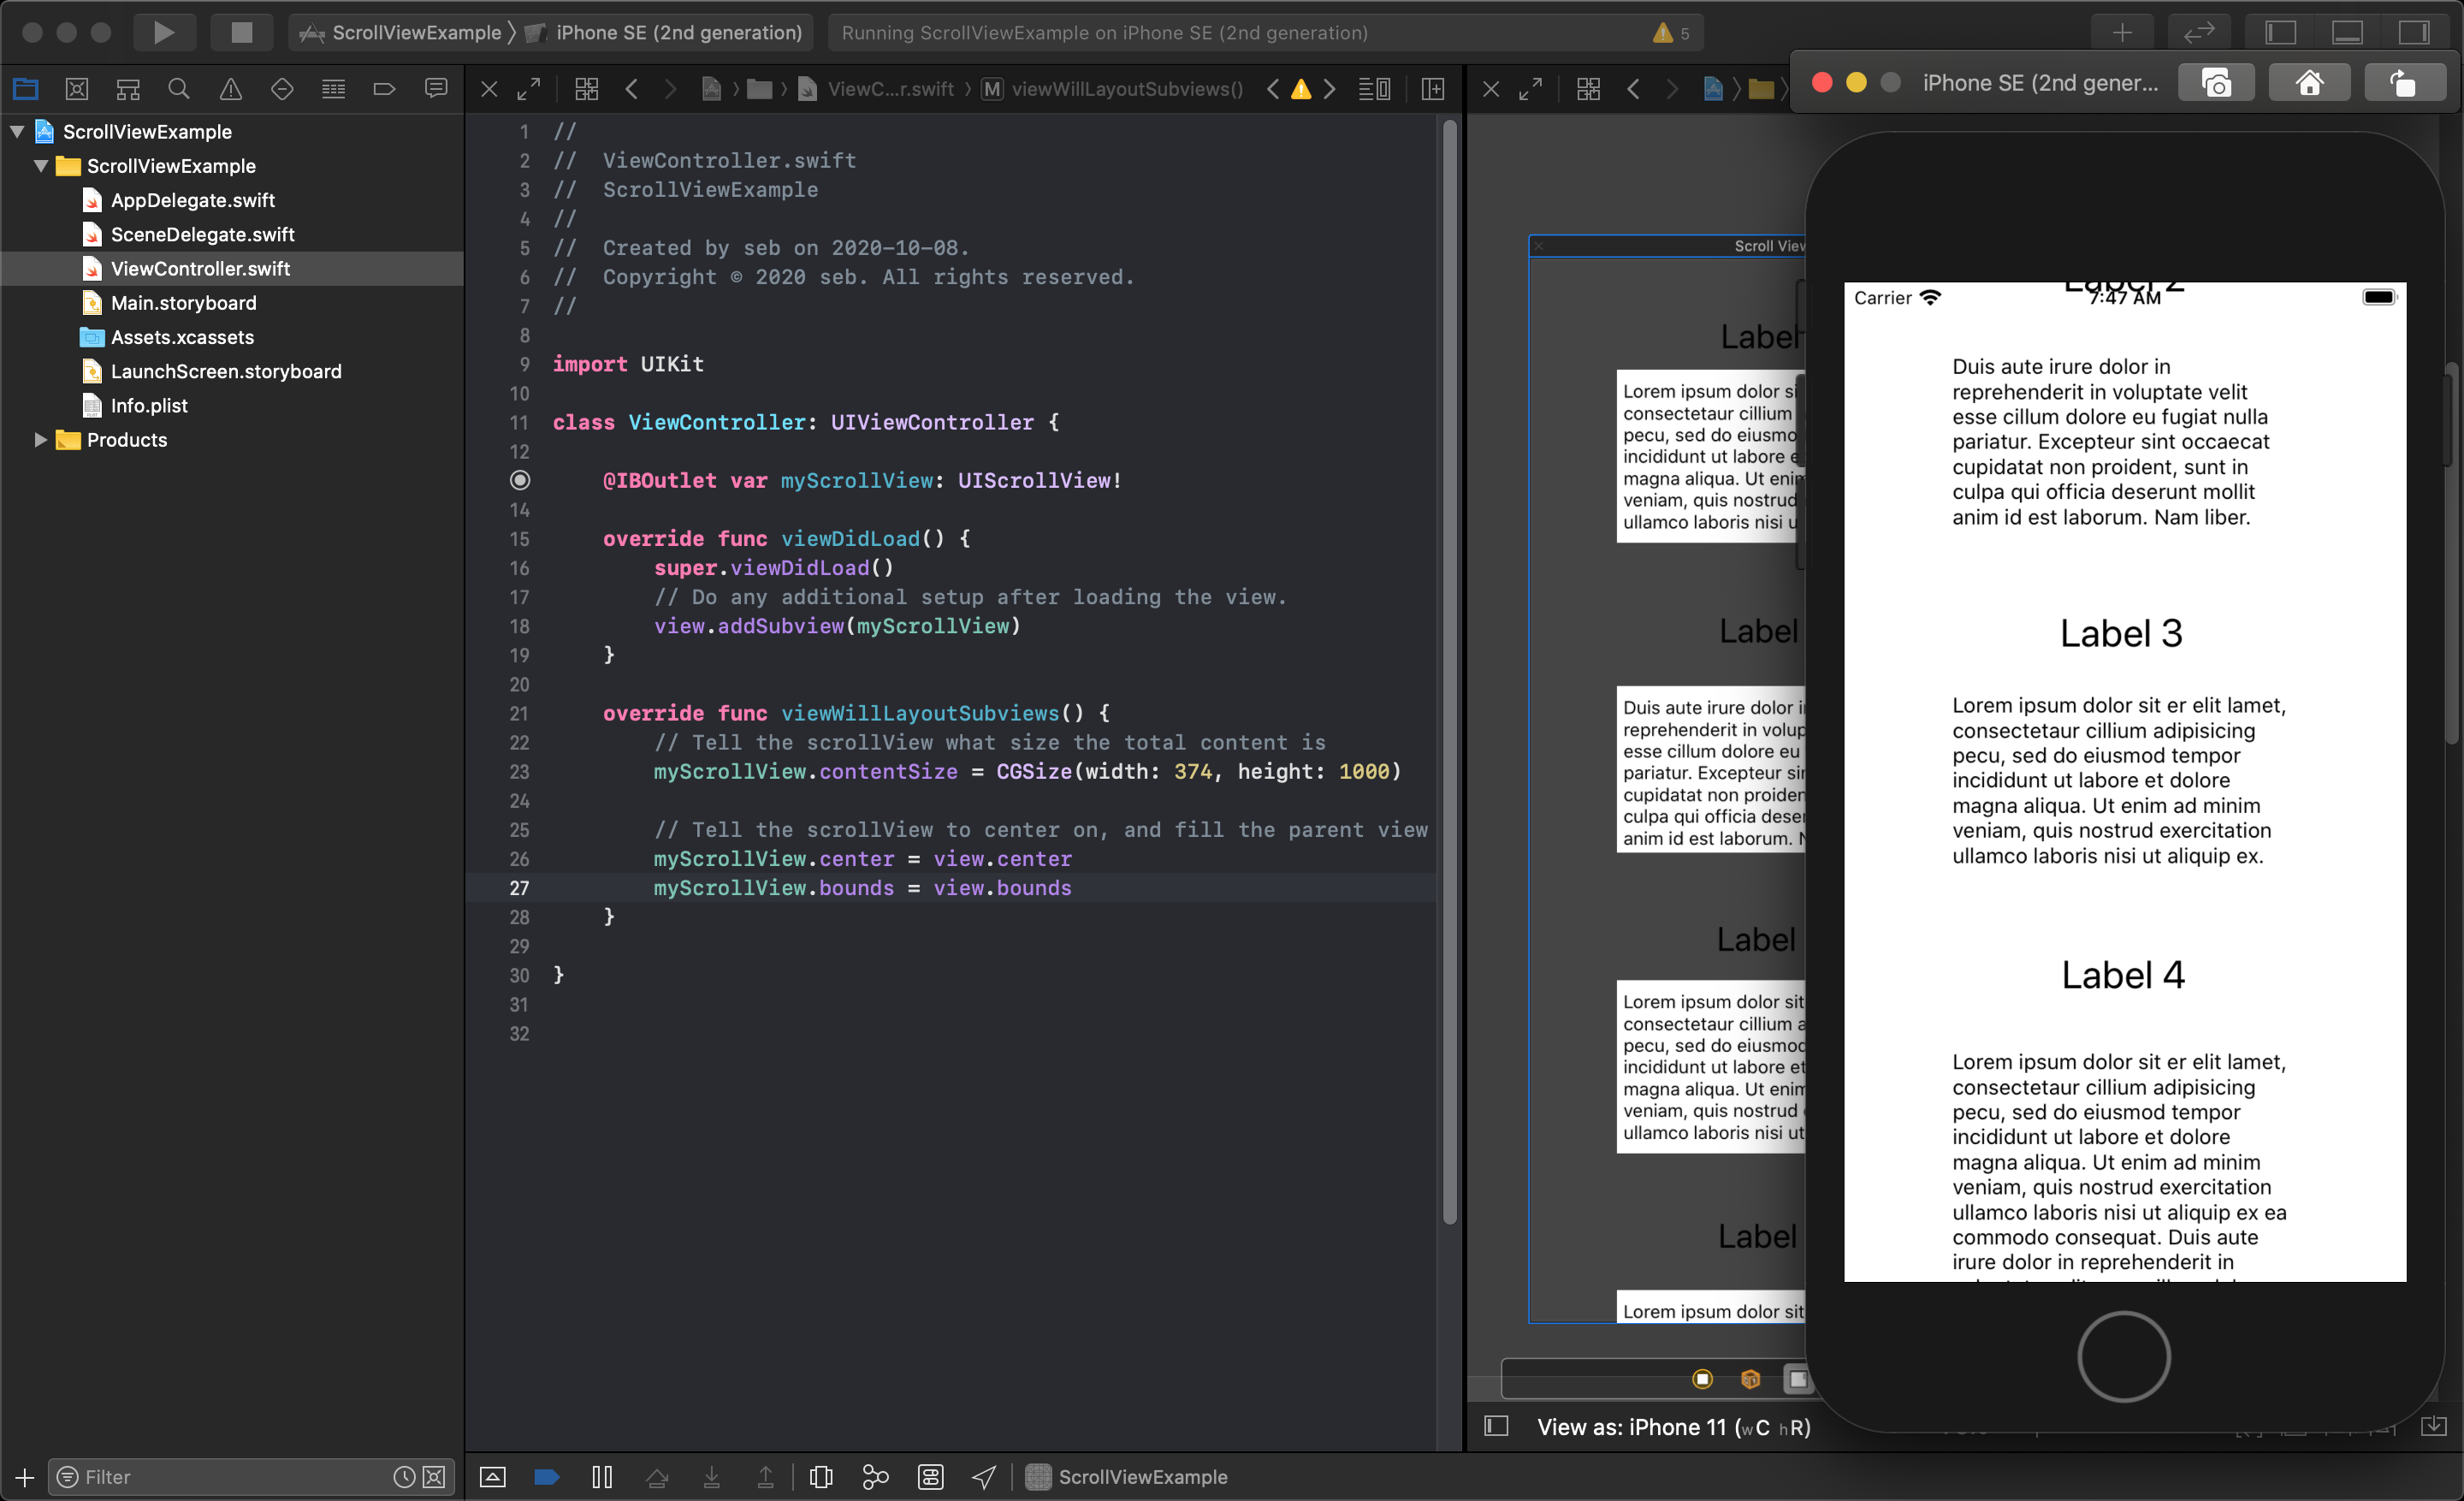
Now that the viewController class has an Outlet connecting the scroll view, it must be added as a sub-view to be rendered i(we removed it earlier by dragging it out of the main view several steps ago to help lay out the content). You can do this in the viewDidLoad() function using the following code:
view.addSubview(myScrollView)
The other thing you will need to do is tell the scroll view how big the content size is. This should be done in another function you can override called viewWillLayoutSubviews() and can be set like so:
myScrollView.contentSize = CGSize(width: 374, height: 1000)
You must enter the width and height values for the overall size of the scrollView's content area. In this case, it's using 374 and 1000. This means the extra content will need to be scrolled through vertically.
You may also want to manually set its overall dimensions and position within the main view. This is done by setting the scroll view's centre and bound size. In the example above we want to set it to the full size of the parent view which is set like this.
myScrollView.center = view.center
myScrollView.bounds = view.bounds
2