DatePicker Objects
When you want to let the user input a date and/or time in your application, you use a Date Picker UI object. This object lets the user spin a rotating set of dials to select the exact date and/or time they wish to select. If your viewController has the date picker connected as an outlet, you can get a Date object from the outlet's .date property in your code.
DatePicker Outlet Connection
Start by locating the Date Picker object in the Object Library and dragging it into your project.
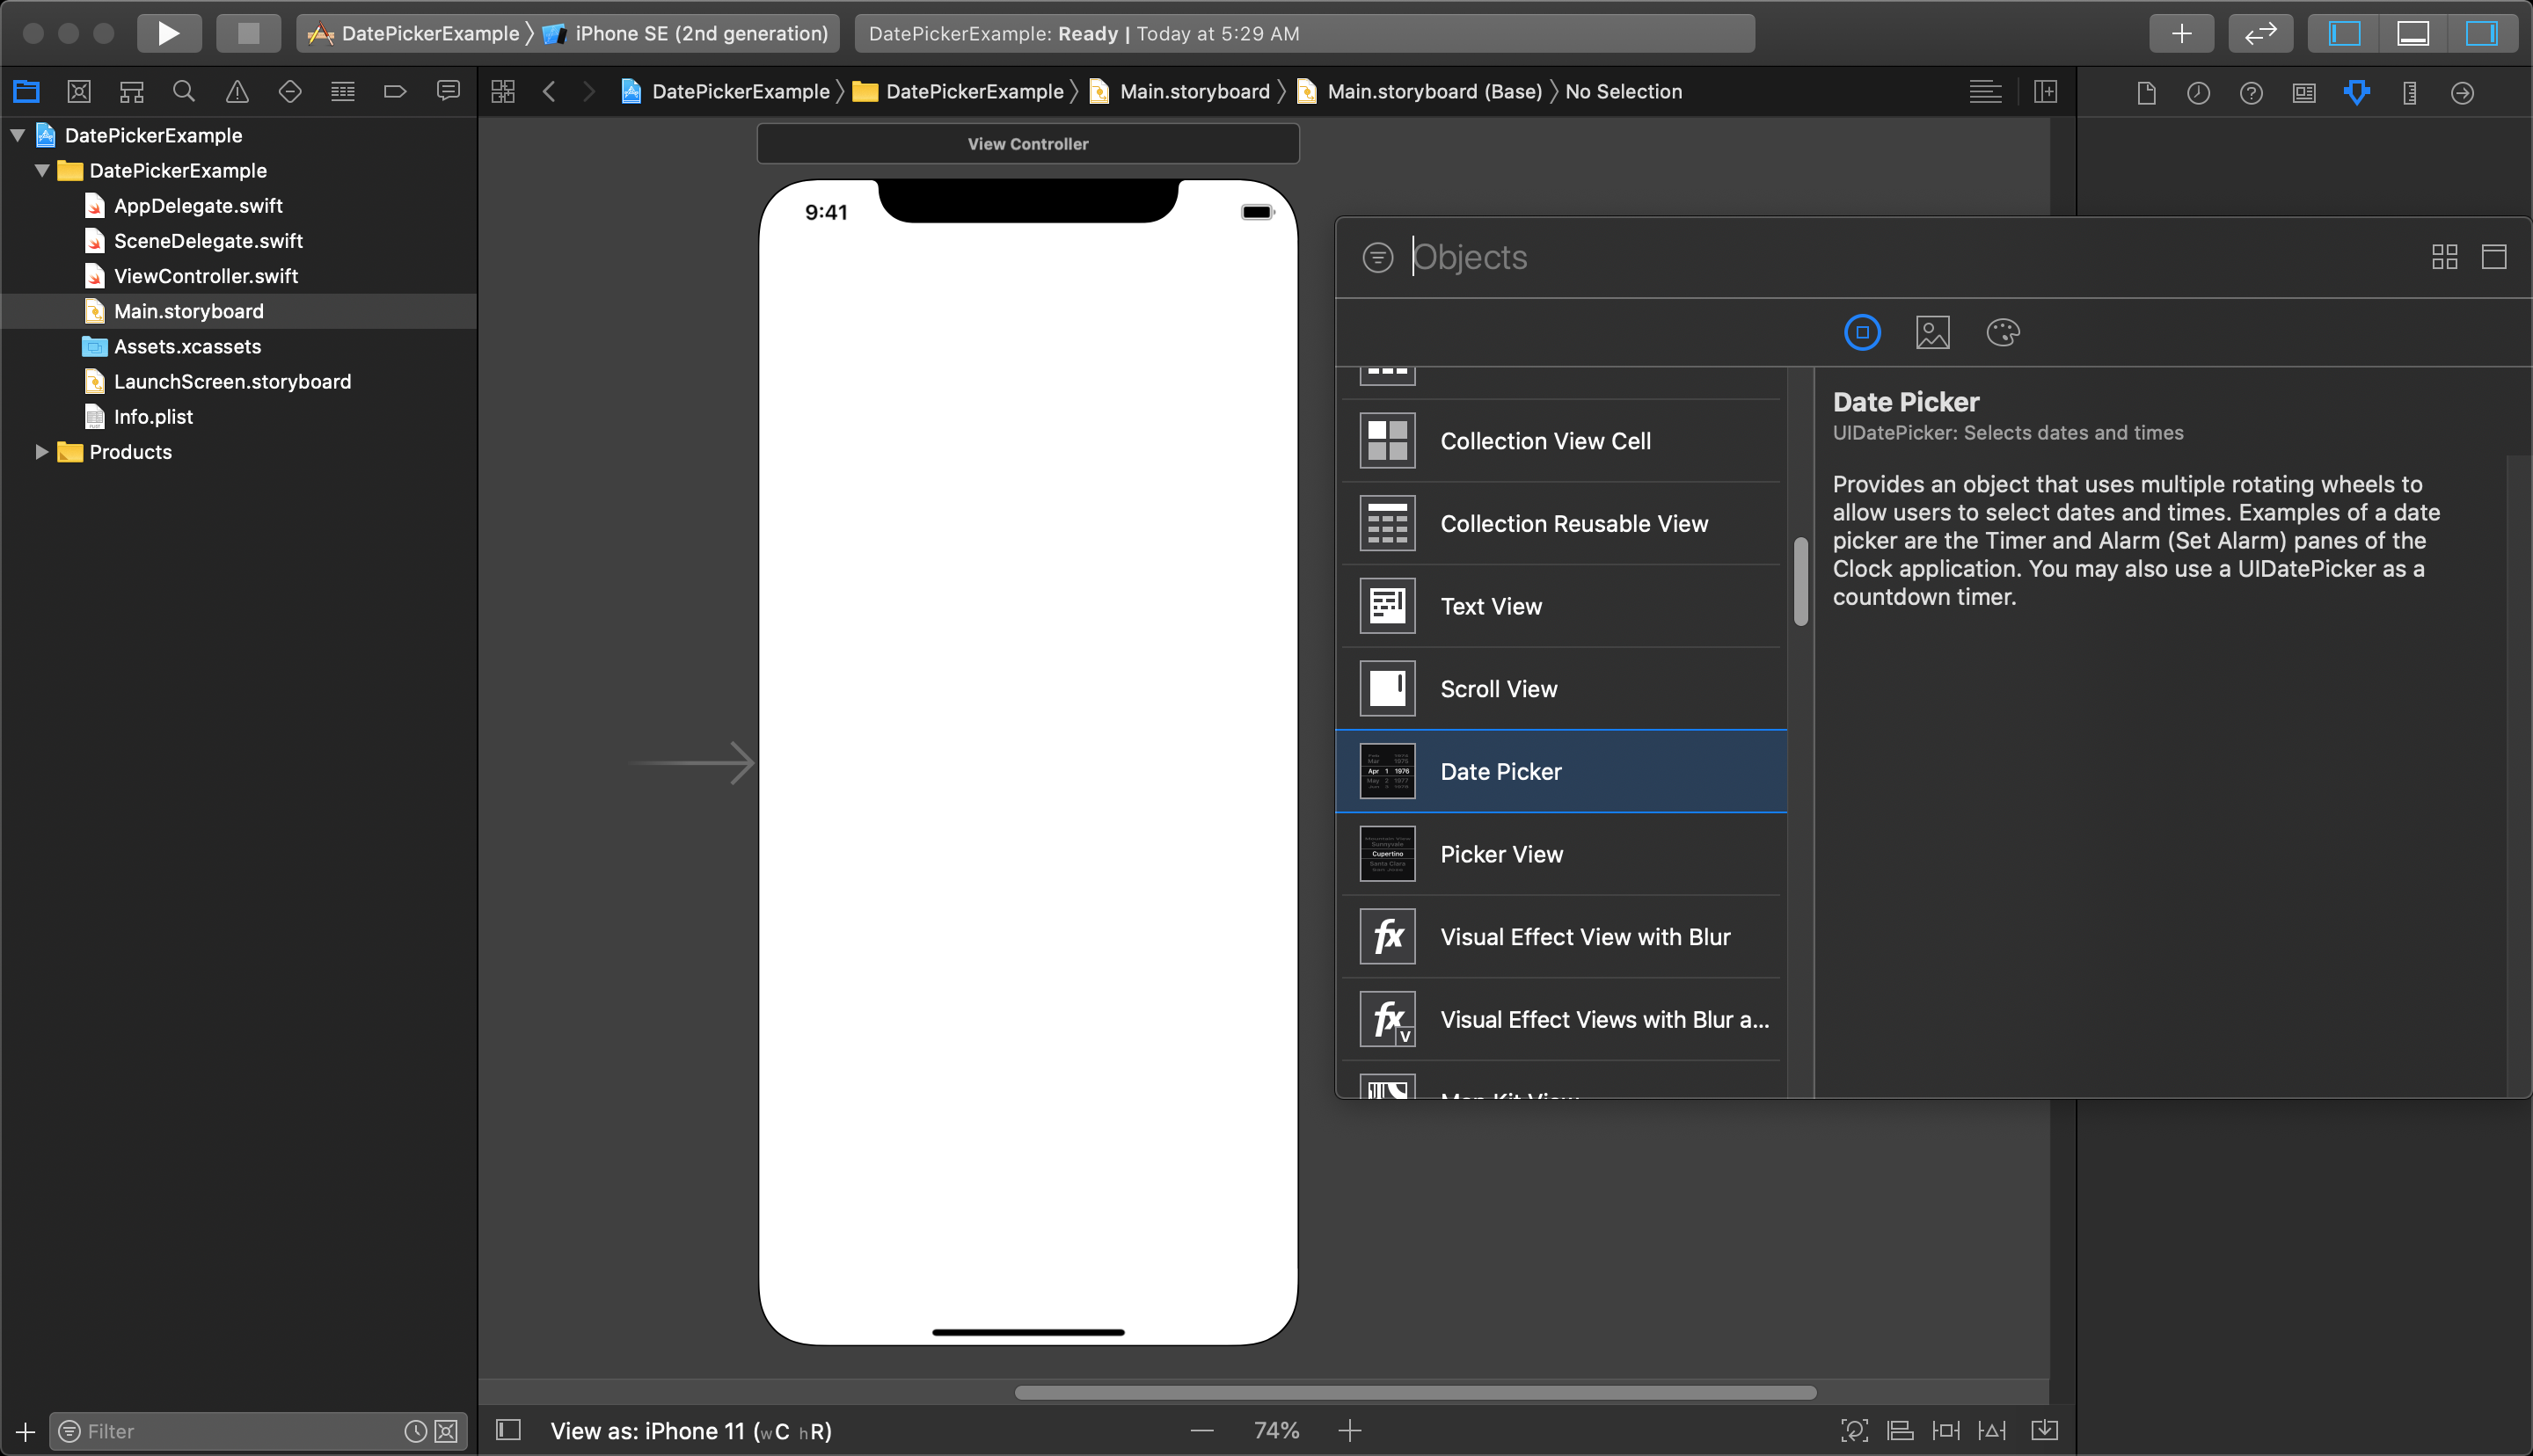
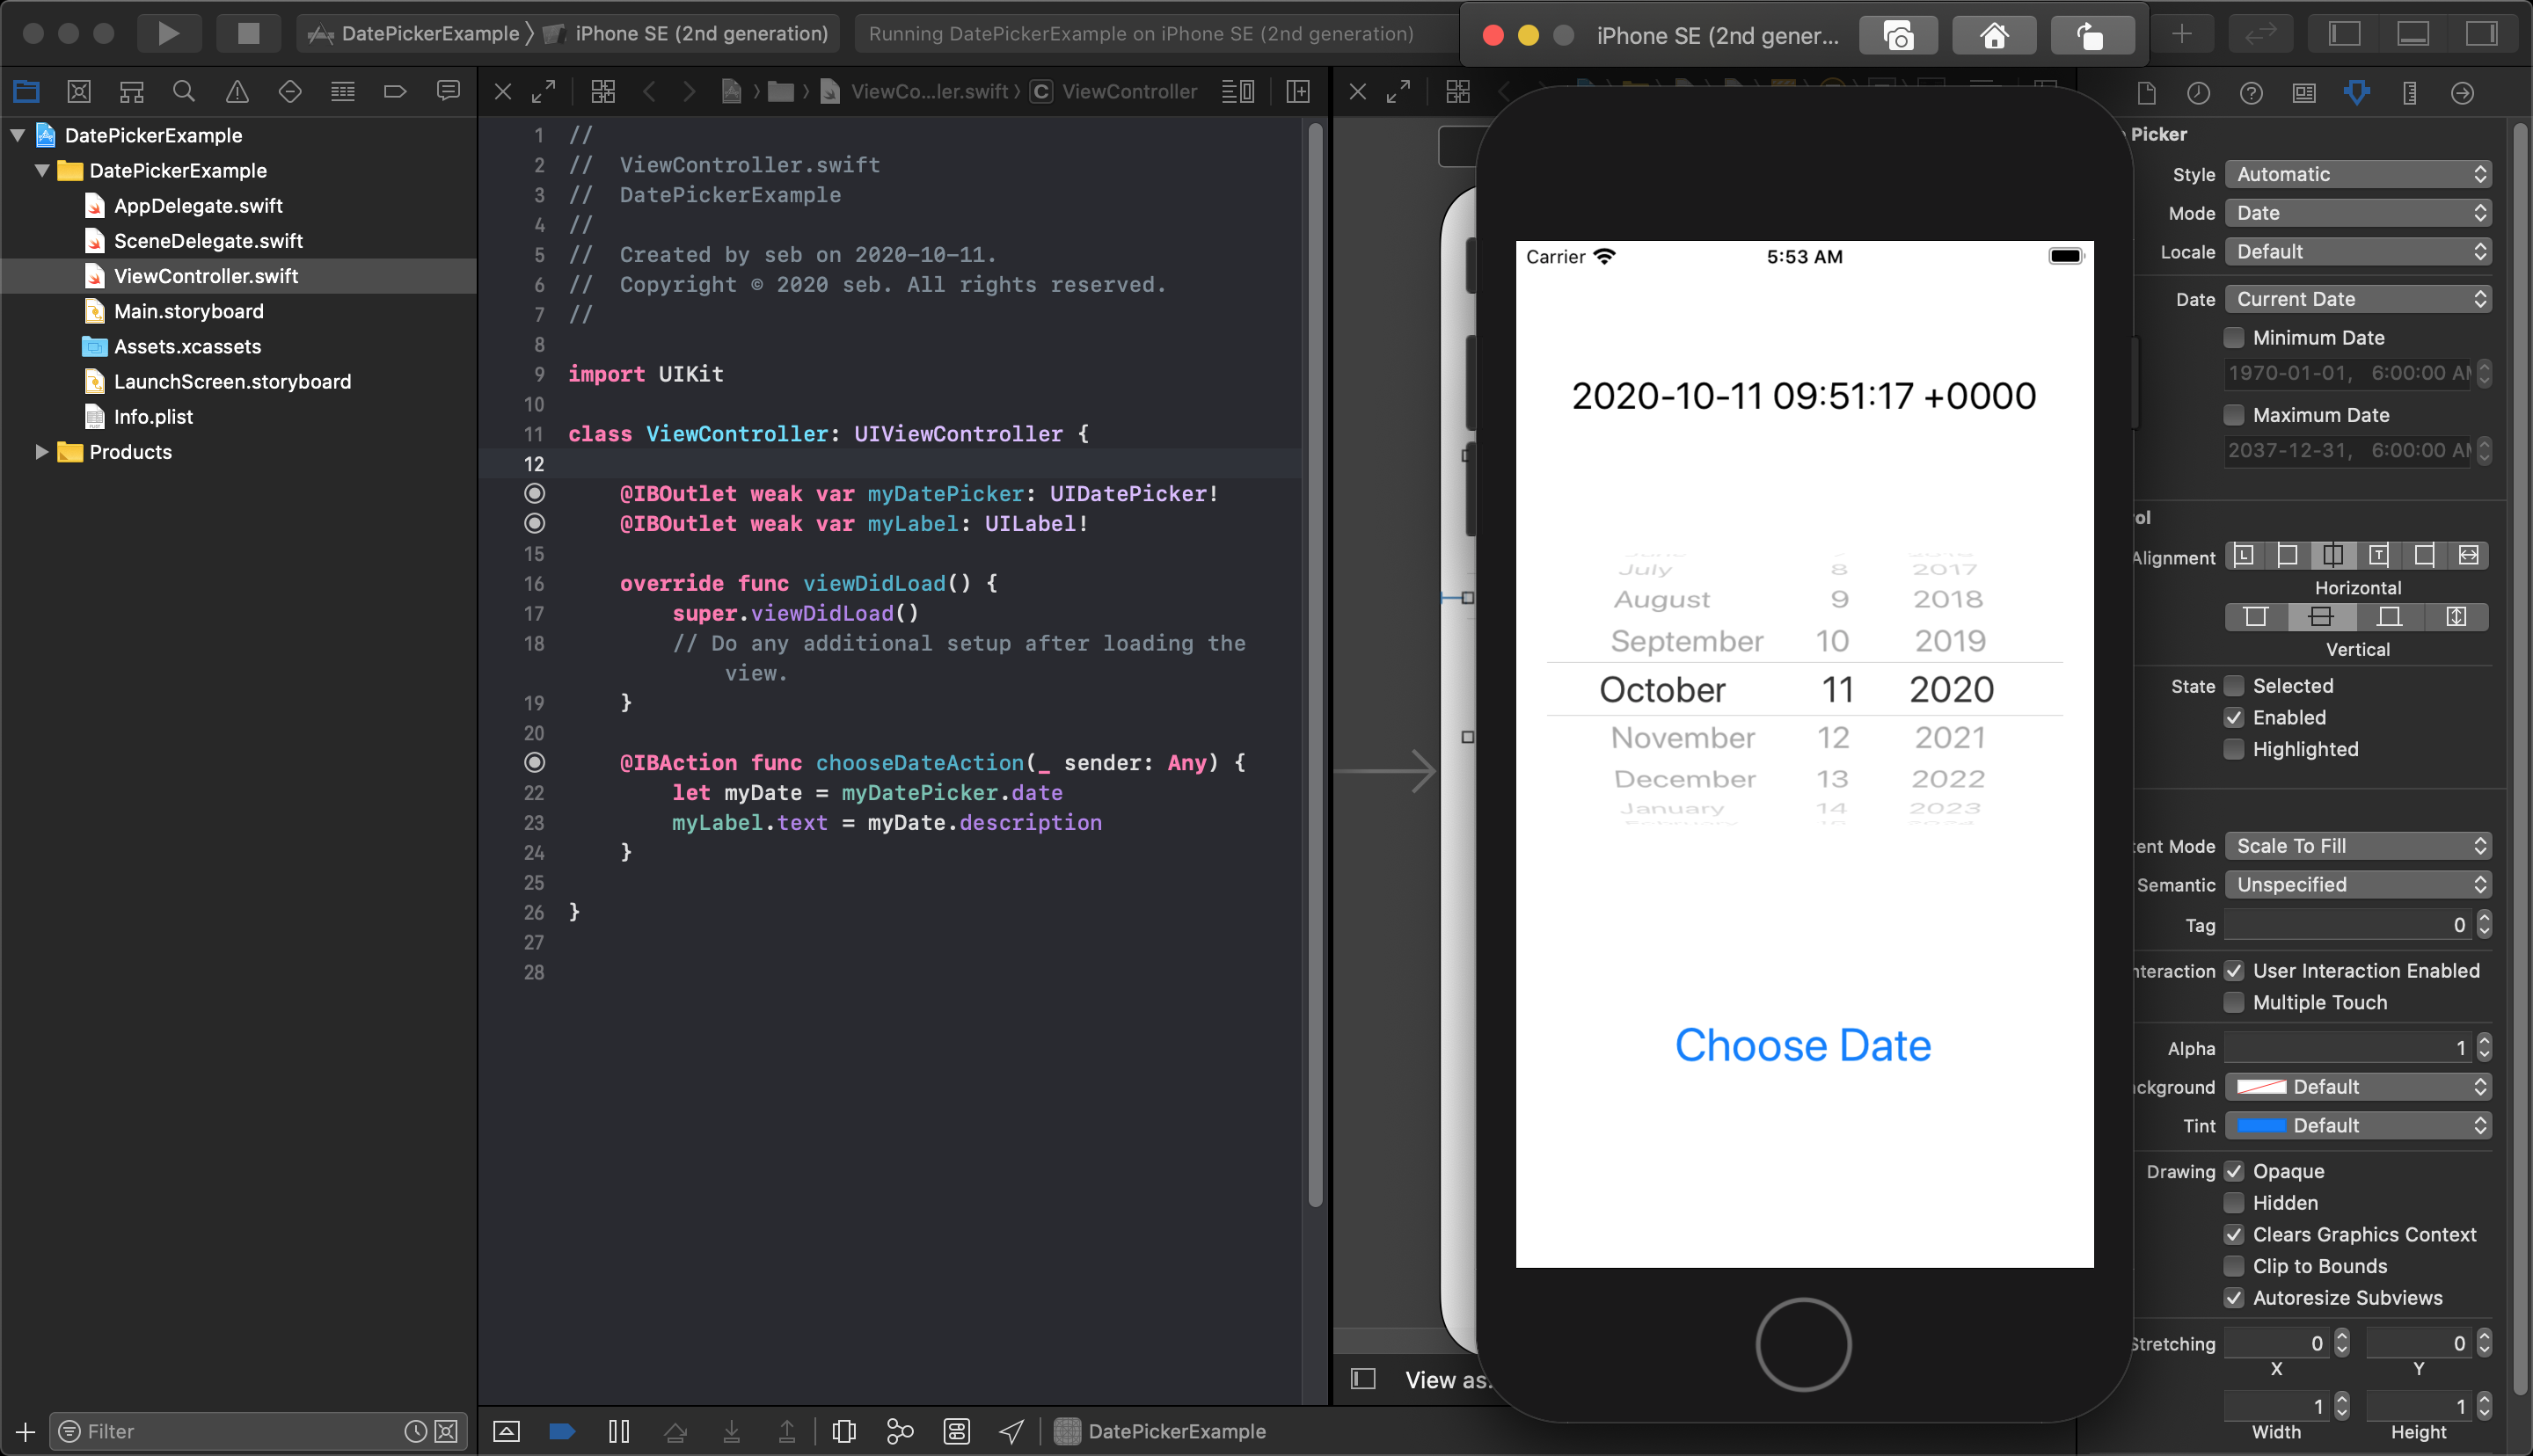
In this example, a Label and a Button is added to the view as well. When the Button is pressed, it will run an action that will take the date from the date picker and display the date in the label.
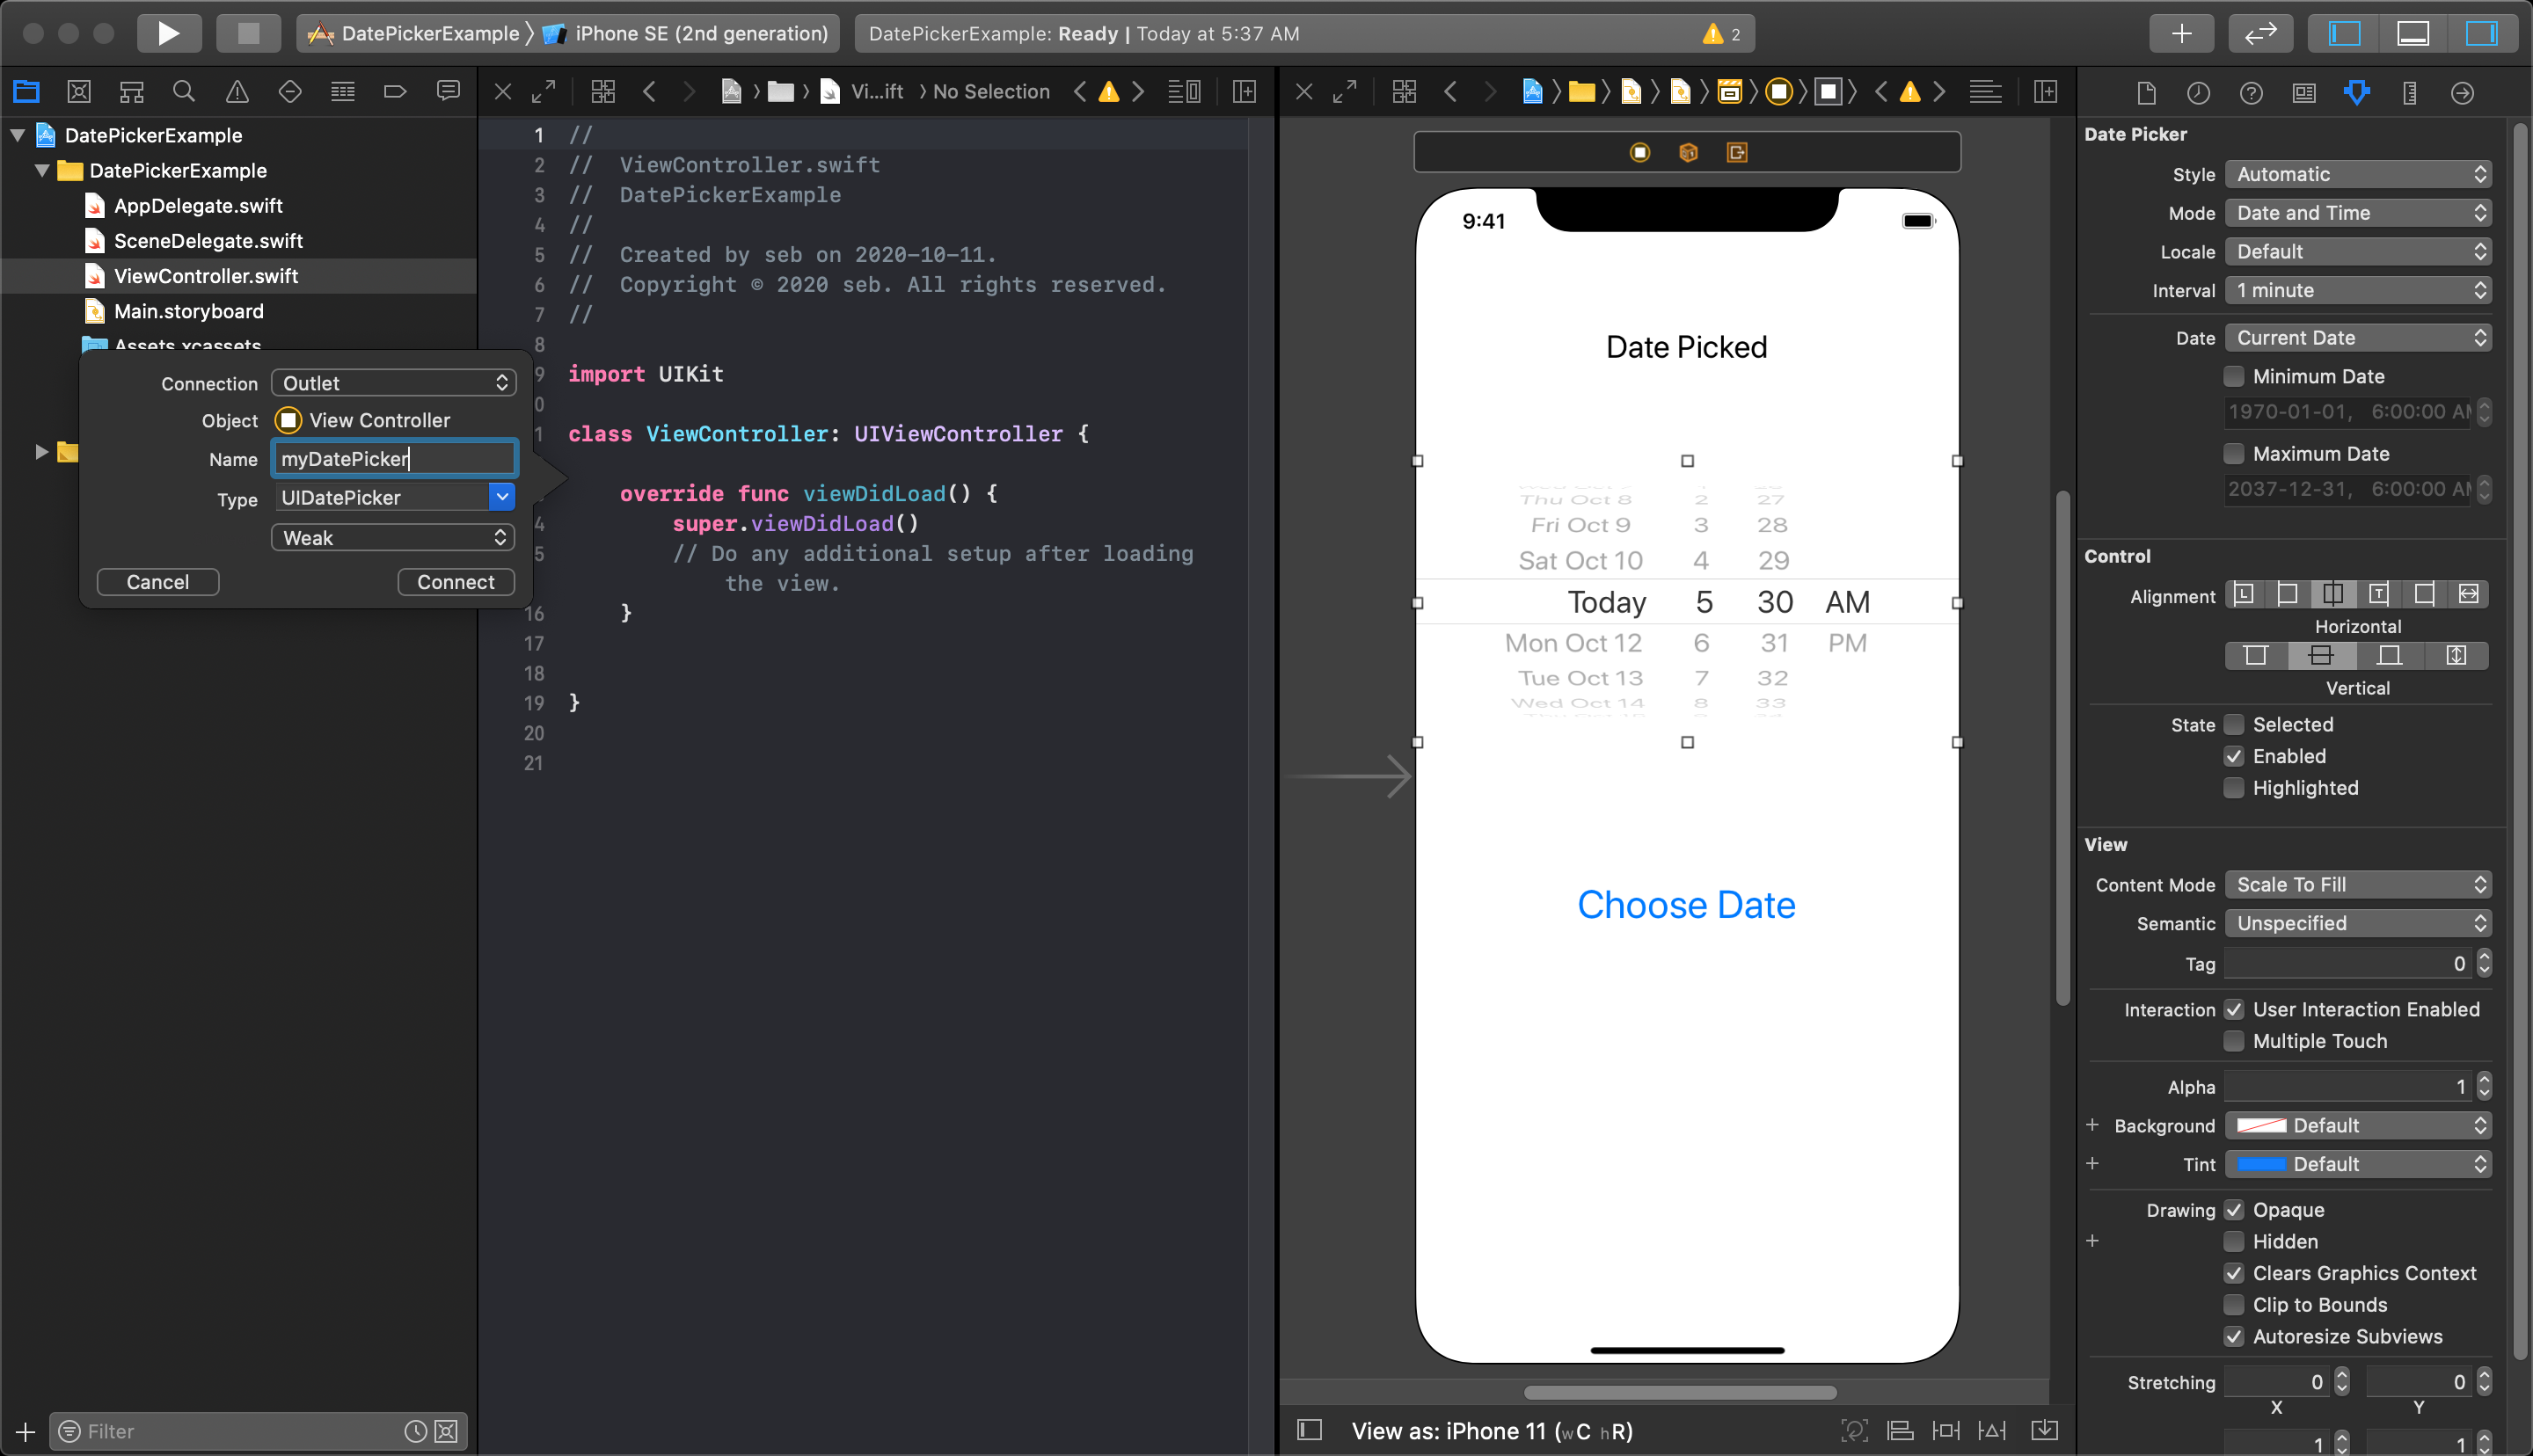
The next thing to do is to make an outlet connecting your date picker to your viewController by creating outlets from UI objects to viewController code. This is done by pressing and holding control, and then clicking on the UI object and dragging to your code in the Assistant Editor view.
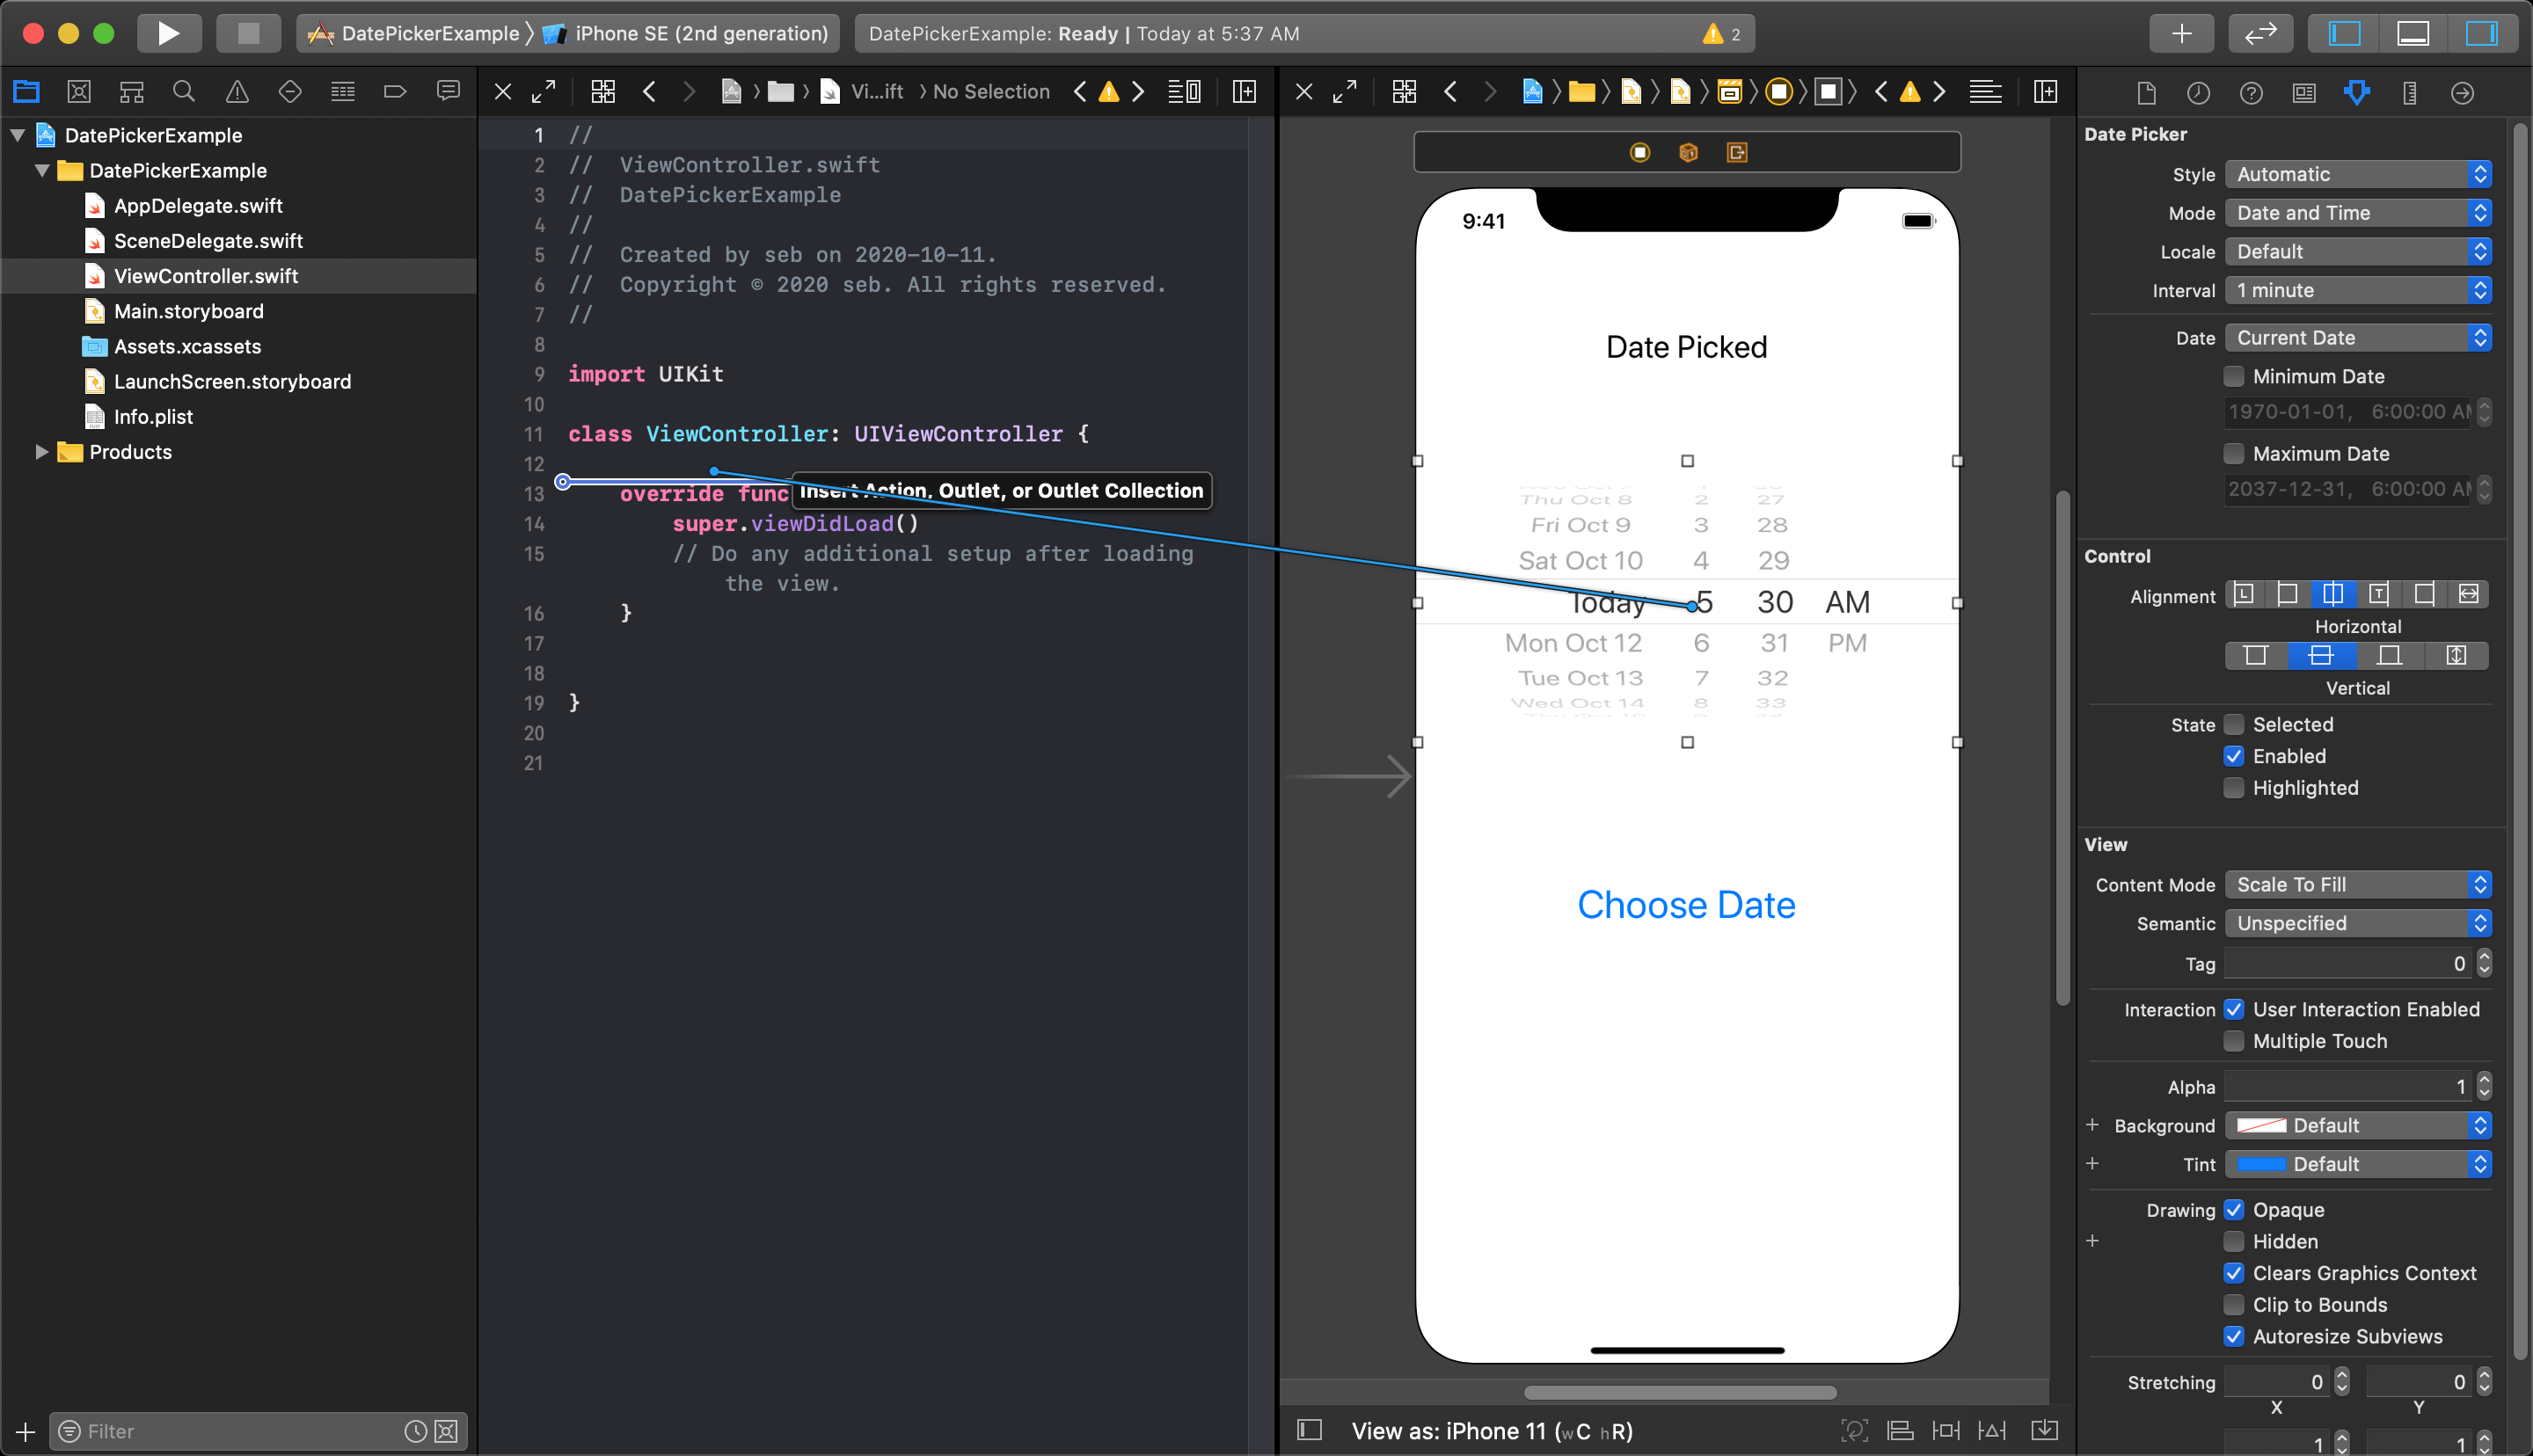
A pop-up menu will appear, letting you name the outlet variable to your date picker.
Then we connect the Label to an outlet and the Button to an action. In this example, all we need the action to do is access the .date value from the date picker and output it to the Label. In the following image, you can see this example running in the simulator.

Date Input and Output options
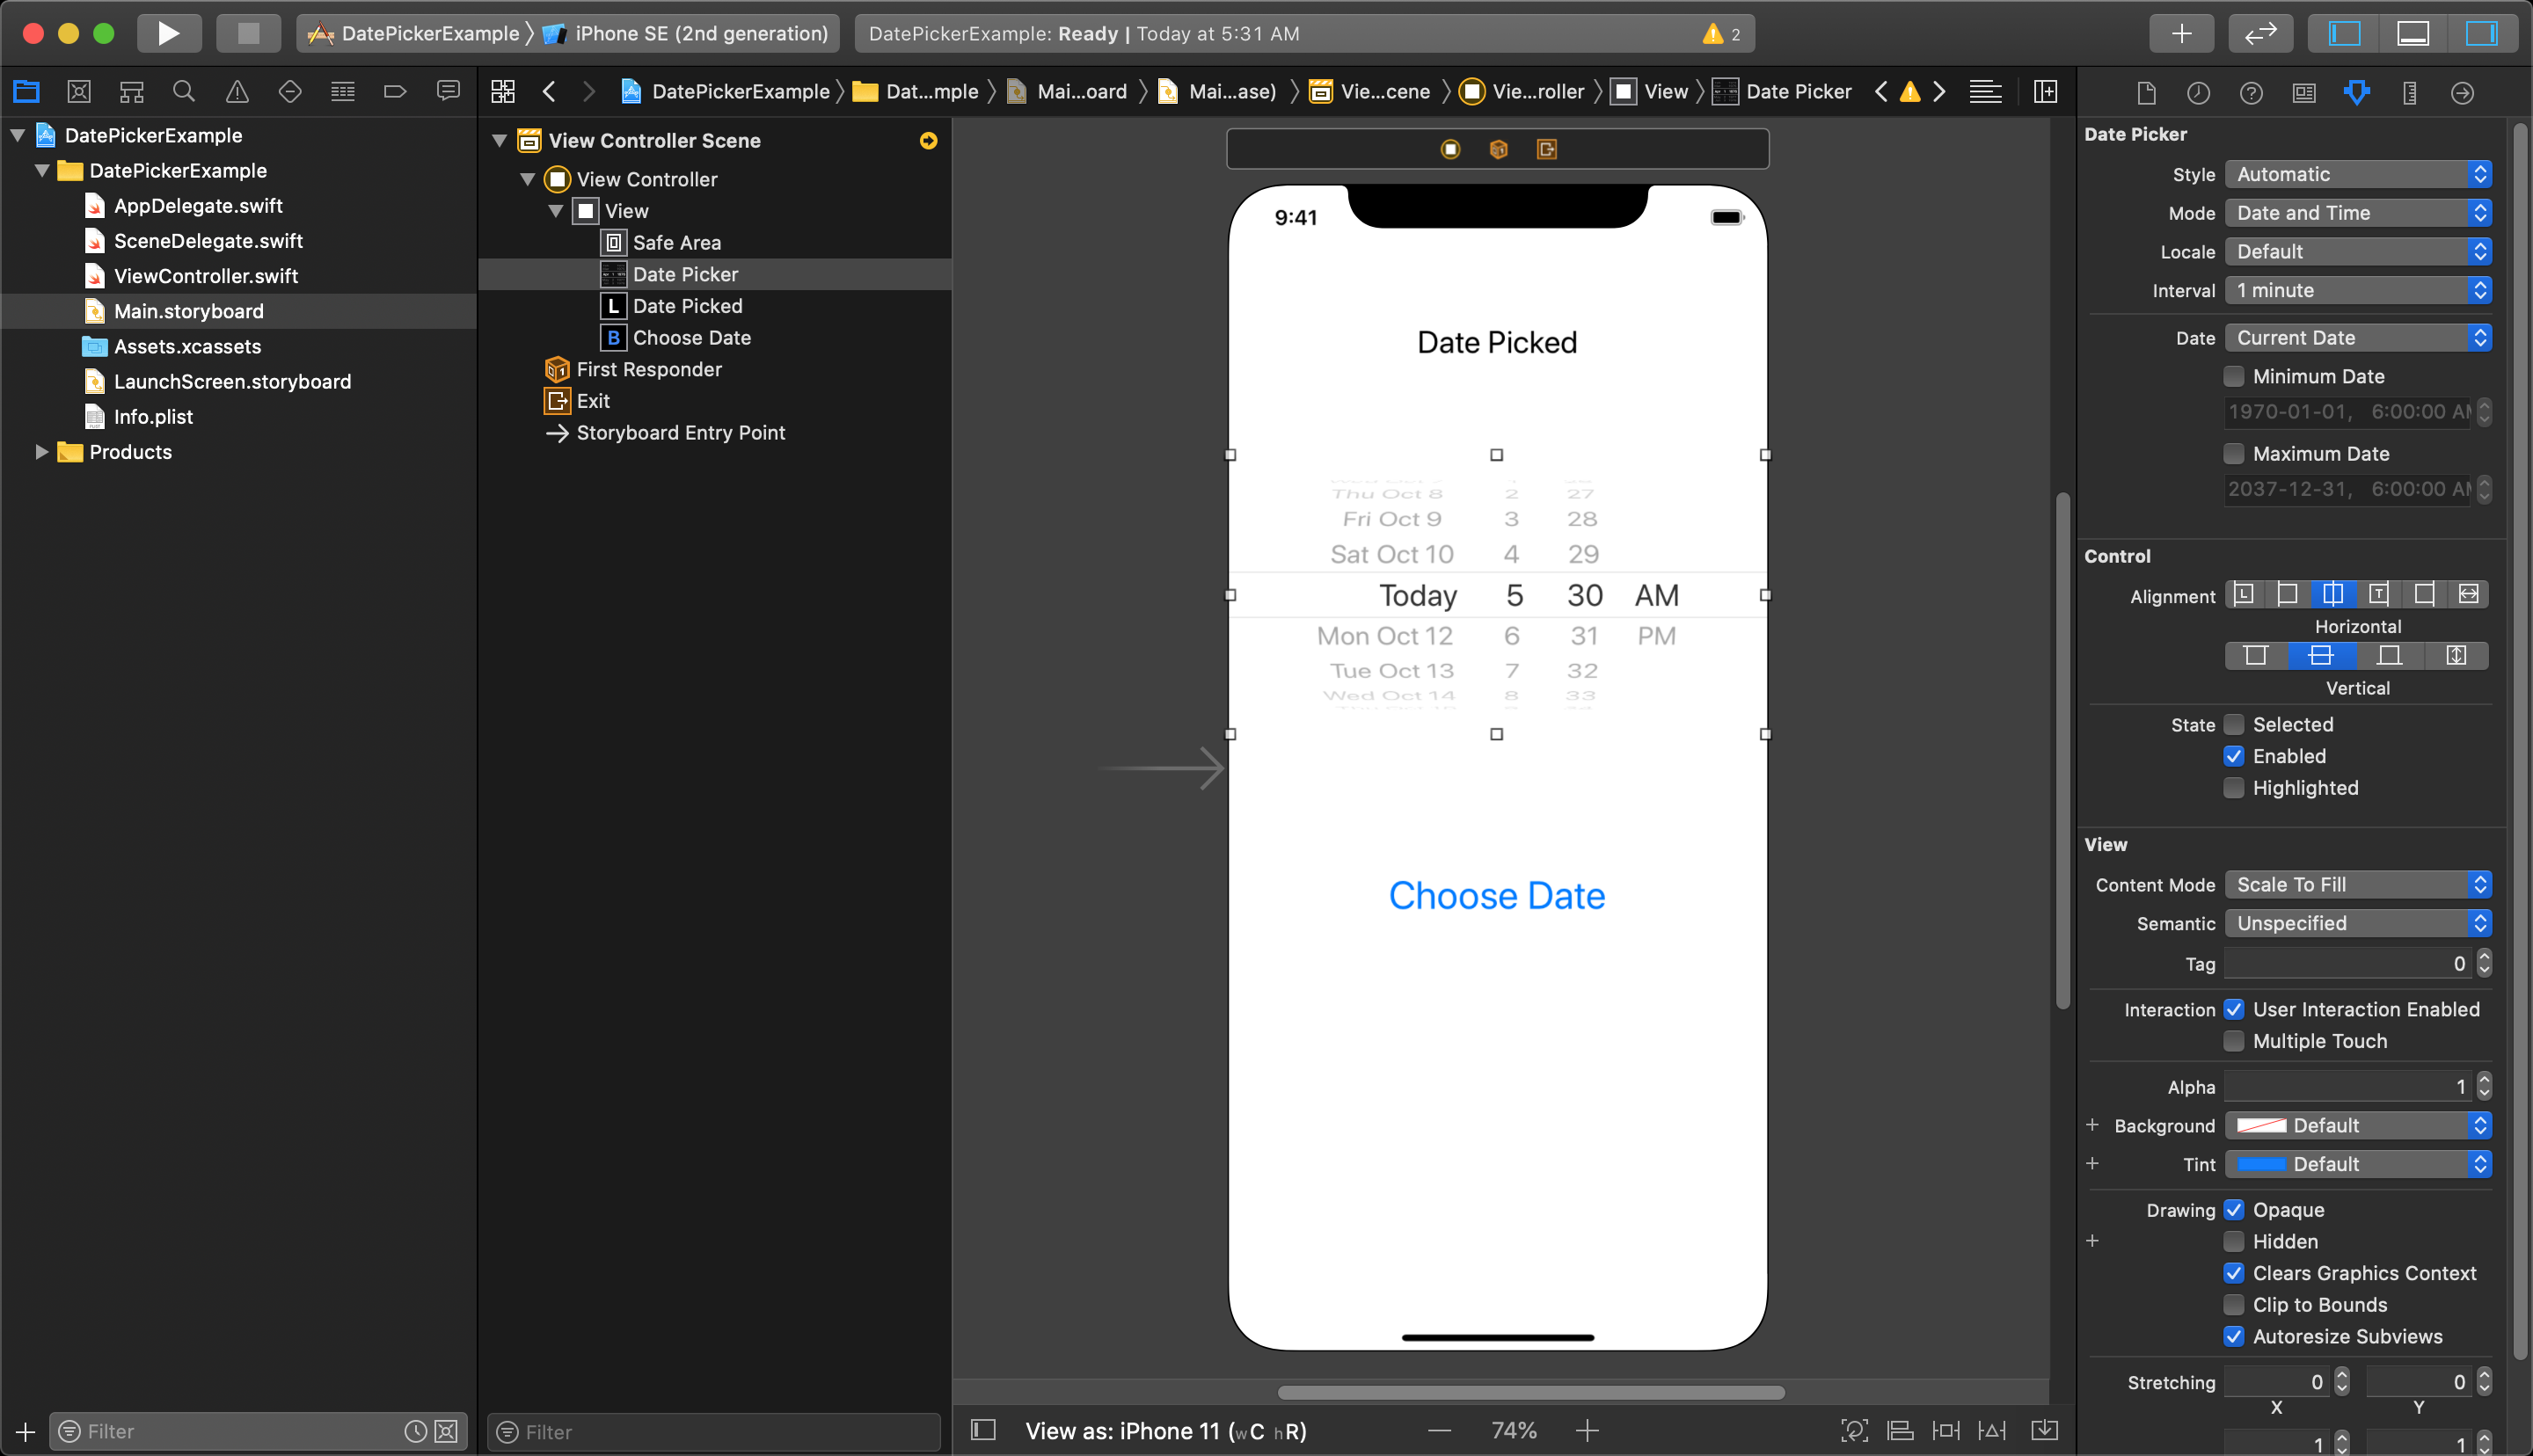
If you would like to change the formatting of the date picker, change it to only show just dates or just times, select the date picker in the storyboard and go to the Attributes Inspector. There, you can choose how to change the properties of your date picker.
In this example, we have chosen to display only dates and no time. You can see the changed format of the datePicker within the simulator in the image above.
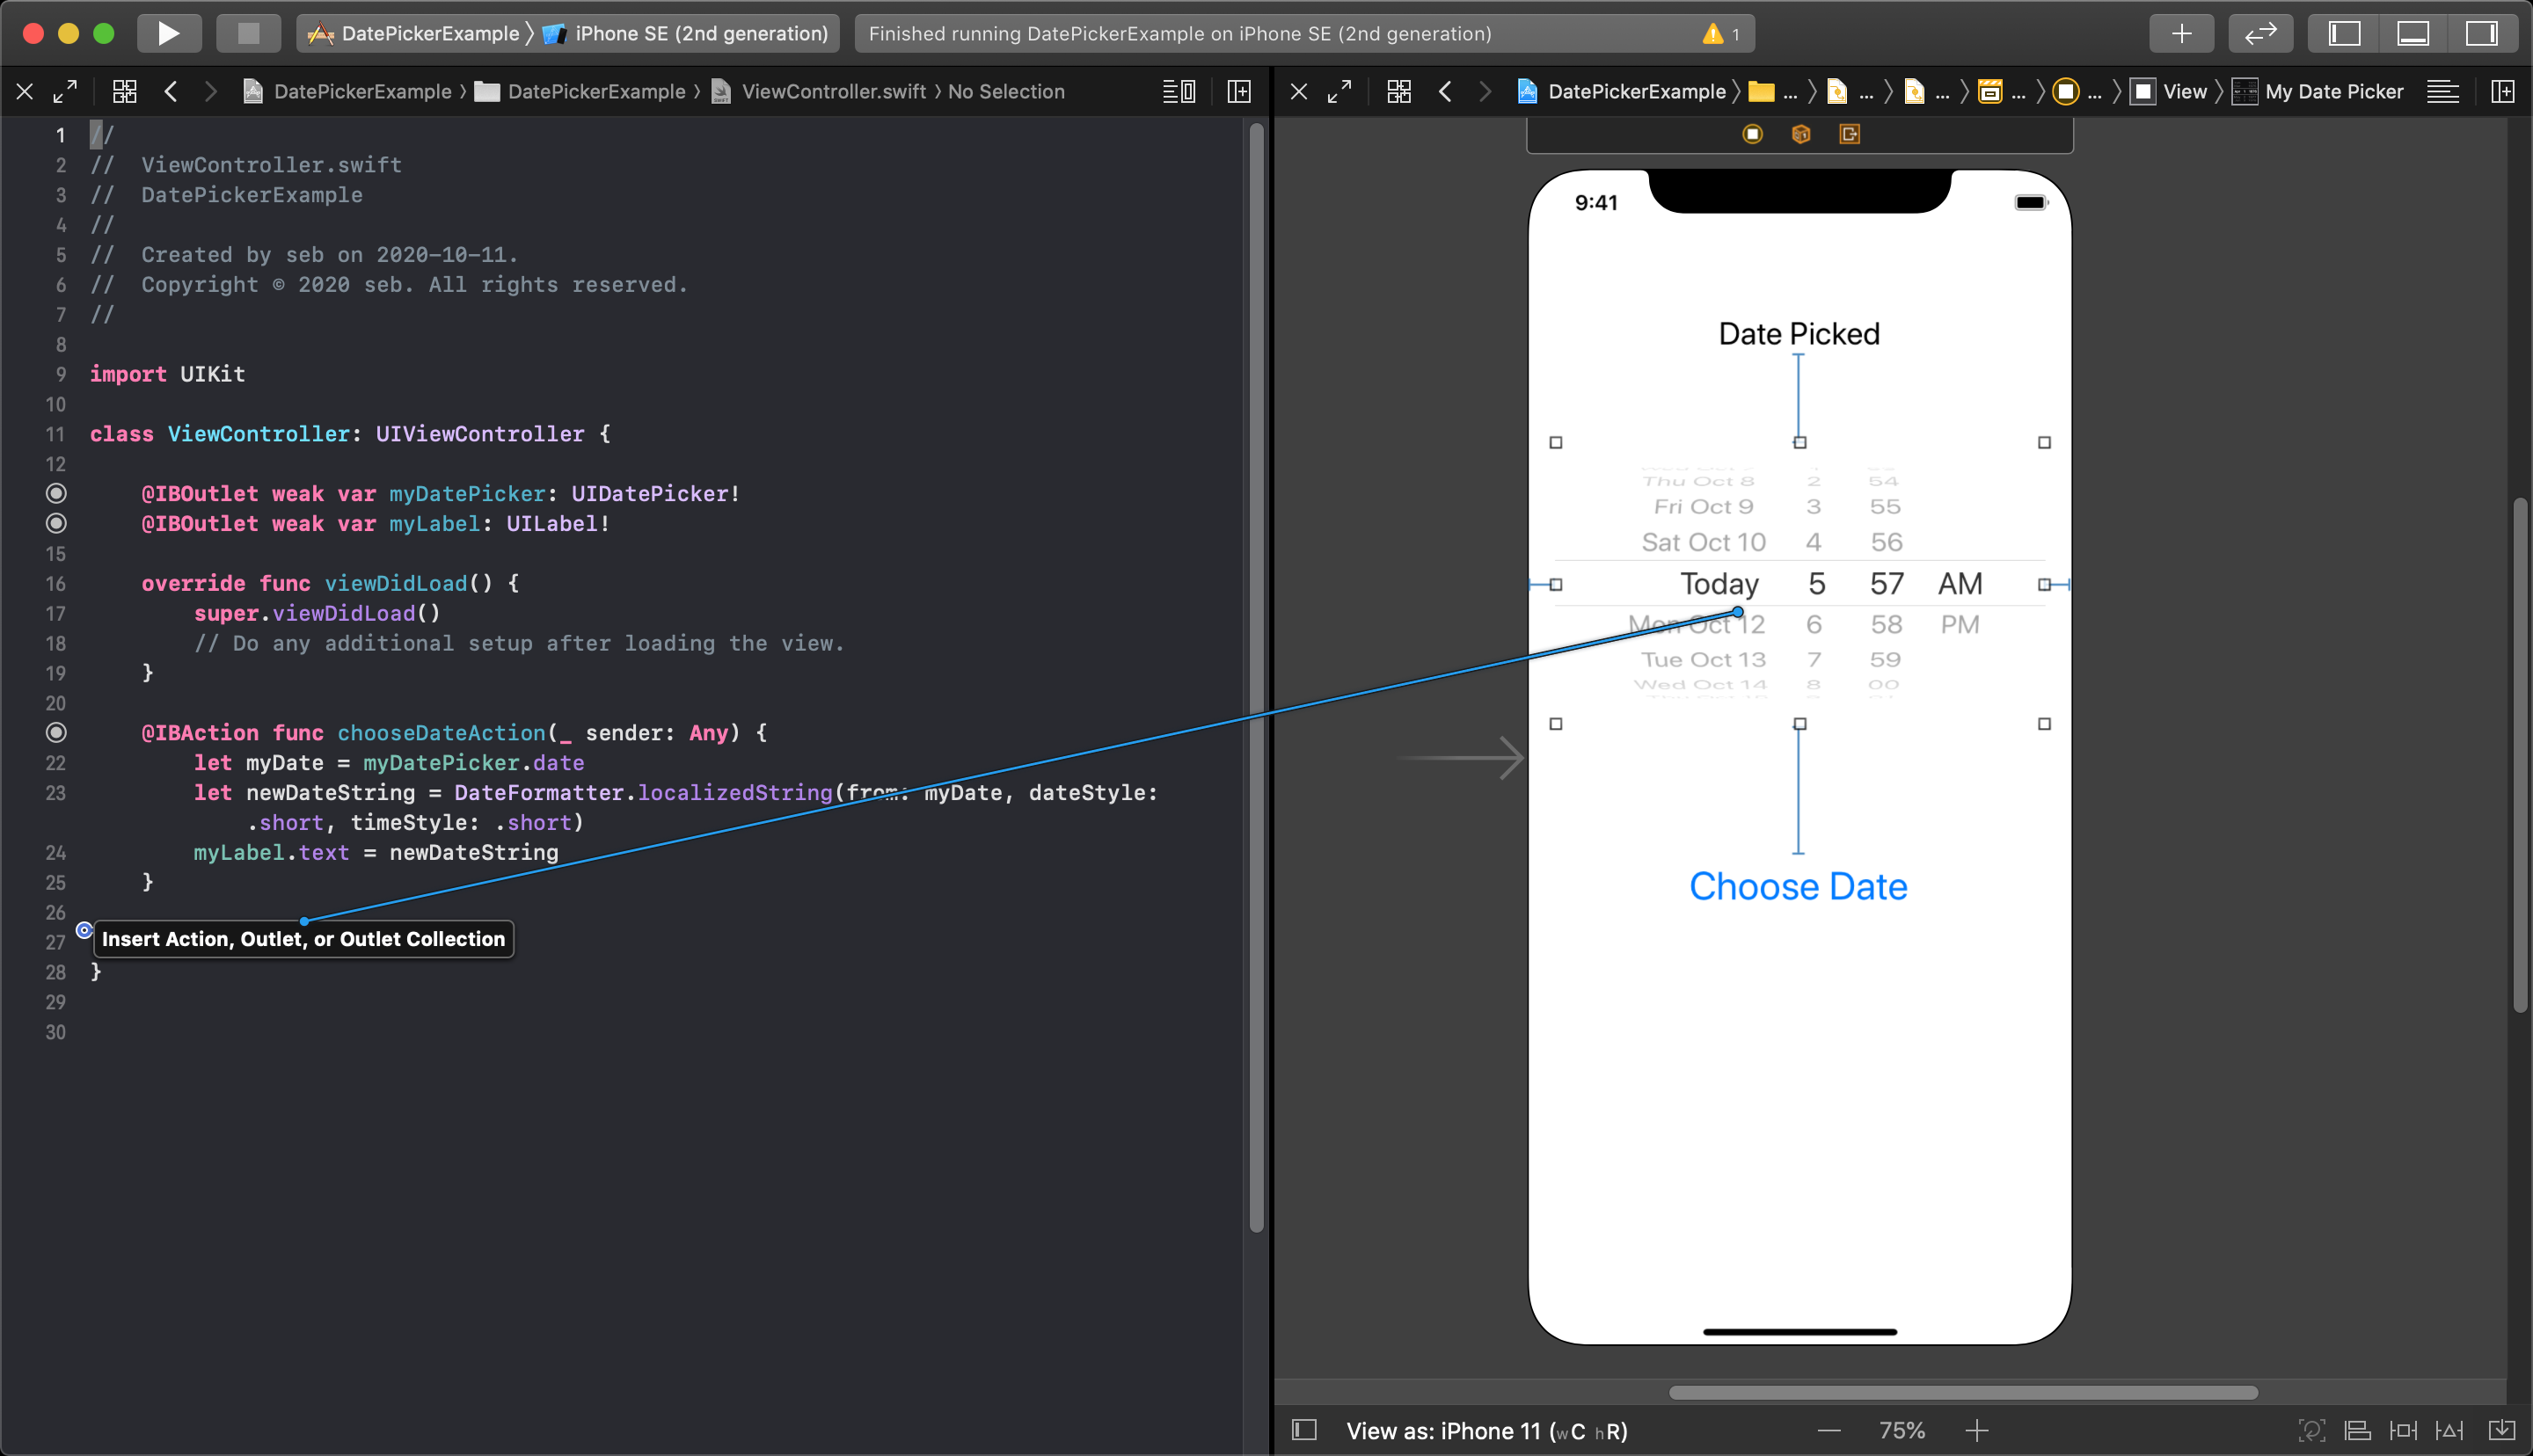
You can also choose to display the text output of a Date object in the Label object using the DateFormatter.localizedString() function as shown in the previous lesson.

Notice that in this example the DateFormatter.Style.short was replaced with just .short because the enumerator type is detected automatically.
DatePicker Action Connection
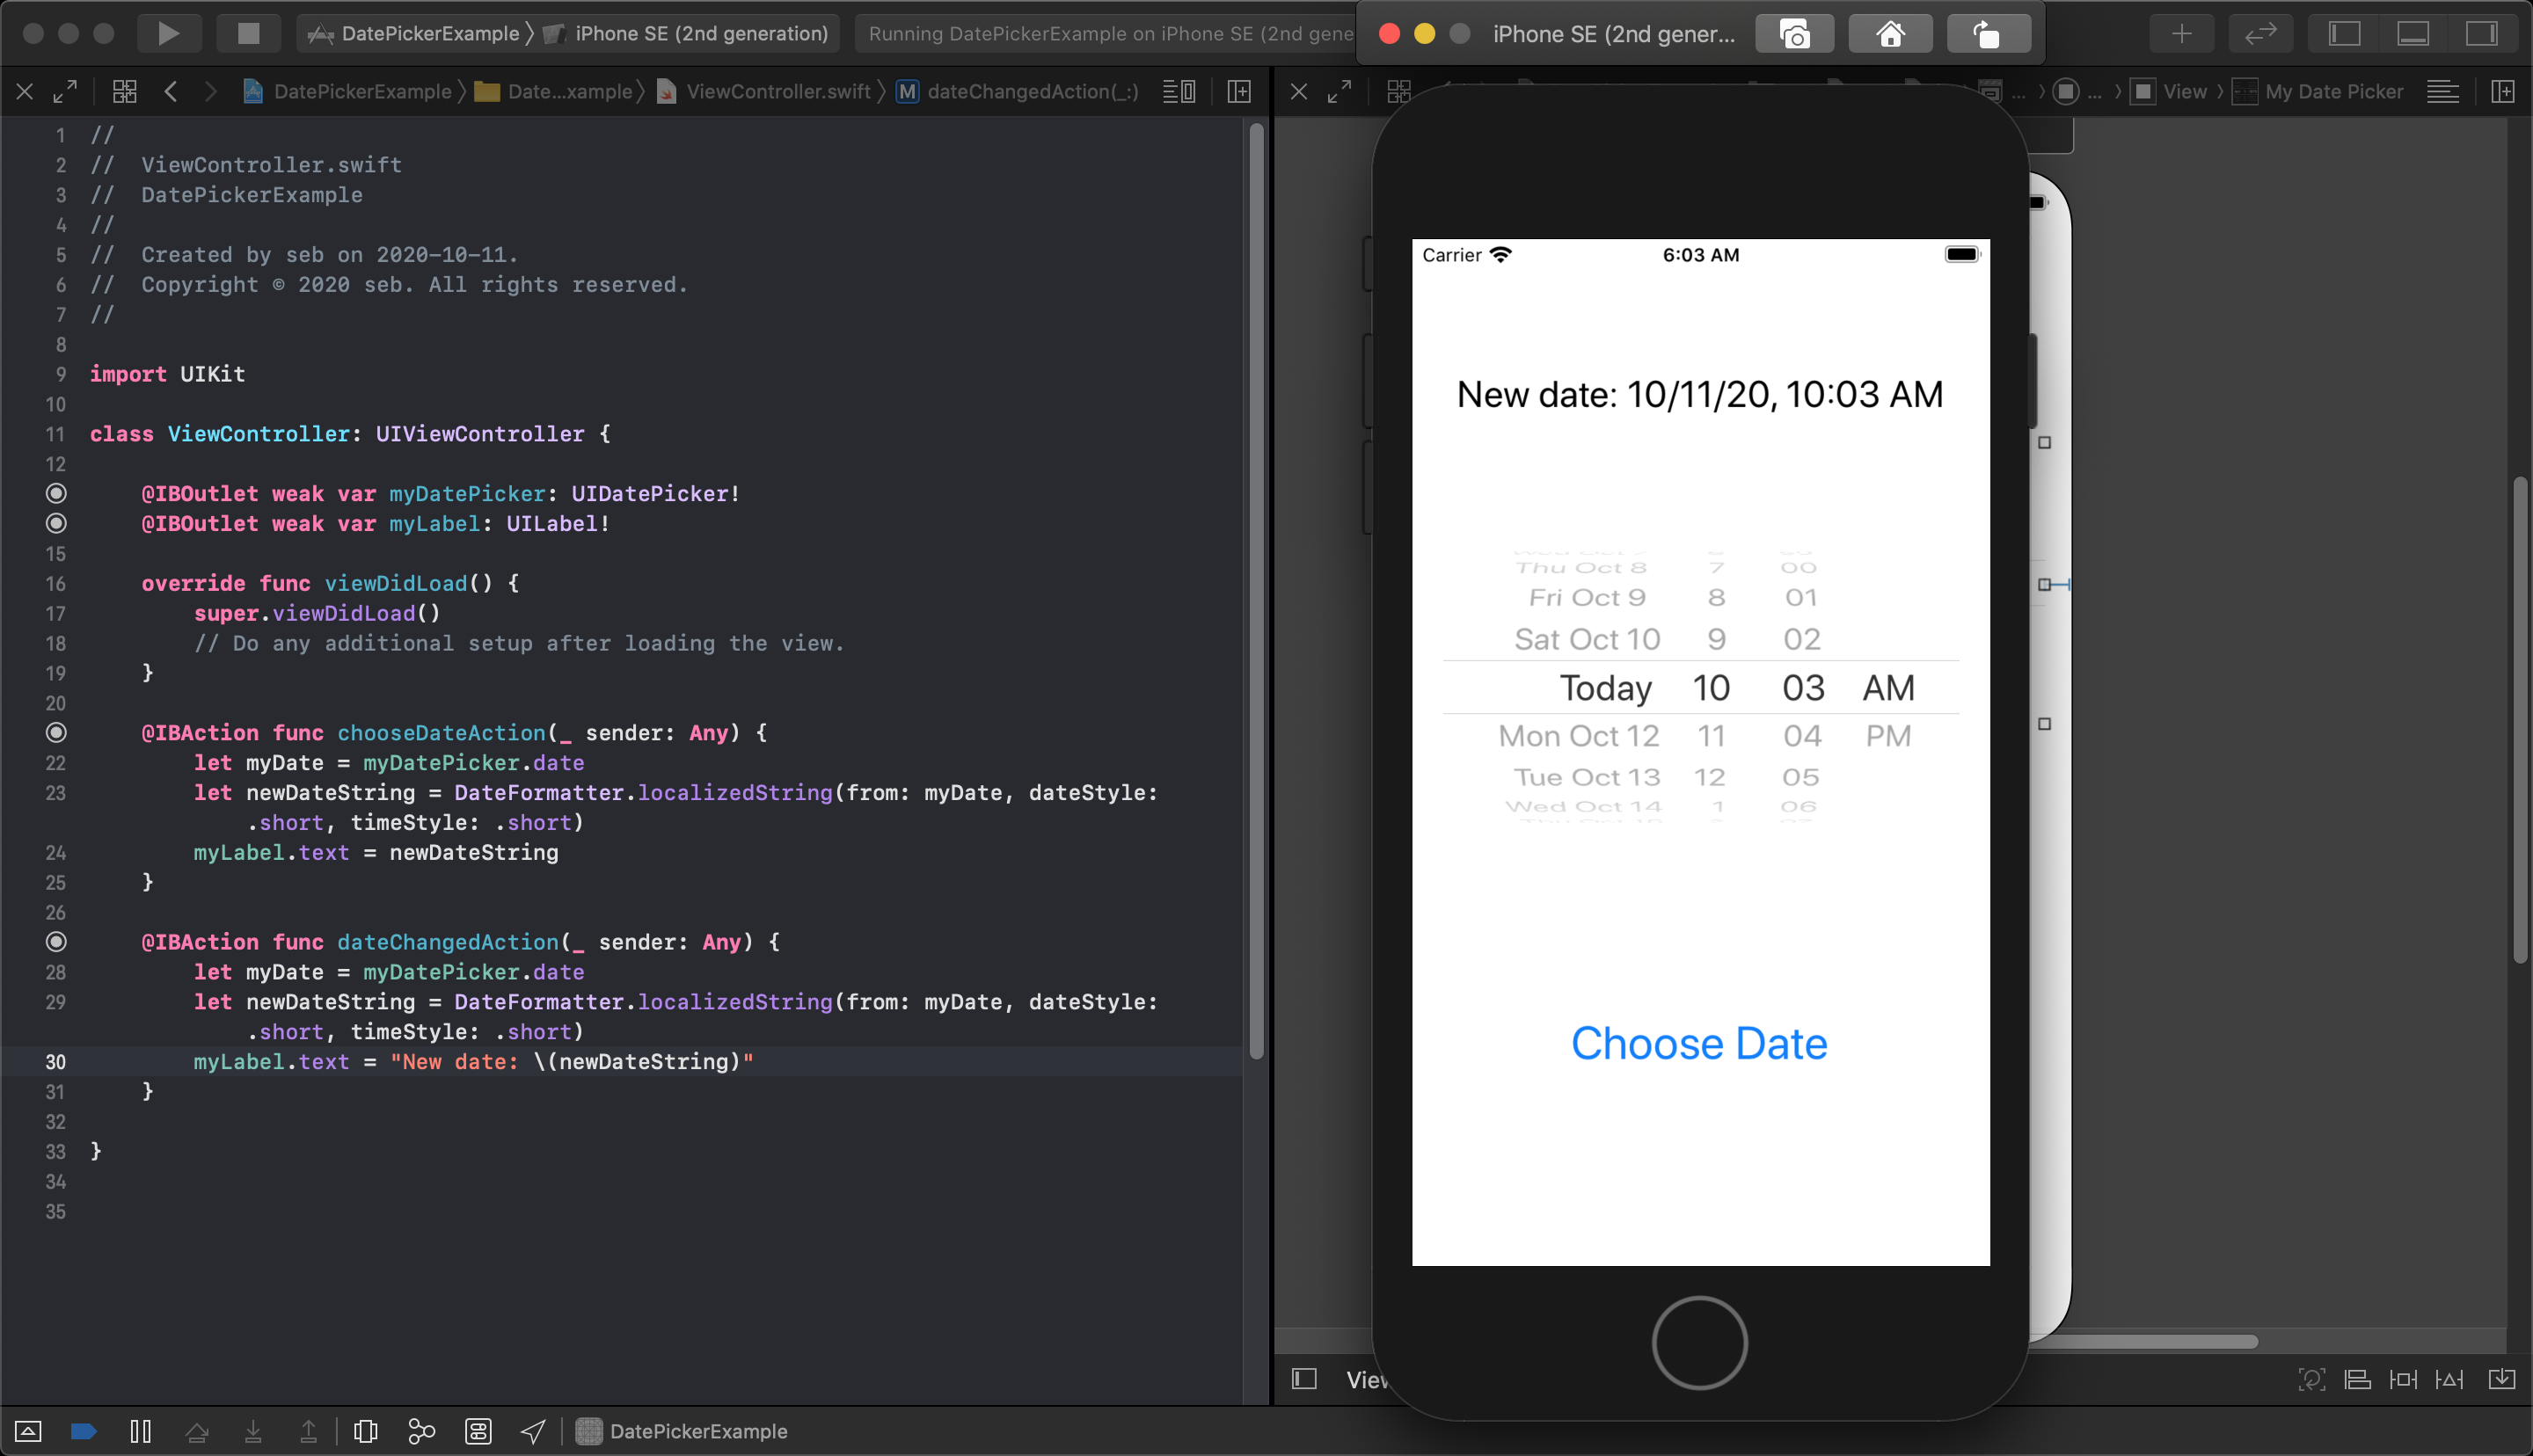
It is also possible to have an IBAction function connected to a datePicker object. This action will be fired every time the user changes the date within the datePicker. First, you need to connect the DatePicker object to an Action in the viewController class.
Next, choose the connection as an Action, and give this action function a name. You will also see that you have a choice of 'Type' which refers to the sender type. This is used to pass a reference of the specific UI object that called to the action.
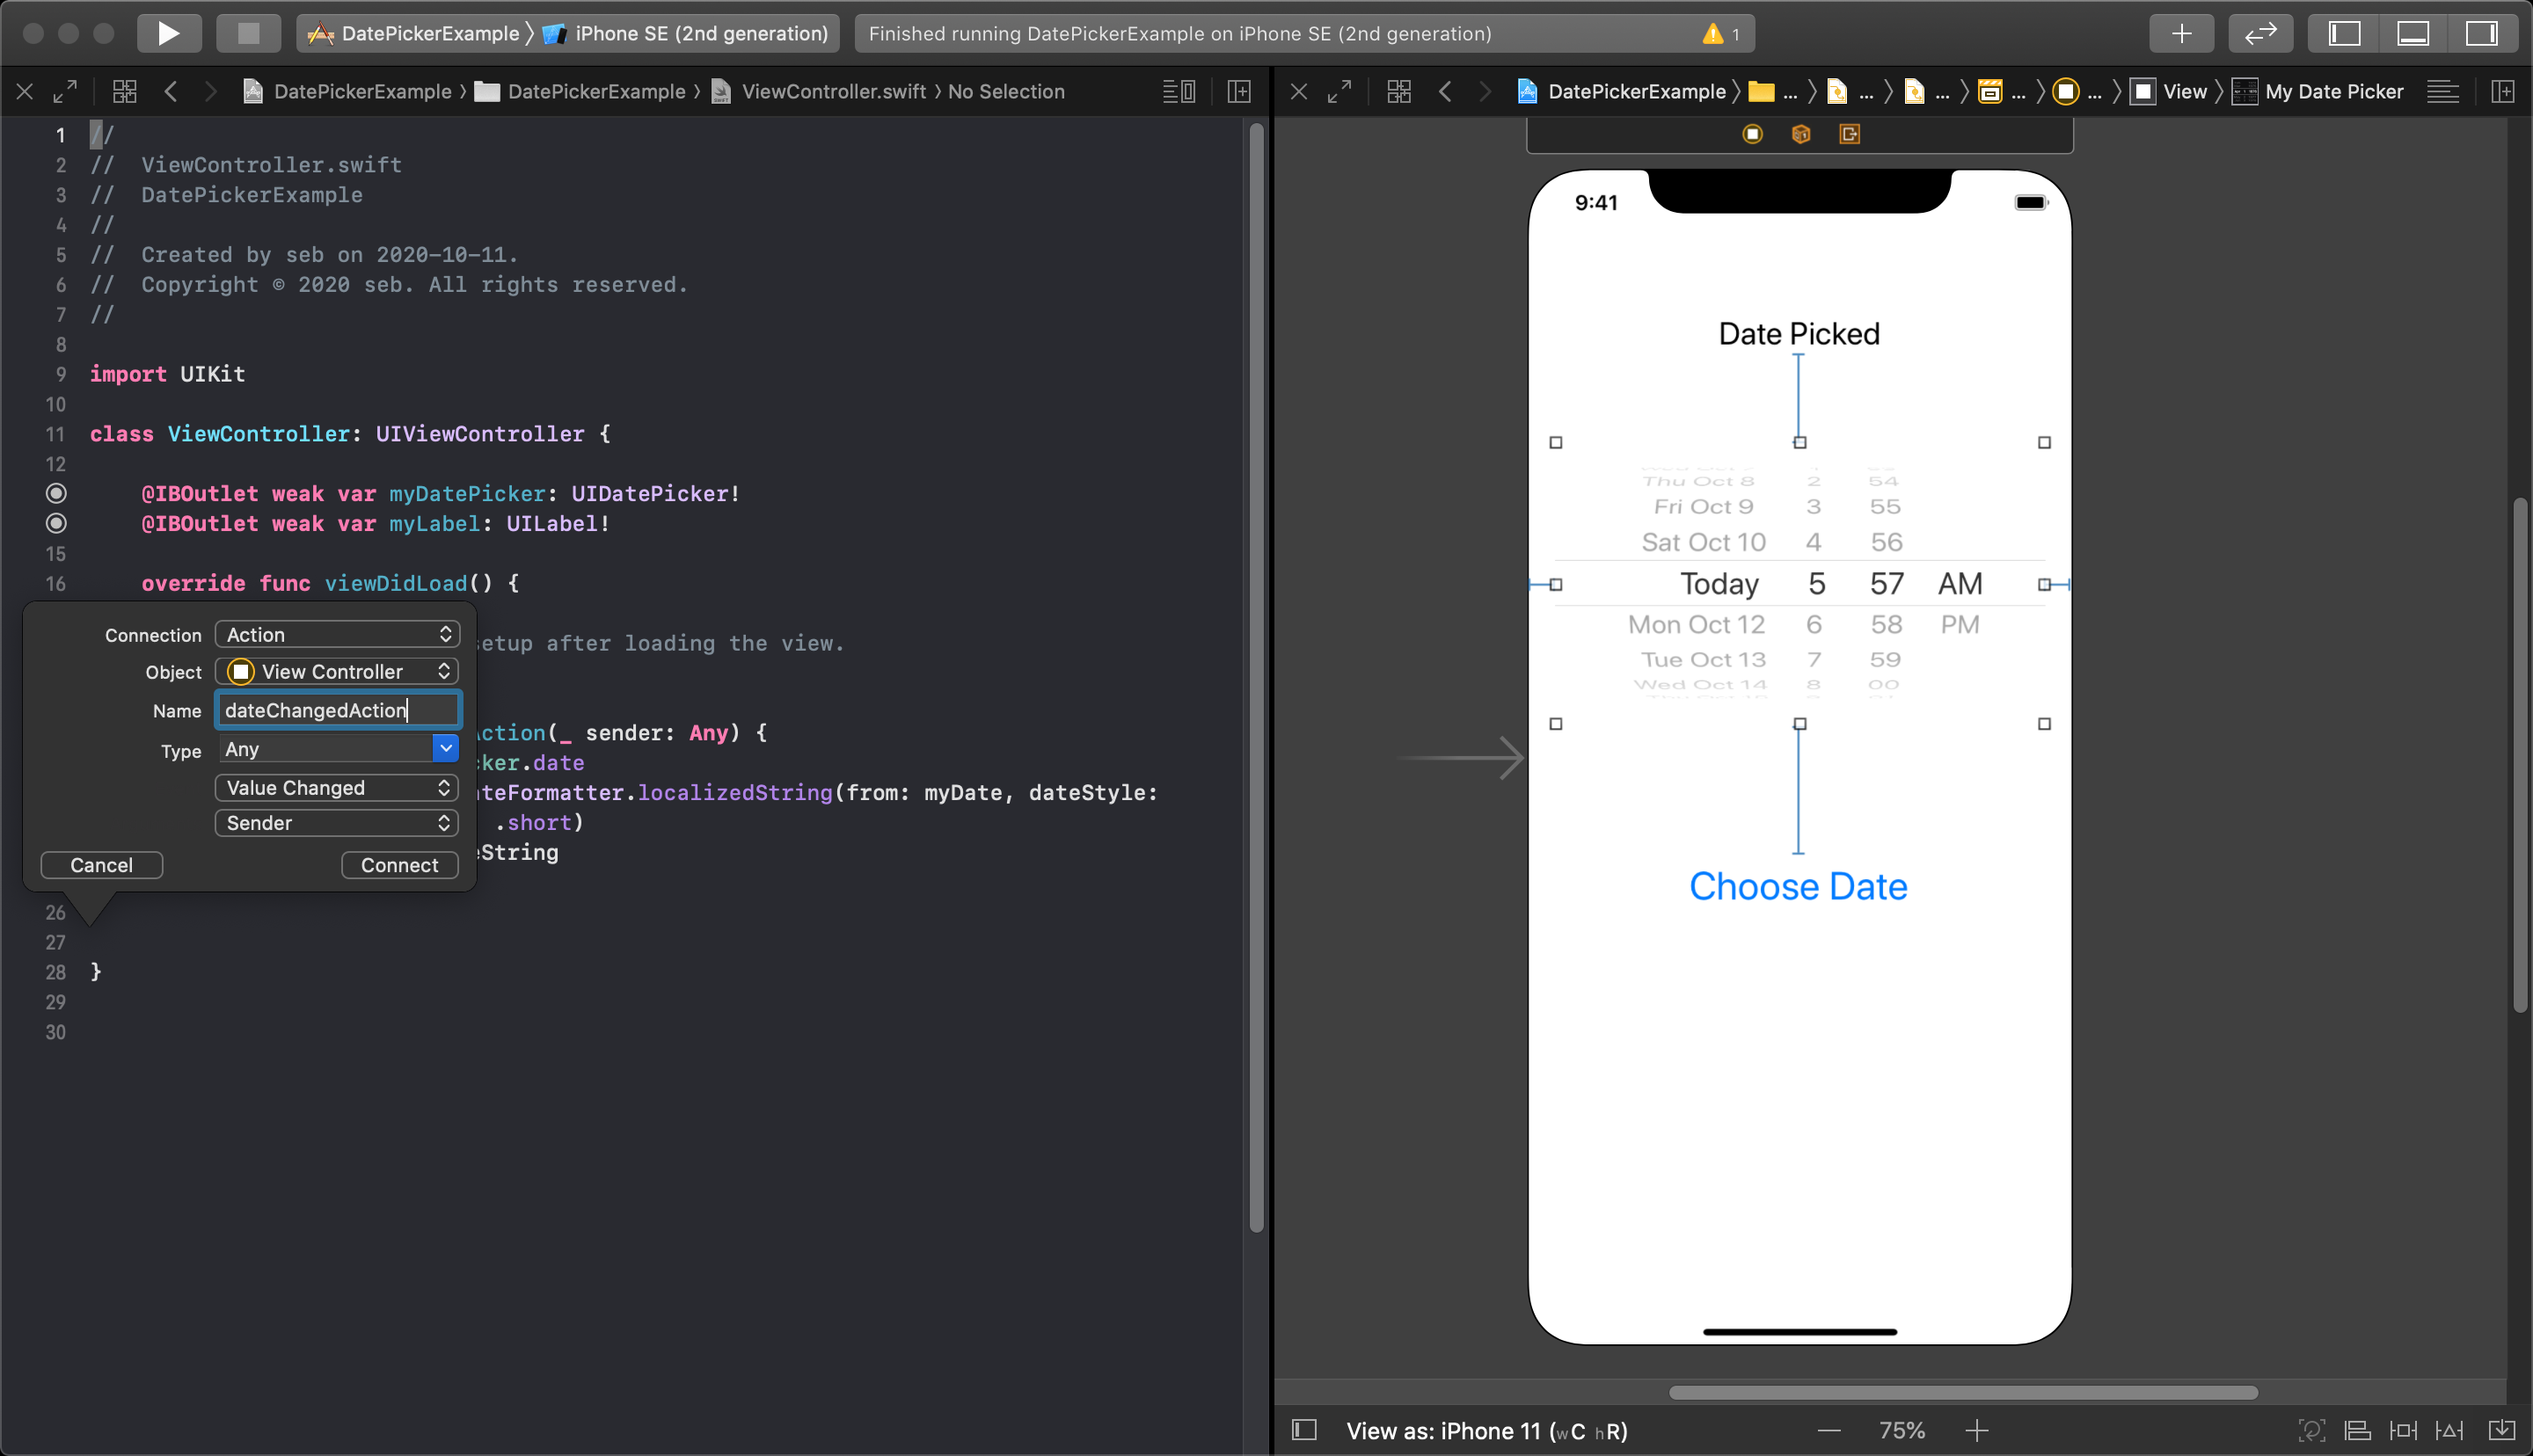
By default it is set to Any, which is what you select when you are not concerned about who the sender was. Your other option here is UIDatePicker which can be used to get a reference to the specific datePicker object that called the action to be used within that action function. Because we have already made an outlet connection at the top of this viewController, we already have a reference to the object, so we can leave this as Any and click connect.
The next image shows code in the new action that will update the label with some unique text. The simulator shows the result of changing the date in the datePicker, and the updated label.